
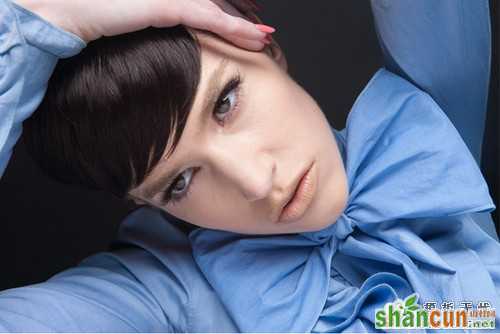
原图
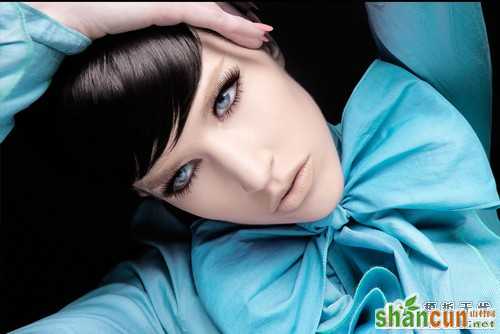
最终效果
1、打开原图素材。
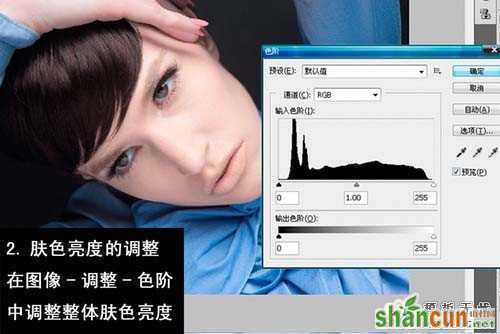
2、肤色亮度的调整。在图像——调整——色阶中调整整体肤色亮度。
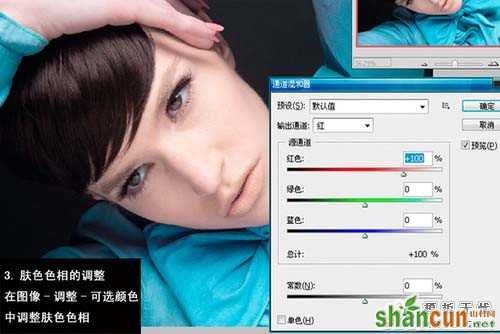
3、肤色色相的调整。在图像——调整——可选颜色中调整肤色色相。
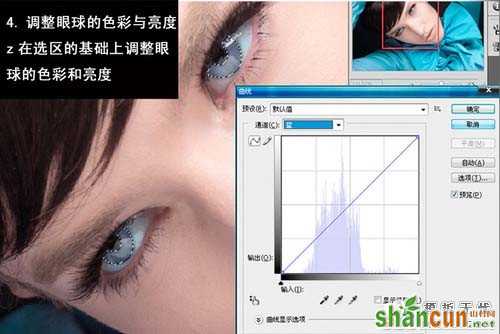
4、调整眼球的色彩与亮度。在选区的基础上调整眼球的色彩和亮度。
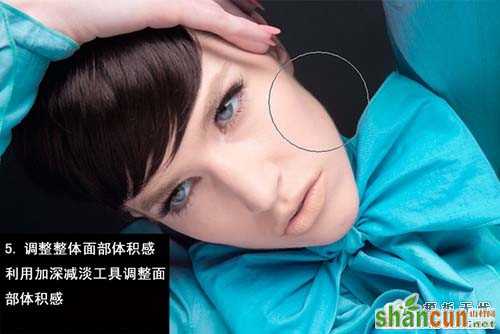
5、调整整体面部体积感,利用加深减淡工具调整面部体积感
6、修饰整体肤质。使用仿制图章工具修饰皮肤有瑕疵的部分
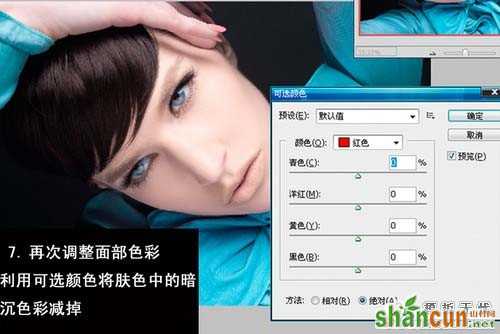
7、再次调整面部色彩。利用可选颜色将肤色中的暗沉色彩减掉
8、整体曝光度调整。在预设中调整整体图片的曝光度到适当的状态

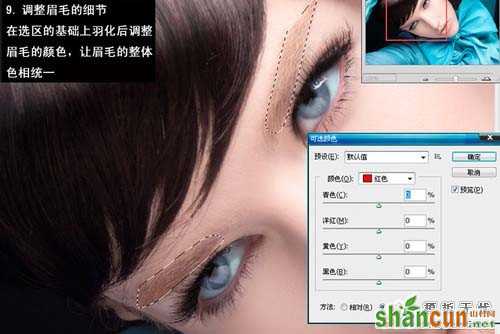
9、调整眉毛的细节。在选区的基础上羽化后调整眉毛的颜色,让眉毛的整体色相统一
10、手绘眉毛。利用手绘板,选择适当的画笔,设定好画笔笔刷和画笔压力进行手绘
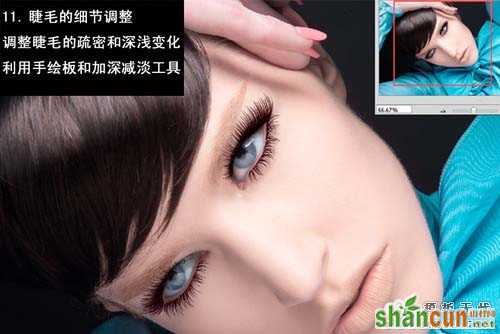
11、睫毛的细节调整。调整睫毛的疏密和深浅变化,利用手绘板和加深减淡工具
12、睫毛的虚实变化。使用锐化和模糊工具将睫毛的透视关系和虚实变化进行修饰
13、最后,看看这个用Photoshop处理出来的效果,是不是另你满意呢?如果满意的话,那么也赶快打开你的批Photoshop来试着做一下吧
注:更多精彩教程请关注山村photoshop教程栏目,山村PS群:182958314欢迎你的加入


