
图案在Photoshop软件中是一种内置的资源,与笔刷一样,后缀是.pat,软件默认有一些图案,但并不能满意我们的需求,所以网上有很多图案资源可以下载,下载的图案如颜色、大小、亮度也并非能个个都如意,所以今天的教程就是来灵活的将图案提取出来并处理成自己想要的效果后使用更加得心应手,这个方法非常简单。
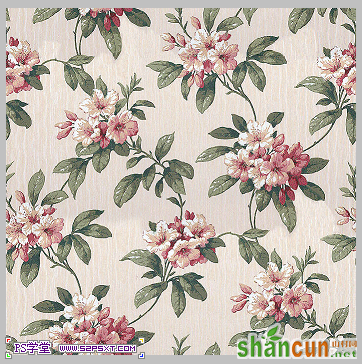
首先我们要安装图案,以下面提供的这个图案为例:
图案资源下载:http://www.yunsc.com/zy/sz/
安装后就需提取图案,并处理想我们想要的效果。
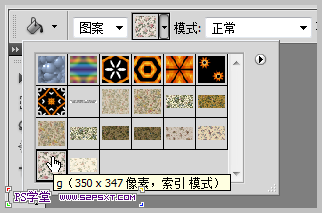
1、单击‘油漆桶工具’,在工具栏中选择‘模式’,然后打开模式选择器,将鼠标停放在我们要提取的图案上面,这时会提示图案的原始图像信息,包括尺寸(高/宽)像素,并记住此像素。

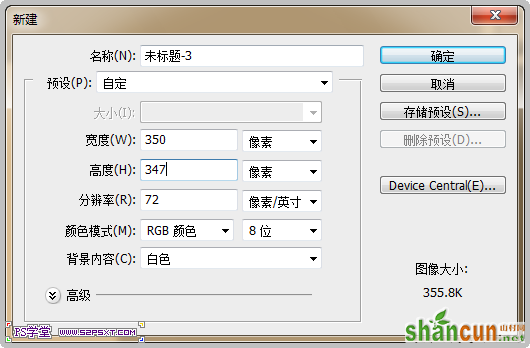
2、按Ctrl+N创建新文档,填写刚才记住的尺寸‘350*347’其它默认就好。
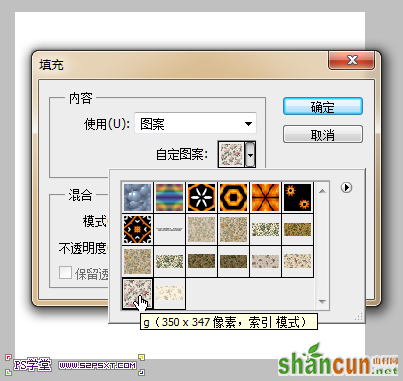
3、填充刚才我们想要修理的那个图案,这就是这个图案资源的原生态图像。
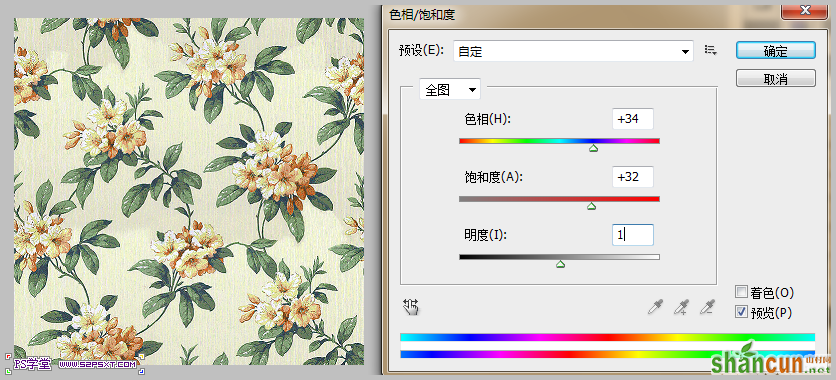
4、好了,图案提取出来了,现在可以随我们怎么样处理,如果你喜欢可以将此图像保存图片使用,同时还可以添加文字或调色之类的。
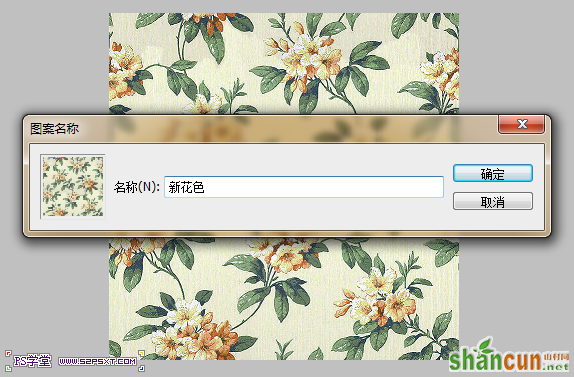
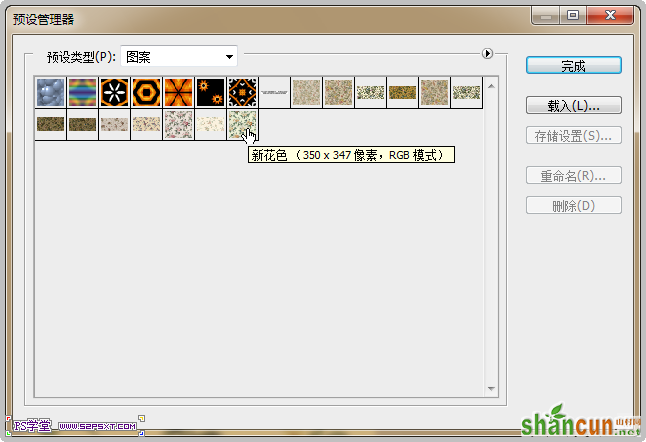
5、也可以再‘编辑-定义为图案’使用。
至此这个小技巧就在这儿讲完了,希望对需要的同学们有用。
注:更多精彩教程请关注山村photoshop教程栏目,山村PS群:75789345欢迎你的加入


