
本文我们用图解的方法详细介绍如何Photoshop手绘工笔效果漂亮美眉,需要大家多些耐心和细心。
先看最终效果图:
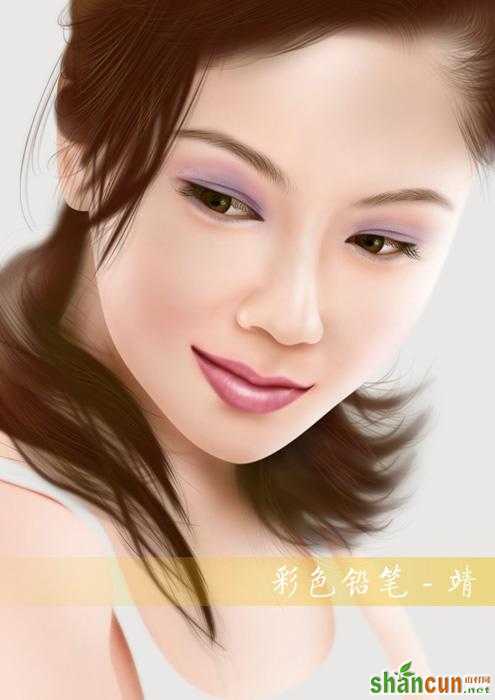
效果图
绘制过程:
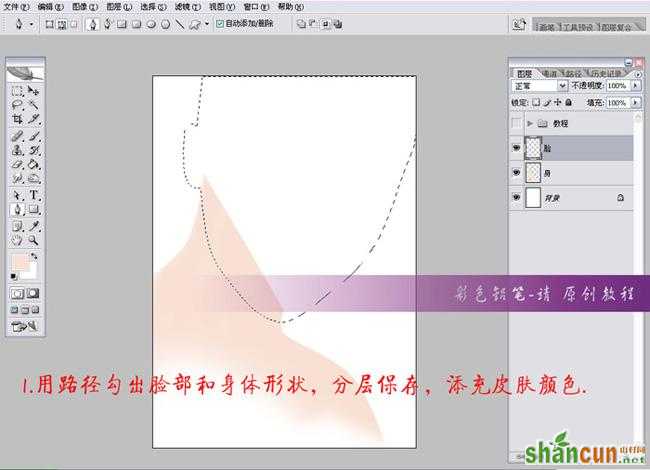
图1 画出轮廓
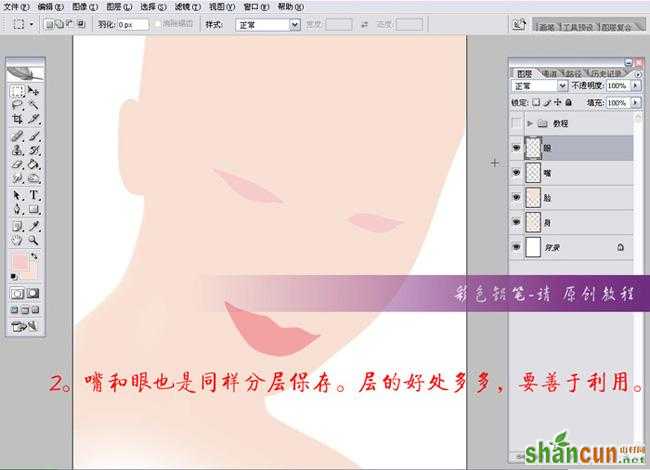
图2 嘴和眼分层保存
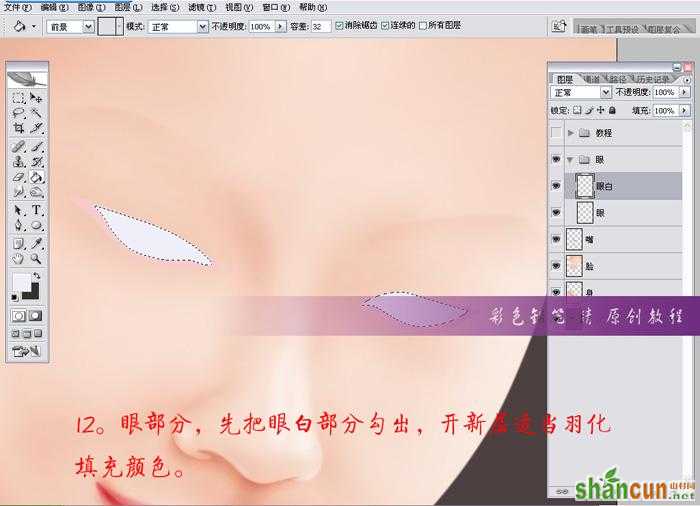
图3 鼻子部分路径转换选区
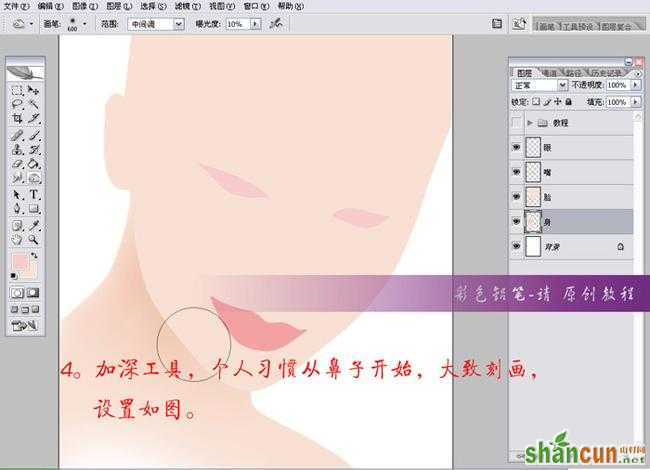
图4 加深
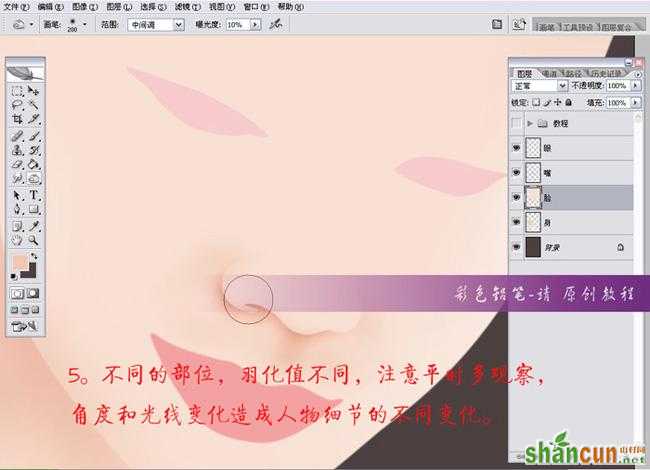
图5 羽化
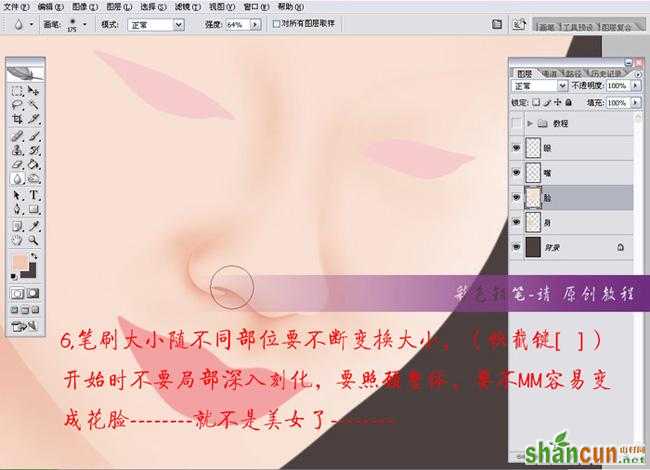
图6 使用笔刷
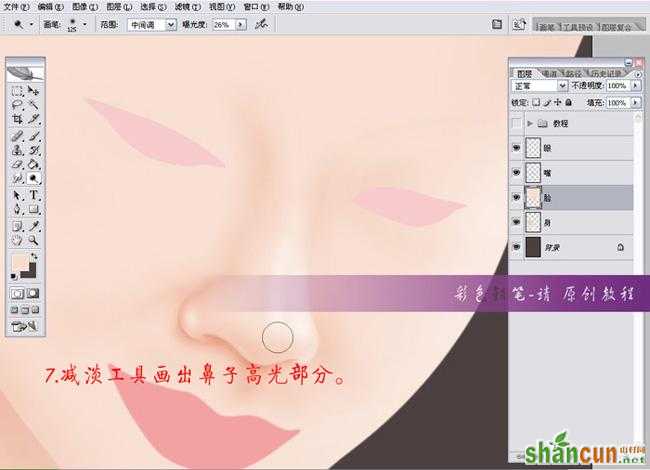
图7 减淡鼻子的高光部分
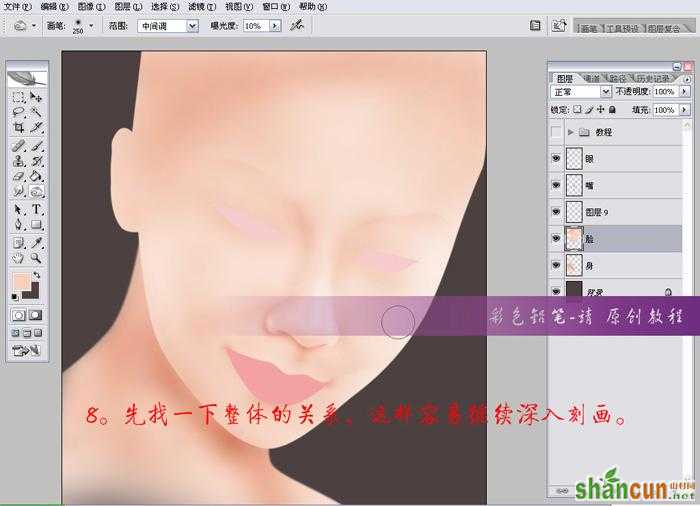
图8 找一下整体的关系
原文地址:http://soft.zol.com.cn/25/259166.html

图9 开始嘴部深入
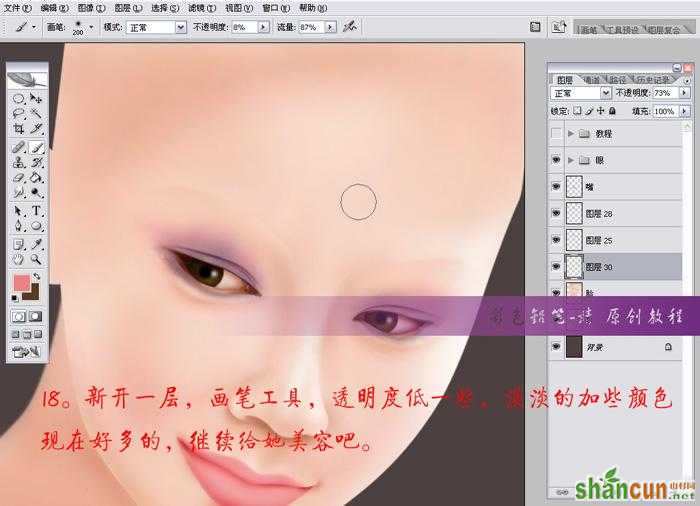
图10 暴光不要过大
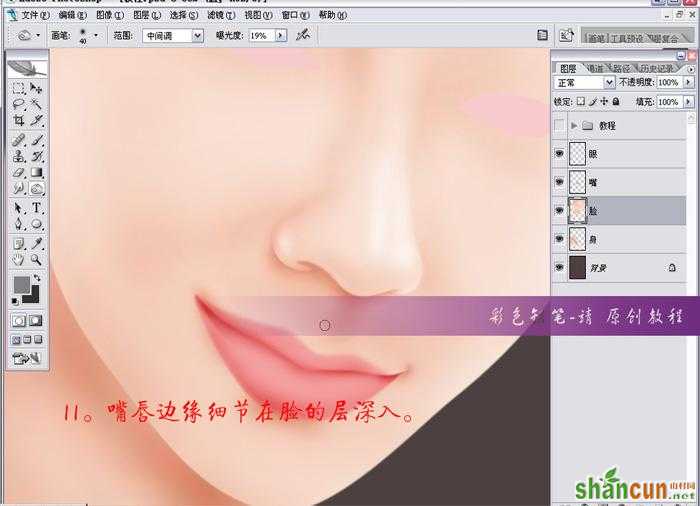
图11 嘴唇边缘
图12 先把眼睛白的部分勾画出来
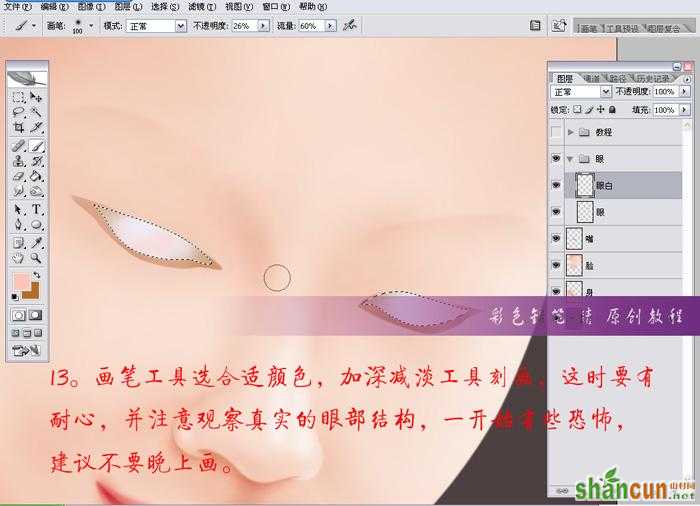
图13 画笔工具
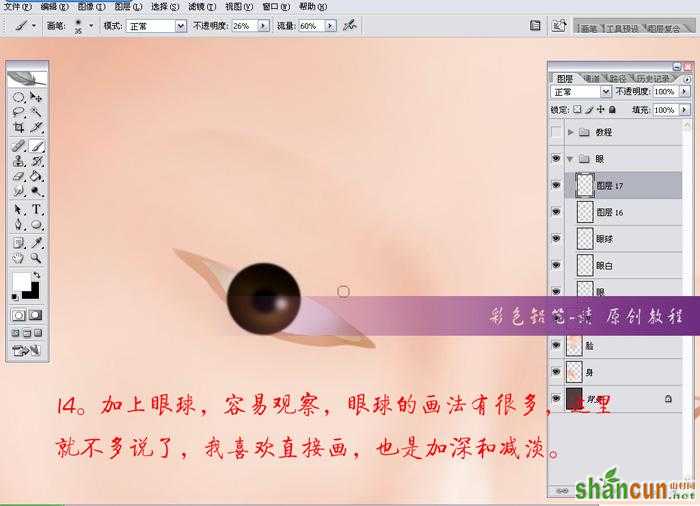
图14 加深眼球

图15 画好复制放到合适位置
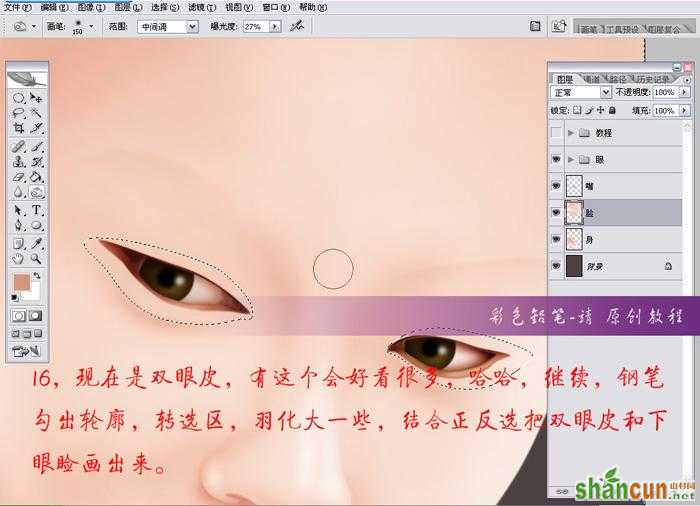
图16 双眼皮
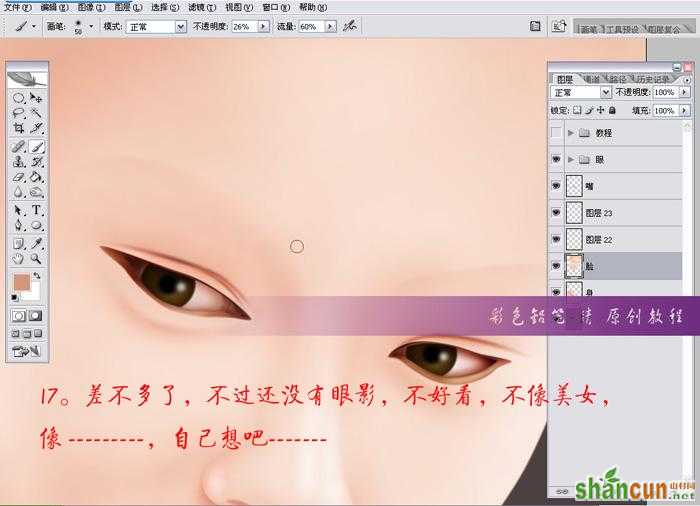
图17 眼影
图18 新开一层
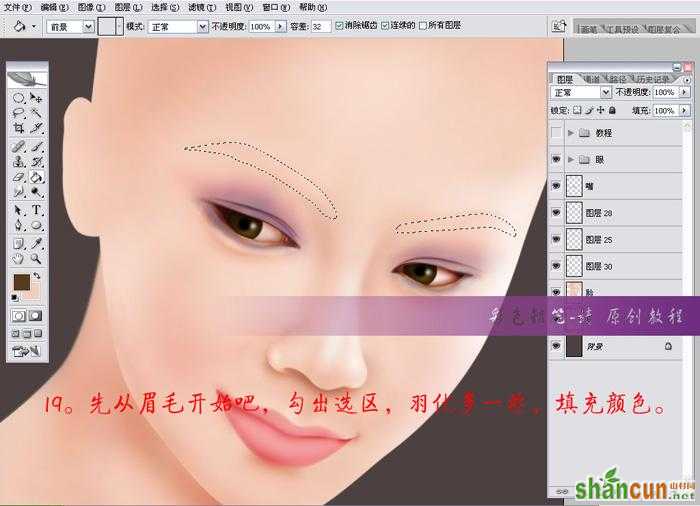
图19 先从眉毛开始
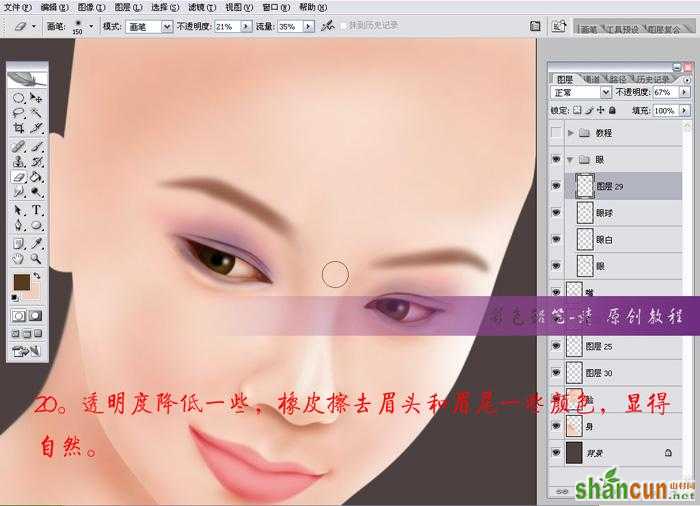
图20 透明度降低
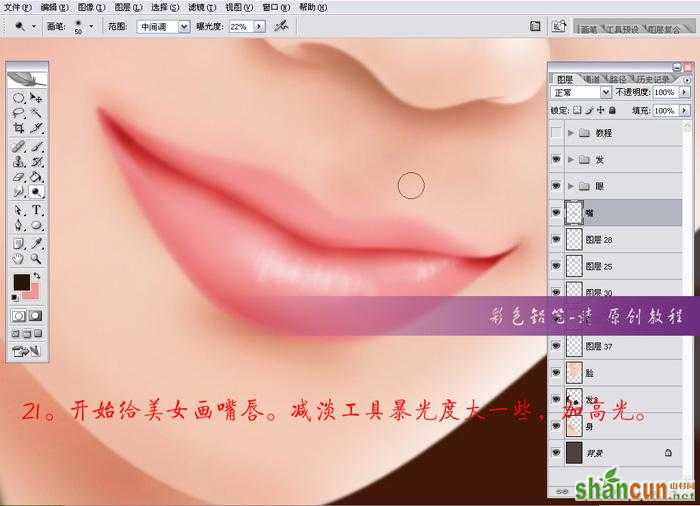
图21 开始画嘴唇
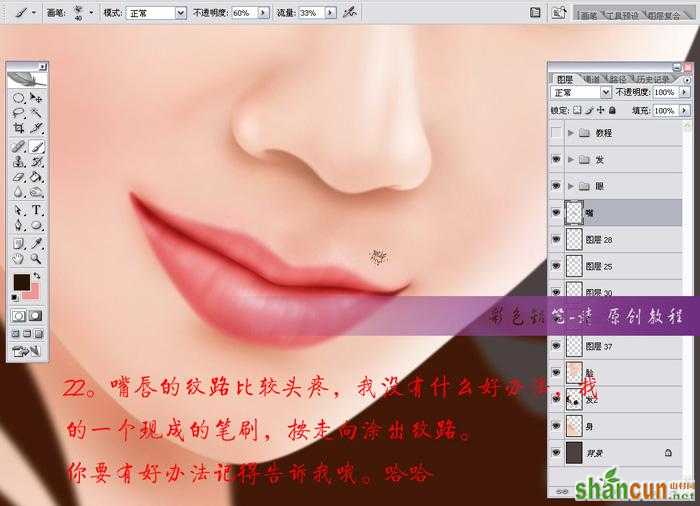
图22 细致一点
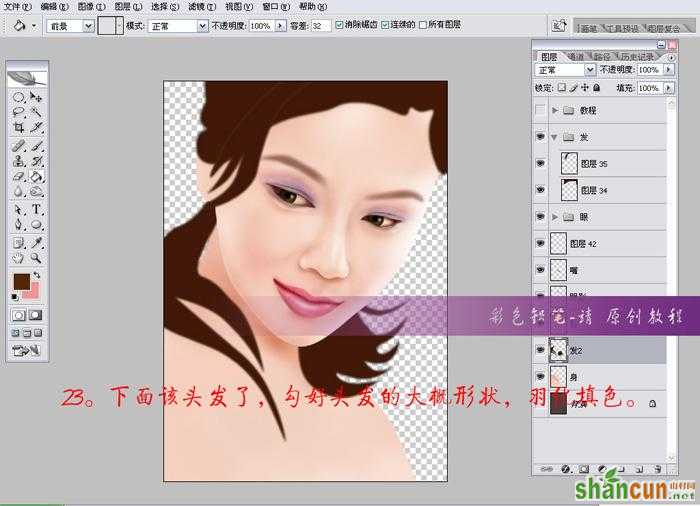
图23 头发
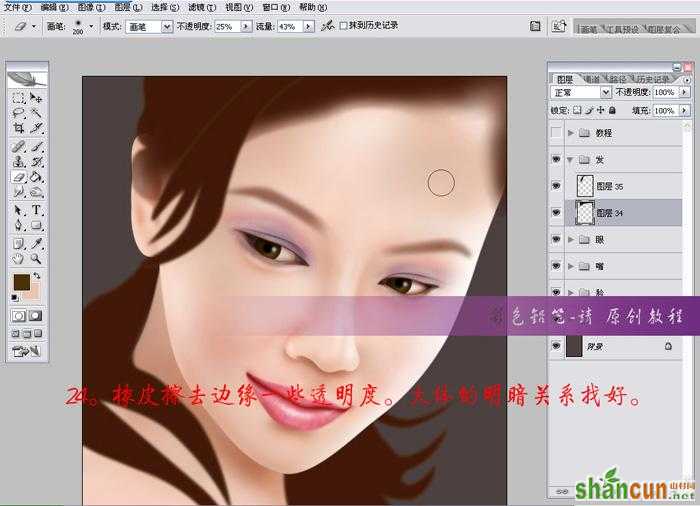
图24 找好明暗关系
原文地址:http://soft.zol.com.cn/25/259173.html
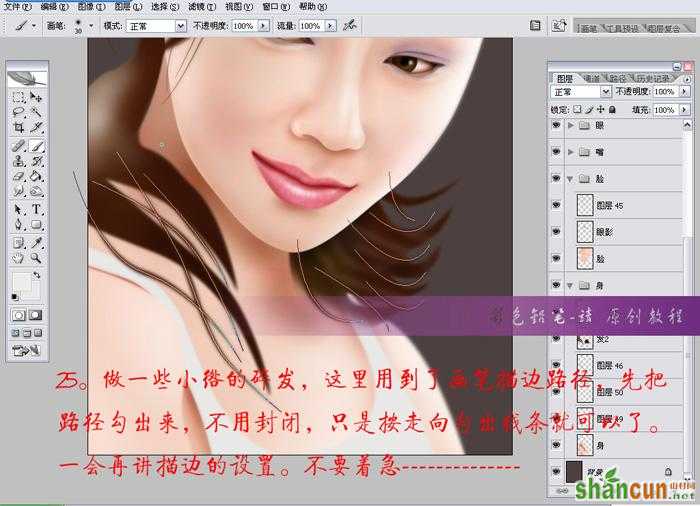
图25 做一写小绺的碎发
图26 画几条主要路径
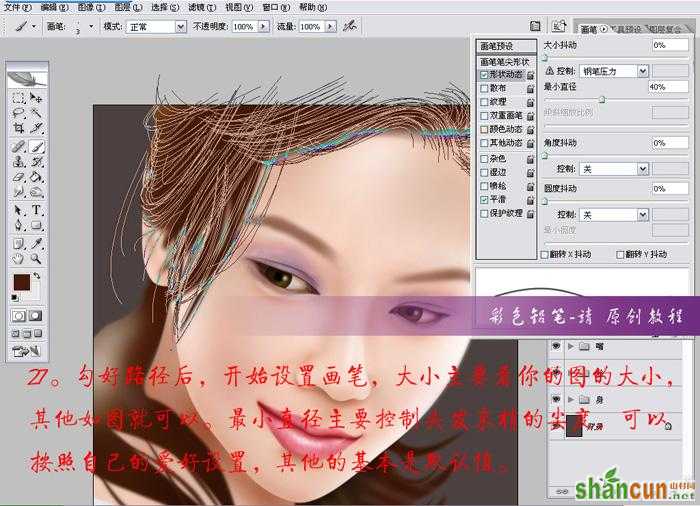
图27 勾好路径
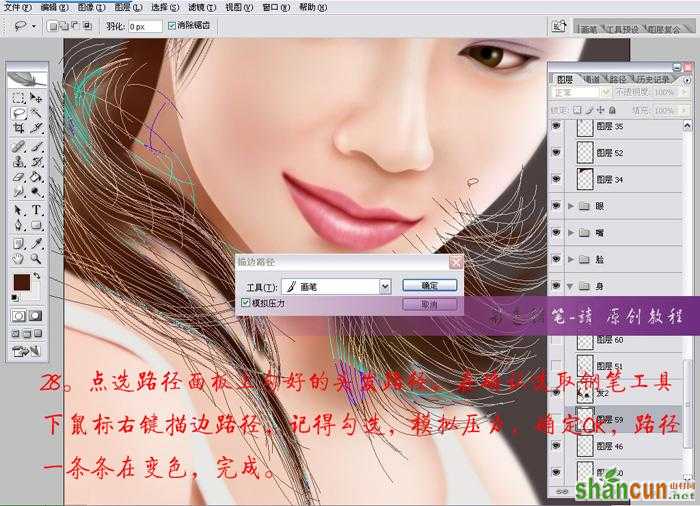
图28 点选路径
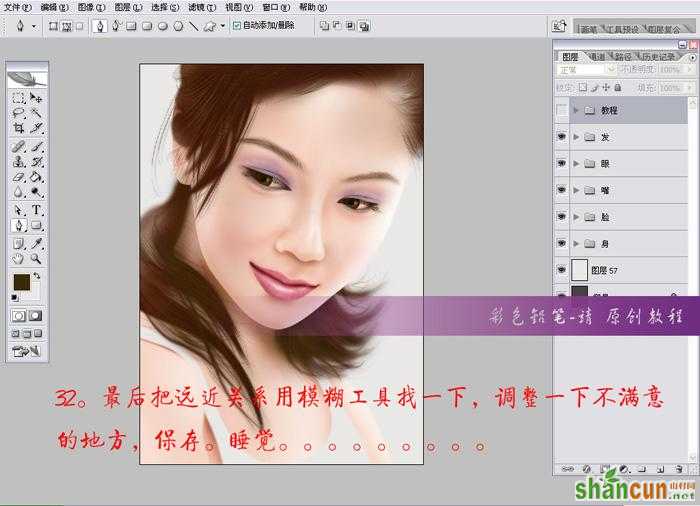
图29 眉毛
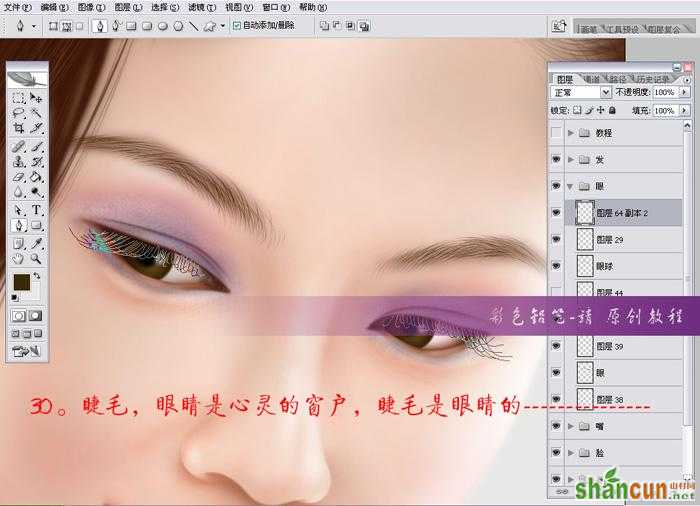
图30 睫毛
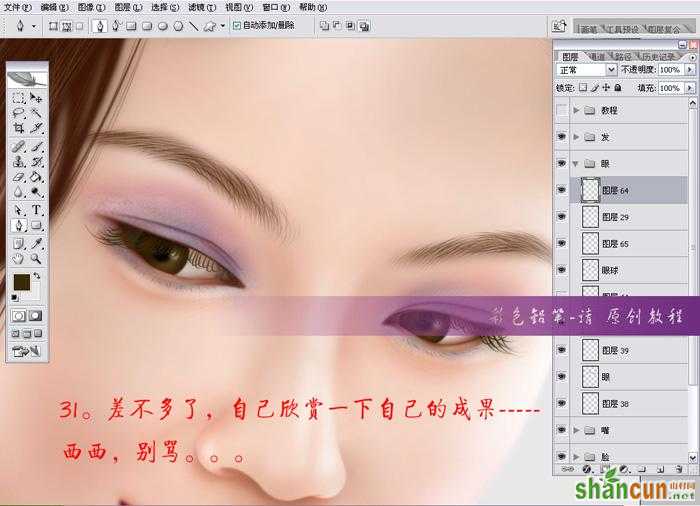
图31 欣赏一下
图32 完成
注:更多精彩教程请关注山村photoshop教程栏目,山村PS群:182958314欢迎你的加入


