
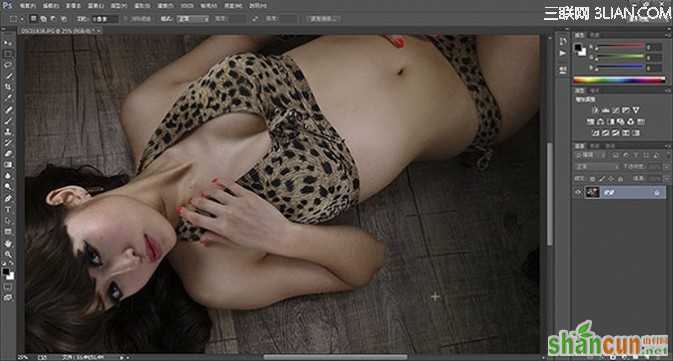
首先在Photoshop CC中开始我們要处理的图档。
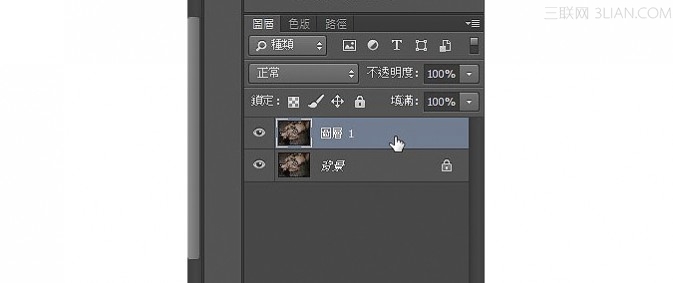
在图层中,以快速键Ctrl+J,复制一个图层。并把游标放在新图层上。
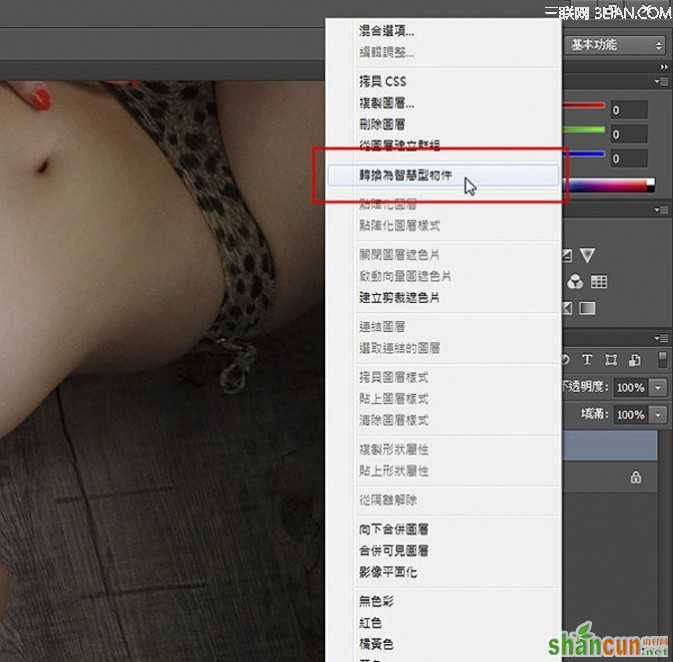
按下滑鼠右键,会跳出一个图层的选单,请选择智慧型物件。
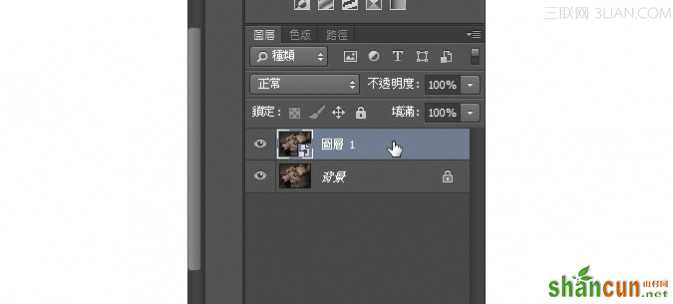
可以看到,原来新增的图层,样子有点变化,代表它有智慧了。保持这个图层是被选取的(蓝色)。
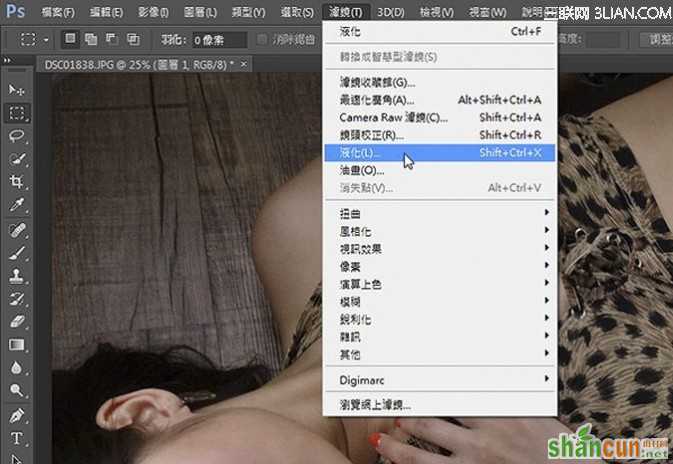
到滤镜功能中的液化。
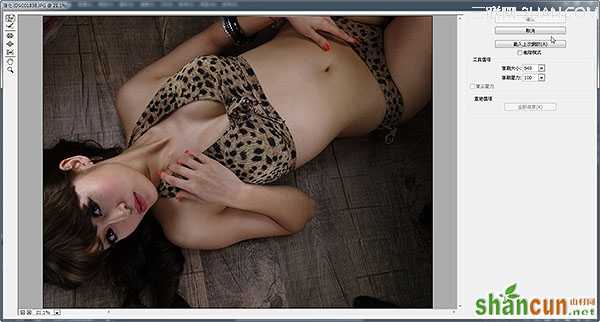
此时画面的样子会变得不太一样,对,这就是传说中,会让你人缘变好的液化功能。
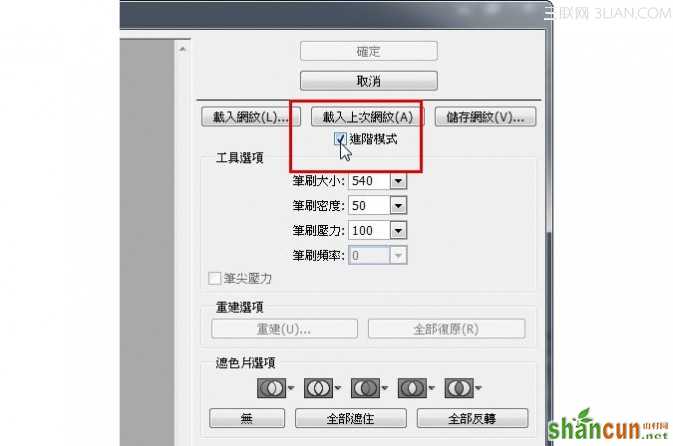
如果你要让人缘由好,变为非常好,请点选进阶模式
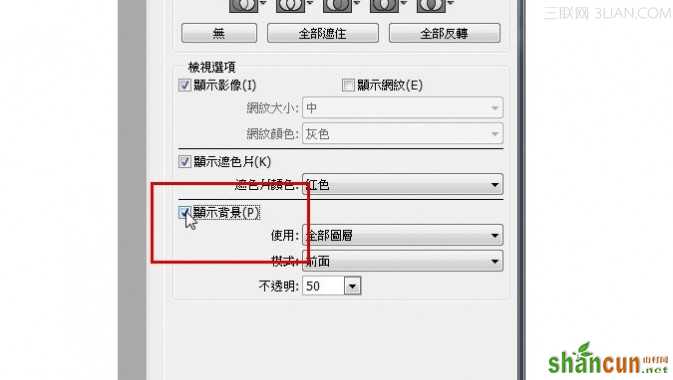
并在进阶模式中,点选显示背景。
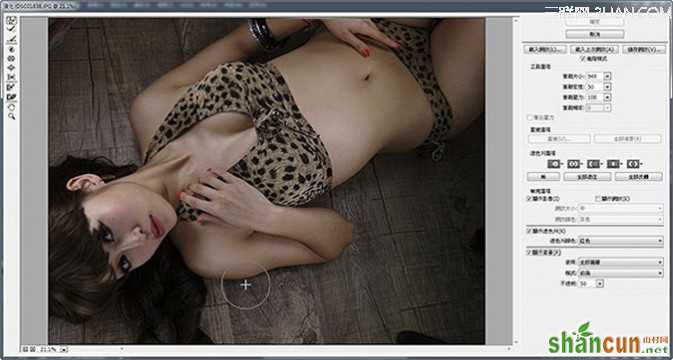
我们的游标在液化功能之下,它变成一个圈圈。这个圈圈就是液化的影响范围。,你可以调整这个圈圈的大小。”]

藉由键盘上的中刮弧键[ 或由于安希希美女的身材己经很好了,我们要调整的,是因为躺在地板上,手臂姿势造成的突起。请按着滑鼠左键,推这个圈圈,就会发现手臂开始变形。由于我们有勾选显示背景,所以除了我们推的部分之外,也会看到原来的形状。

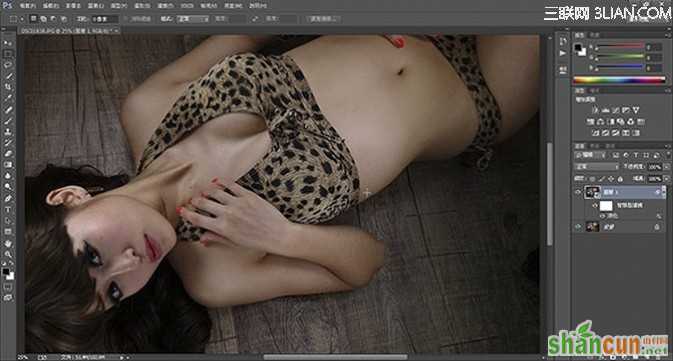
简单的推一下即可。

按下确定,结束本次的液化。
如果是早前的版本,这样就打完收工,也没得后悔了,万一你的客人要你再稍微调整,或是改变调整的位置,那就是要打掉重练。 Photoshop CC的智慧型液化,就可以让你的生涯, 一片无悔

如果要再重新调整液化的作用,请点选图层选单中的「液化」,双击它!

我们又回到液化的视窗了,再看你想要怎么调整,就继续的调吧,调到满意为止。


