
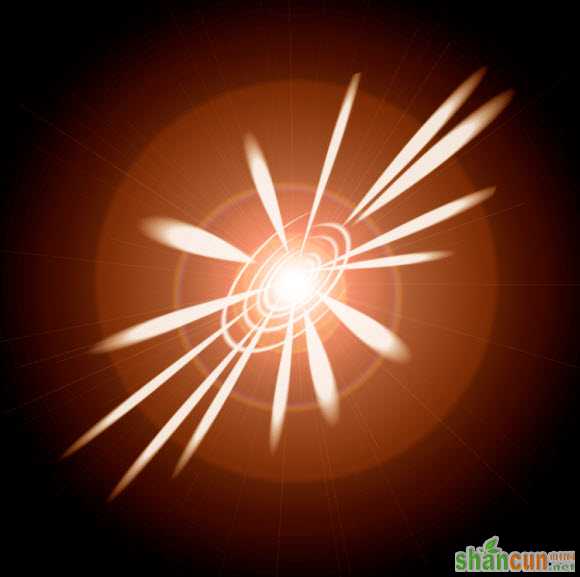
ps光影效果图:
1、 新建文件:800*800像素,背影颜色为白色。
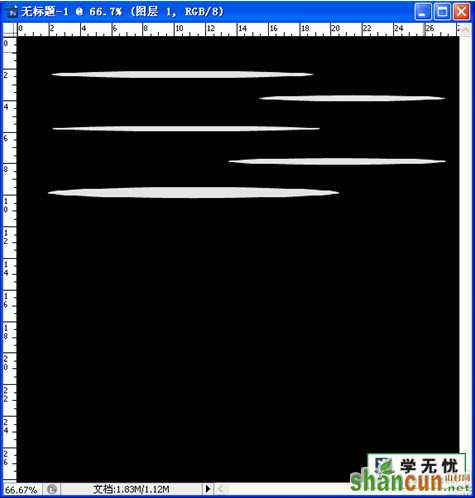
2、 将背景层填充为黑色,新建图层“1”。设置前景色为浅灰色,参考值(#E3E3E3),选择“椭圆”工具,绘制横向椭圆形。
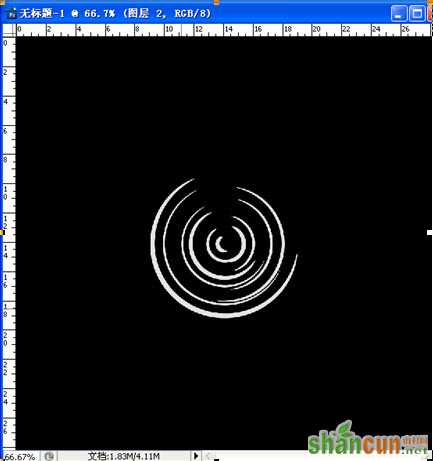
3、 滤镜---扭曲---极坐标---平面坐标到极坐标。得到螺旋效果。

4、 新建“图层2”,重复上面的操作,绘制椭圆并执行“极坐标”命令。
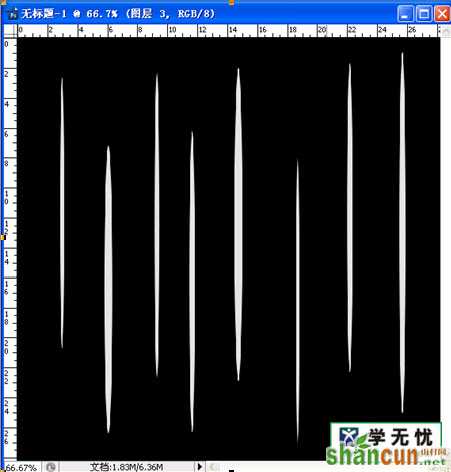
5、 新建“图层3”,这次是绘制竖向的椭圆。(为便于观察,可以暂时隐藏“图层1”和“图层2”)
6、 滤镜---扭曲---极坐标---平面坐标到极坐标。
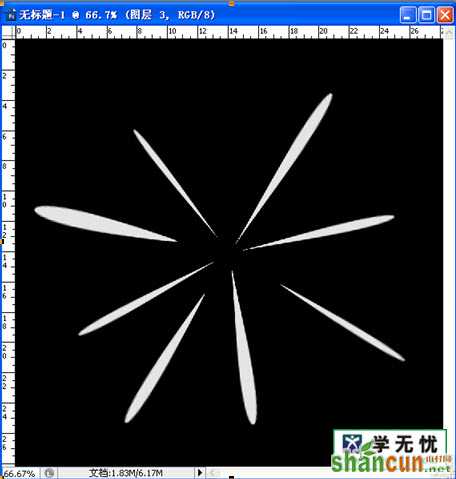
7、 新建“图层4”,重复上面的操作,绘制竖向的椭圆并执行“极坐标”命令。再显示图层1和图层2。
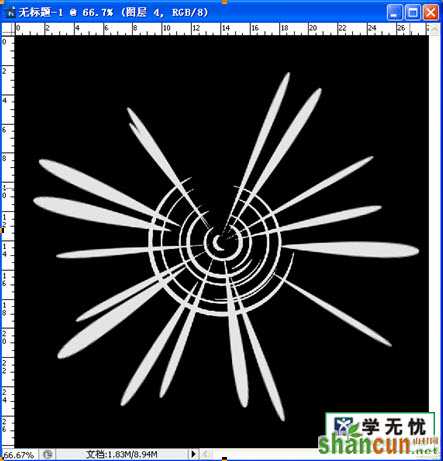
8、 合并图层3和图层4,滤镜---模糊---径向模糊。(100,缩放,好)
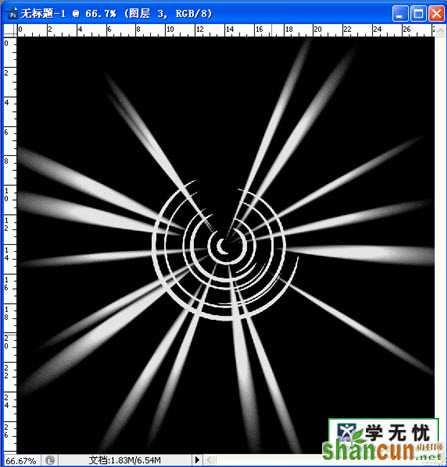
9、 合并图层1和图层2,滤镜---模糊---径向模糊(32,旋转,好)
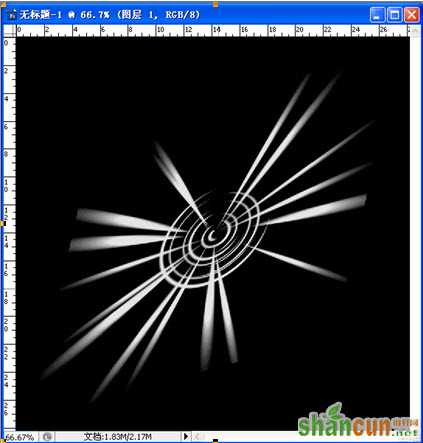
10、 合并除背景层外的图层,CTRL+T,右击---扭曲,调节图形。得到此效果。
11、 合并所有图层。
12、 滤镜---渲染---镜头光晕。(移动光晕的中心到图形的中心,亮度122,50-300毫米变焦)
13、 CTRL+F,重复执行“镜头光晕“命令。
14、 图像---调整---色彩平衡(+100,+23,-72)。得到最终效果。


