
1. 首先给大家看下整体效果。

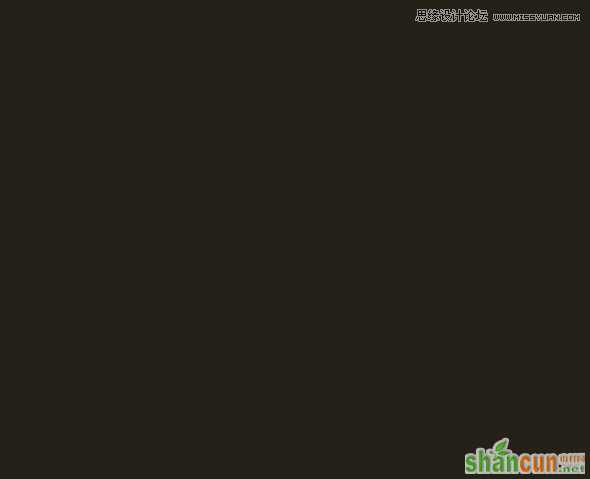
2. 启动本教程你将需要创建一个新文件。使用任何你想要的值,但是我建议你创建一个文件的最小宽度为1100*1163像素。背景填充# 252118。
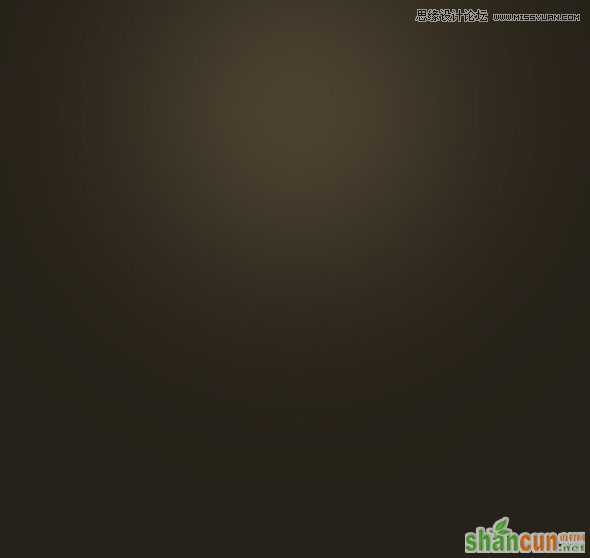
3. 原教材玩神秘没有写怎么做,我用我的方法做了一下,你可以复制一个刚刚做的图层,选择画笔工具,大小设成1100px,硬度0%。柔光,把这个图层透明度调到60%就ok了.
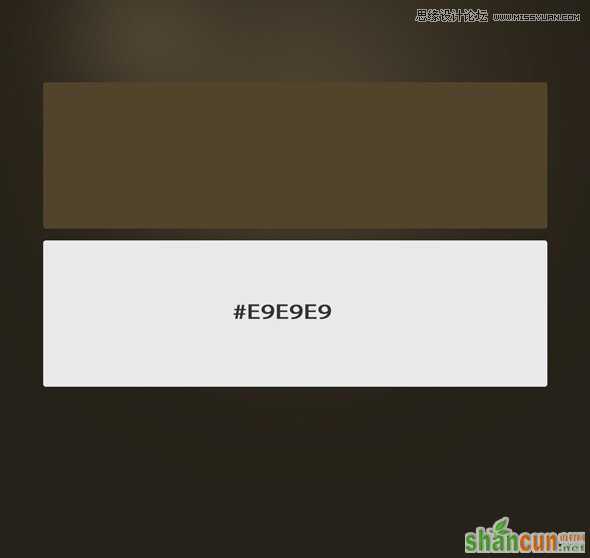
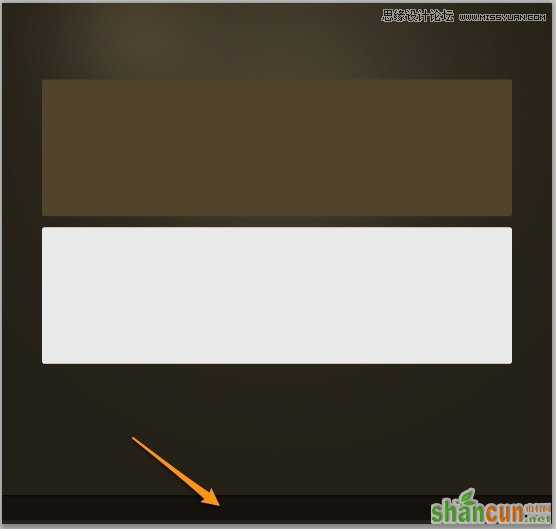
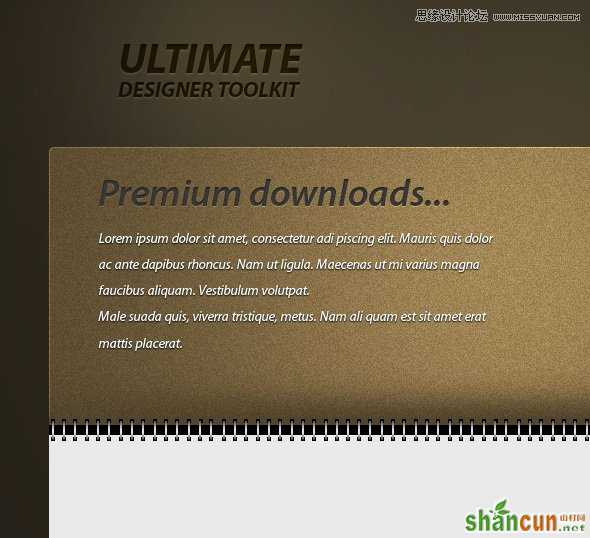
4. 在中间用圆角矩形画个995*295的圆角矩形。填充#52442b.
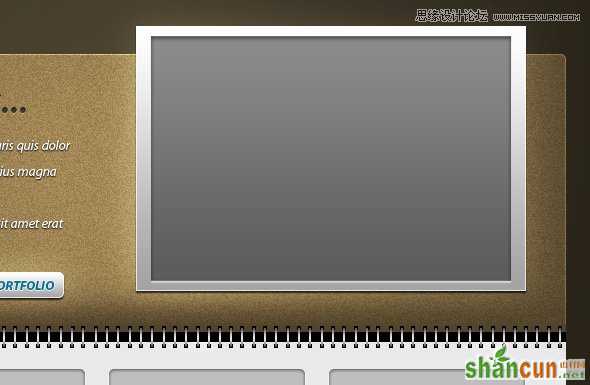
5. 复制一个上面图形,把颜色改成#e9e9e9。
6. 在页脚创建一个新的形状。在这里,用来添加一些文本,填充#15120d. 宽度54.
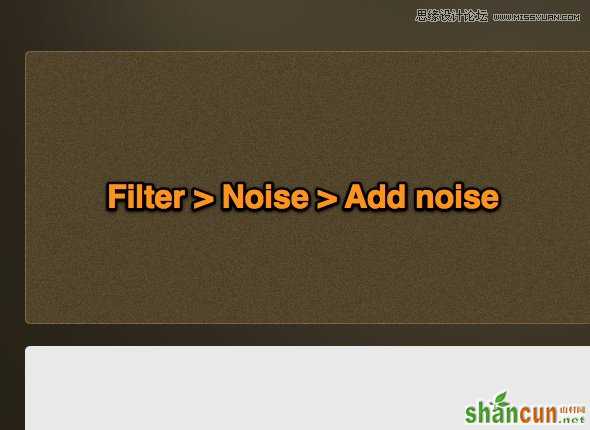
7. 对第一个矩形做滤镜--杂色--添加杂色,数量为3—10.
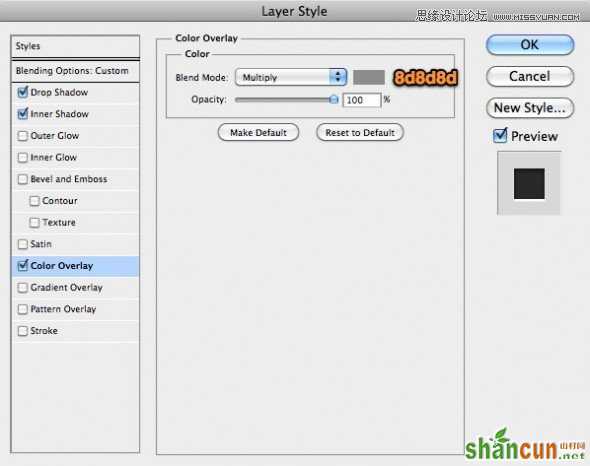
8. 这一步元教材说的很模糊,我是对这个矩形做的效果,新建了一个白色矩形,做的不透明度13%,用橡皮擦去掉不要的部分。

9. 在页脚上边的位置在创建一个新的矩形。在这里,用来添加一些文本,填充#15120d. 宽度252.
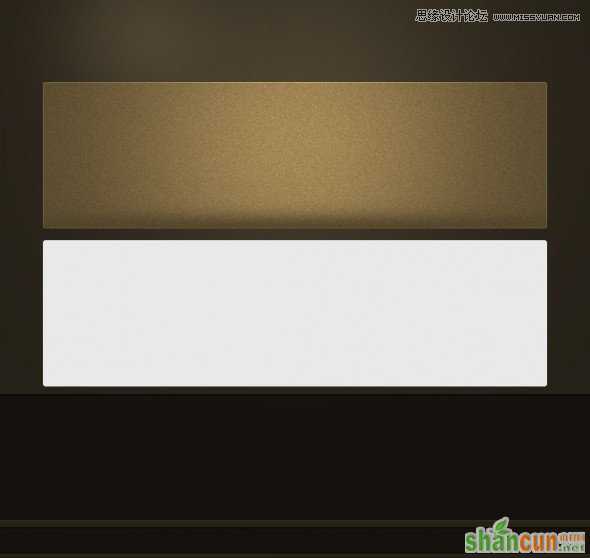
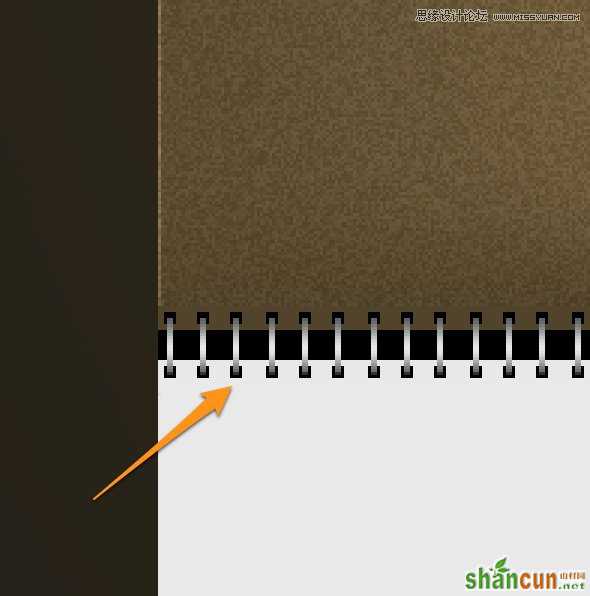
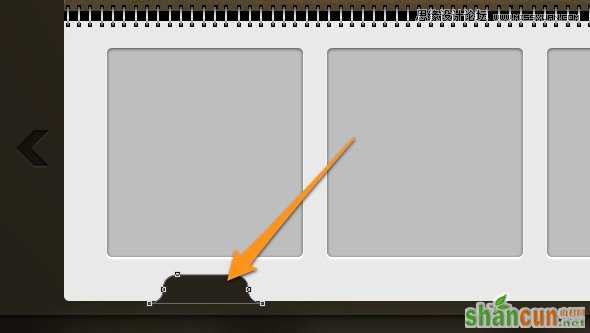
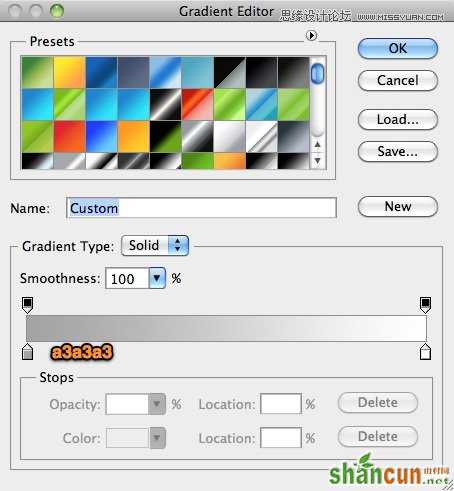
10. 现在我将创建笔记本螺旋。这相当容易。你所要做的是创造两个很色矩形和一个长方形矩形对你做渐变叠加。组合在一起复制多个就可以了。
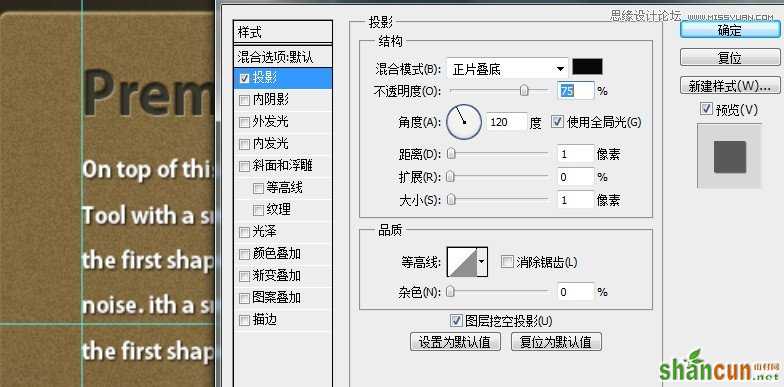
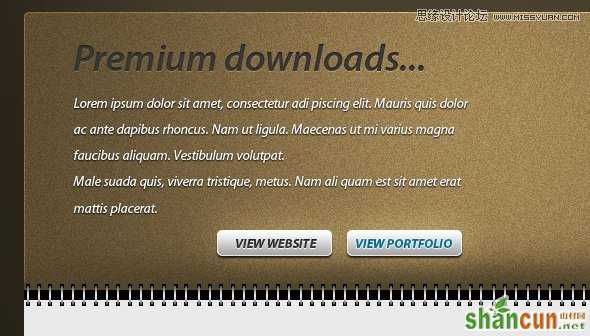
11. 输入文本,你可以给上面的大字加下效果,下面的小字加下投影效果就好了。如图
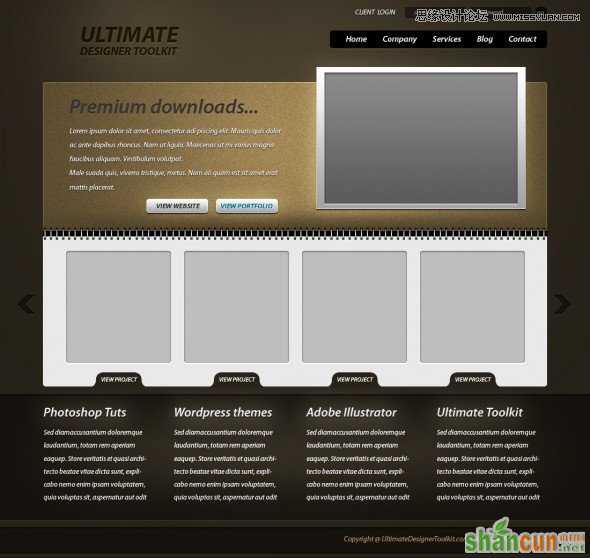
12. 用圆角工具绘制两个按钮,添加文本。126*34.做以下效果。
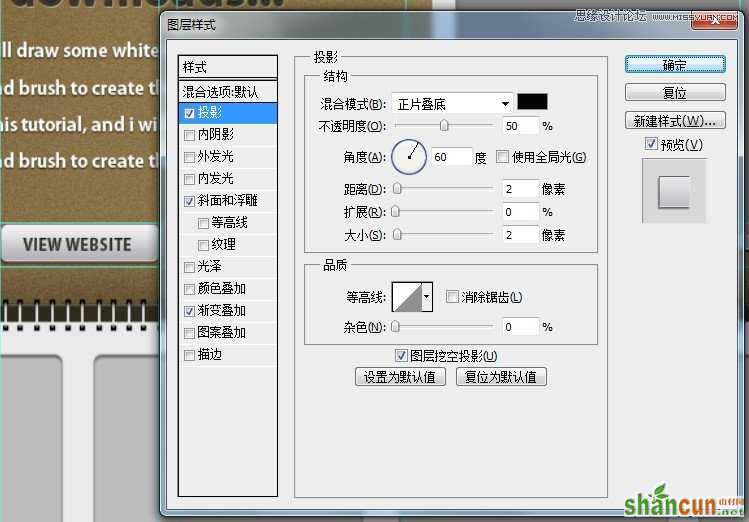
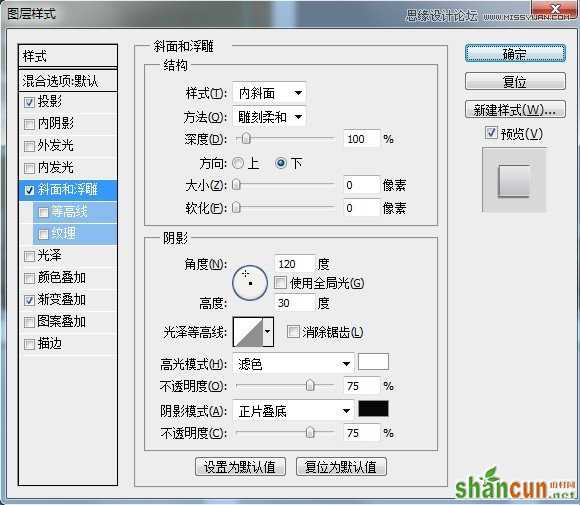
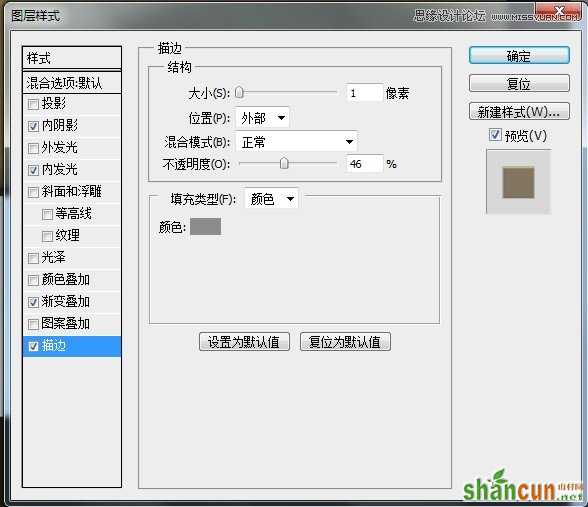
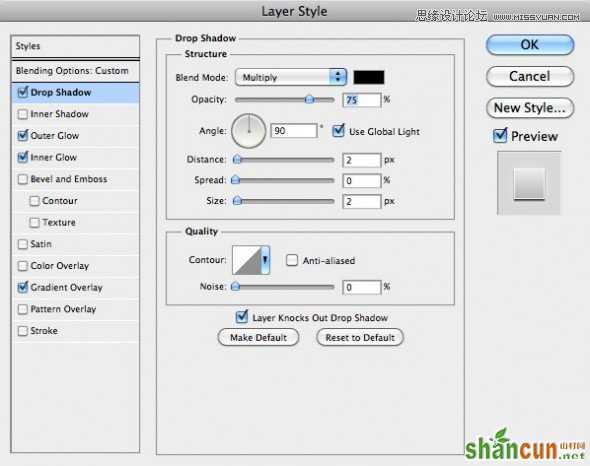
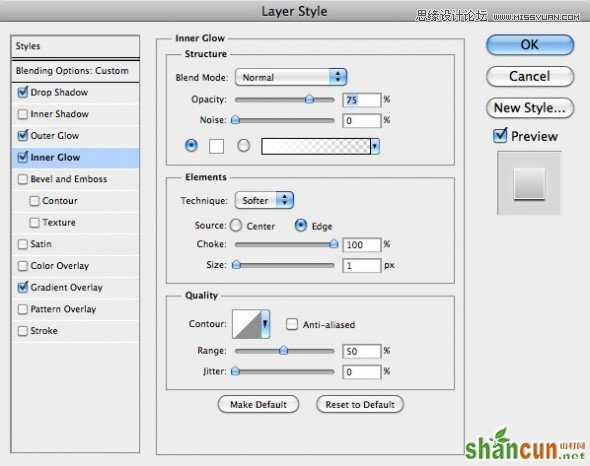
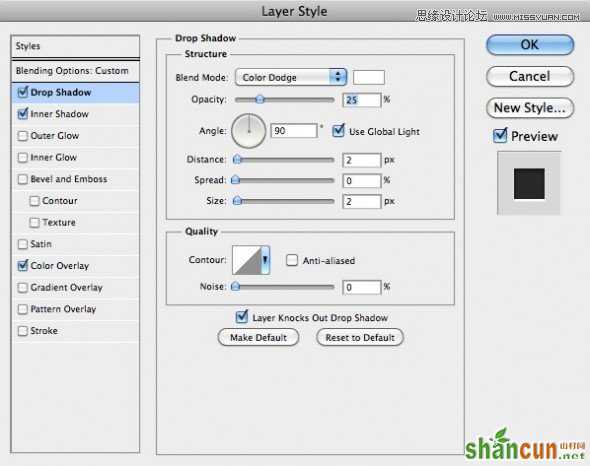
13. 用圆角矩形工具画一个209*223的矩形,做内阴影和描边效果。
14. 用钢笔工具绘制下面图形,添加文本。
15. 在顶部的布局我将创建一个简单的矩形。415*281.
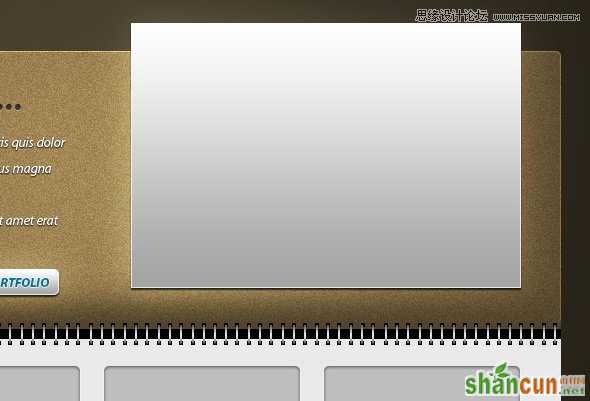
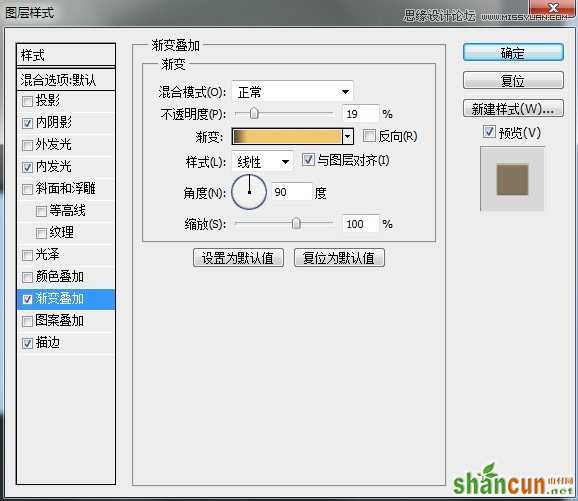
16.做以图层样式


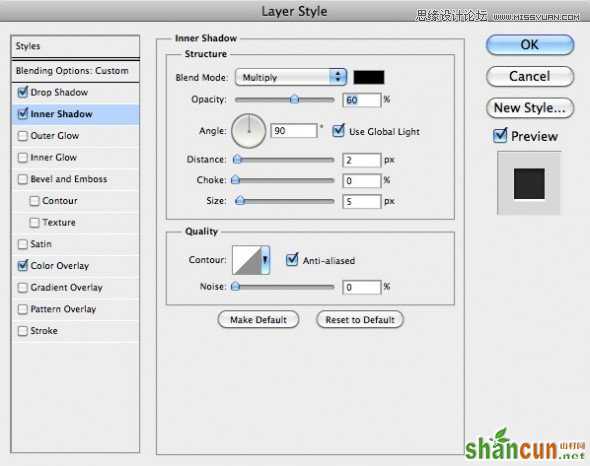
17. 然后,我将创建一个较小的形状381*258,图层样式如下图:
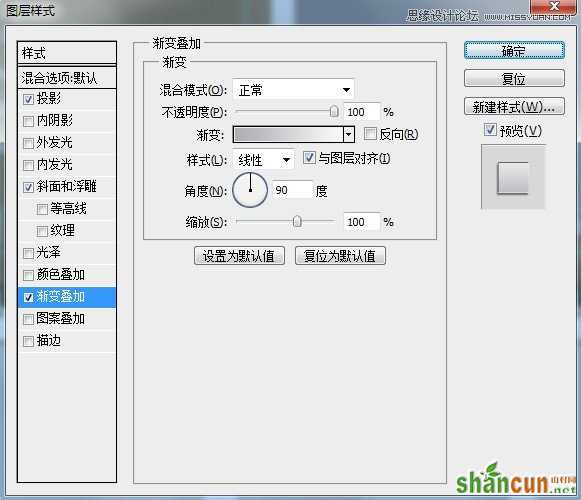
18. 我的最后一个步骤是创建导航组合布局.

19.最后完成的效果
注:更多精彩教程请关注山村photoshop教程栏目,山村PS群:182958314欢迎你的加入


