
PS的切片工具,是一种很好用的功能,它能根据您的需求截出图片中的任何一部分,同时一张图上可以切多个地方。PS的切片在另存为的时候就能将您所切的各个部分分别保存一张图片,完全区分开来。所以说,在制作网页或者截取图片某一部分时,经常会用到这个工具的。而如果你做好一个页面,或是你要做一个网站,你可能就会用到这个切片工具,下面就来讲一下这个切片工具是怎么用的。
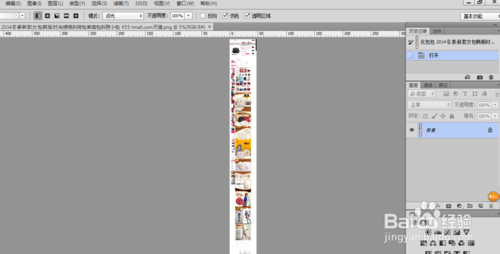
1.打开ps,打开素材,如下图所示。
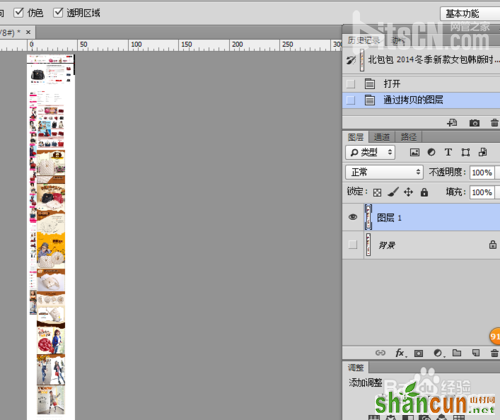
2.复制一个图层,快捷键【ctrl+j】,如下图所示。
3.点击切片工具,如下图所示。
4.切好后如下图所示 。

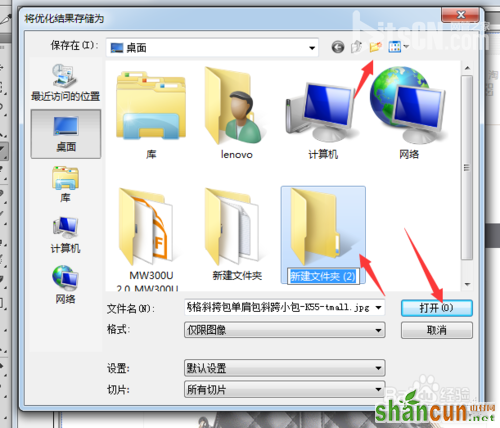
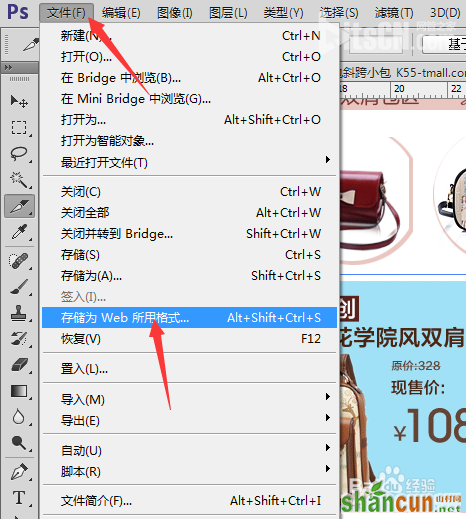
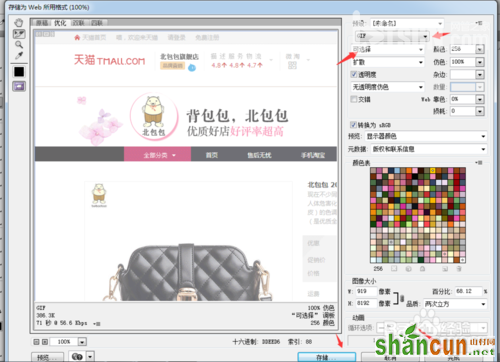
5.点击【文件】--【存储为Web所用格式】,如下图所示。
6.把格式改为jpeg,质量改为高,如下图所示。
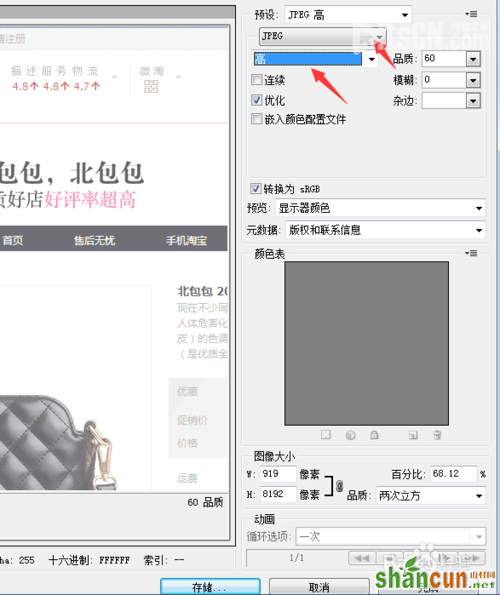
7.选择一个文件夹保存,如下图所示。
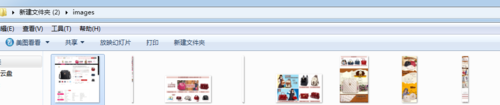
8.切好后,打开刚刚放的文件夹,如下图所示。
以上就是ps切片工具使用图文教程,希望对大家有所帮助,谢谢阅读!


