
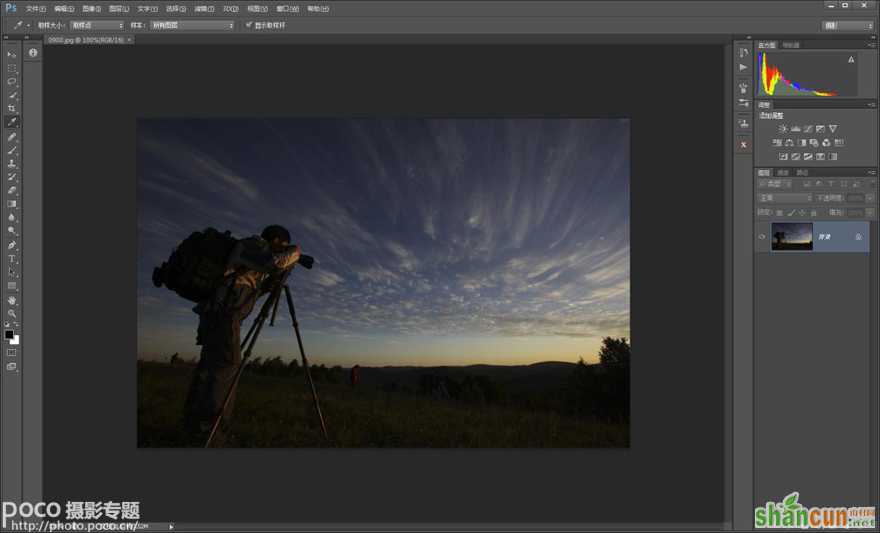
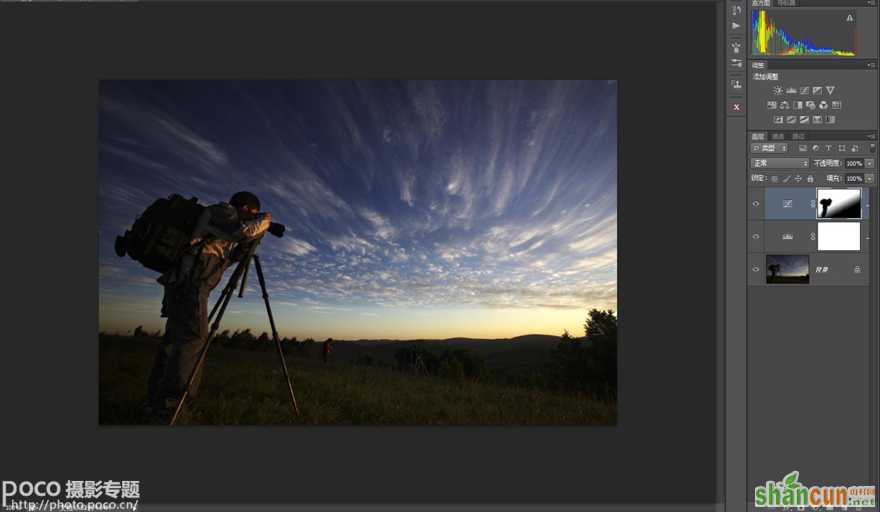
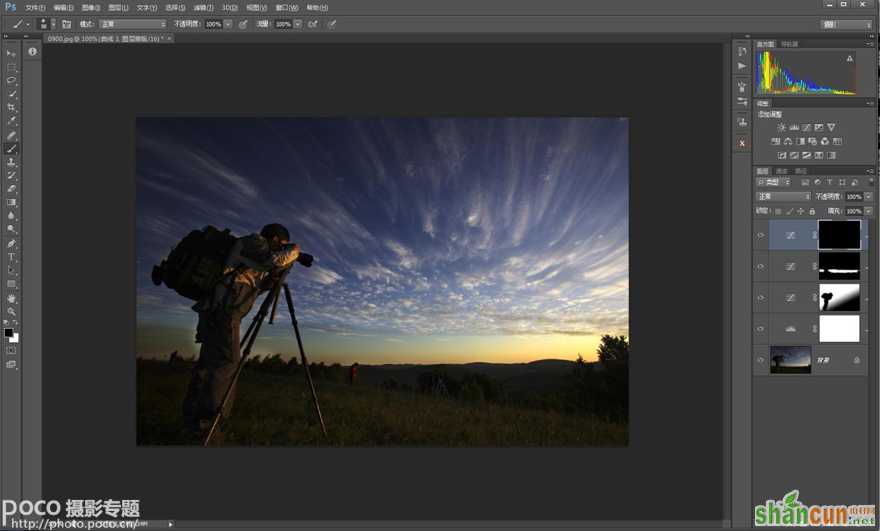
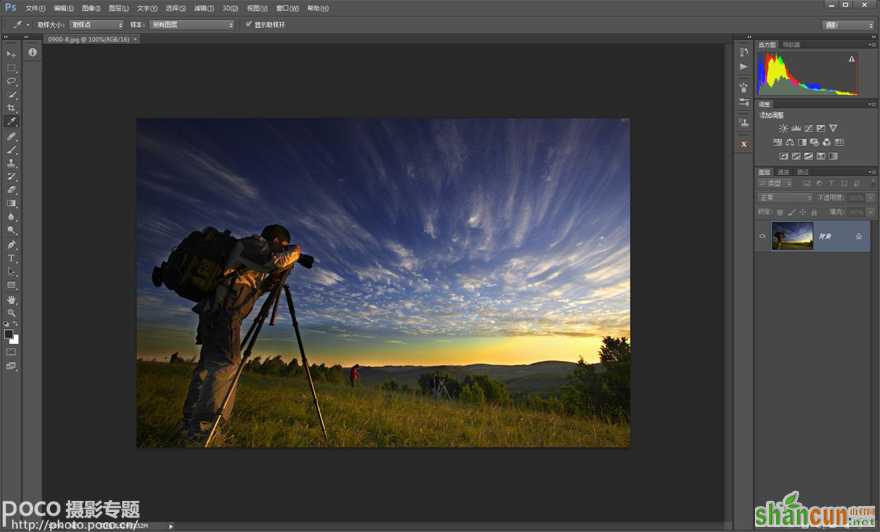
1、原片(本人使用CS6完整版)
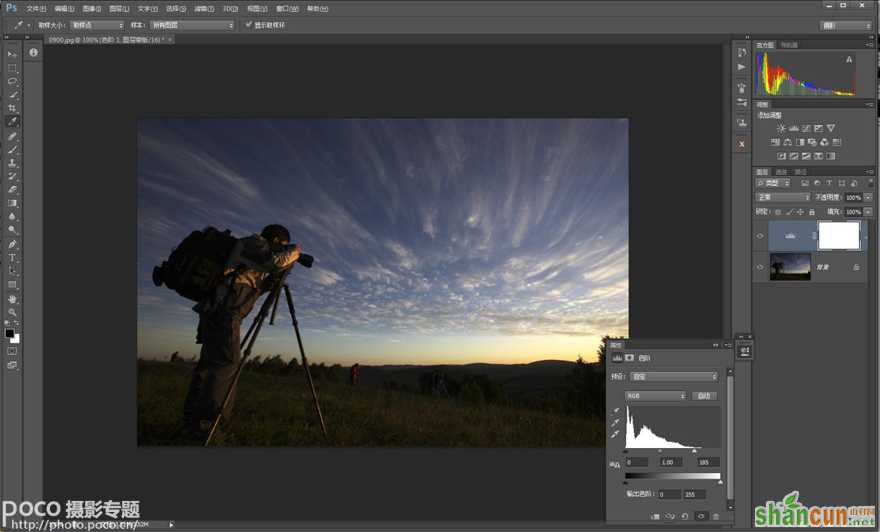
2、在图层面板右下方建立——色阶调整层,色阶直方图表示片子影调偏暗,将白场向左拉到大至第二个峰值下边,感到合适为止。
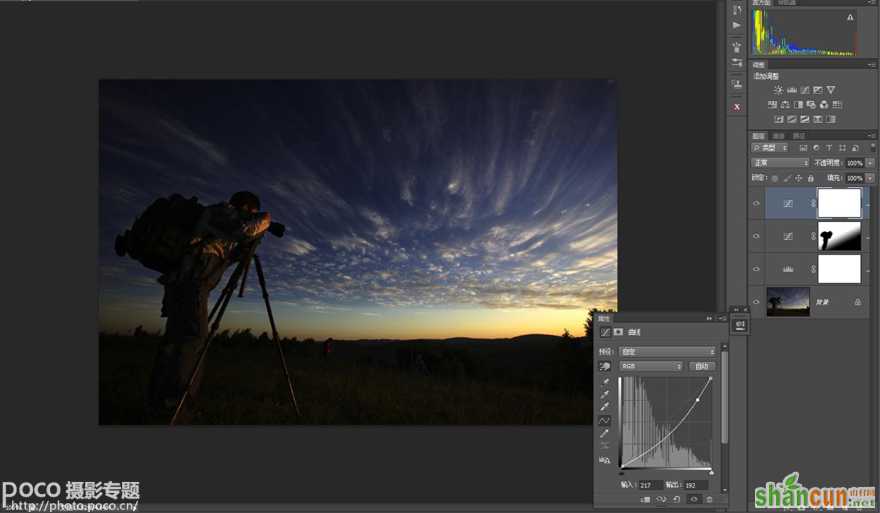
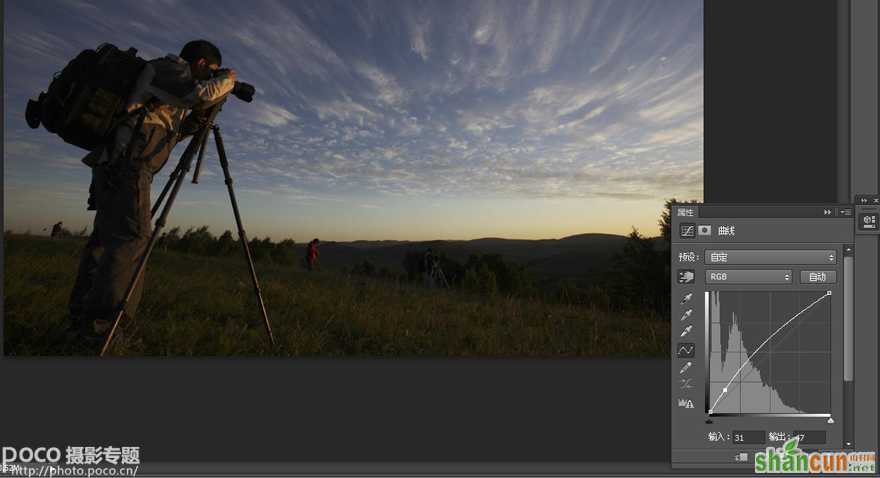
3、在图层面板右下方建立——曲线调整层(处理天空云彩),点击直接调整工具,鼠标点住天空暗处向上拉曲线,再点住很亮的云向下压曲线,看到云彩更突出了。
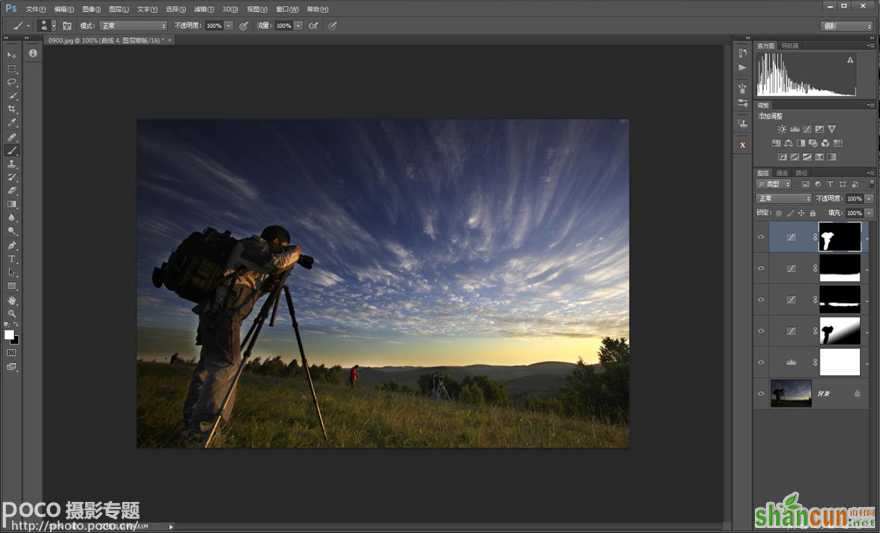
4、当前处于蒙版状态,在工具箱中选渐变镜(在左上方设置:前景色到透明色、线性渐变),注意:前景为黑色,用渐变工具在片子的天和地交接处(并从右侧2/5处)点住鼠标左键向左上方40度斜拉,拉到与镜头大至平行处松开鼠标即可。
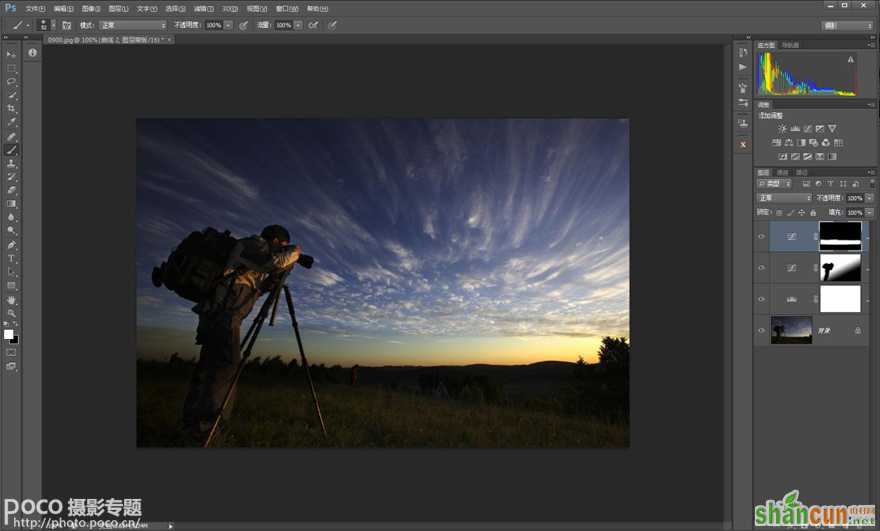
5、在这一步里还不需要对人物调整,因此以当前调整层用画笔(黑色)涂抹人物部分,将人物的调整遮挡住。
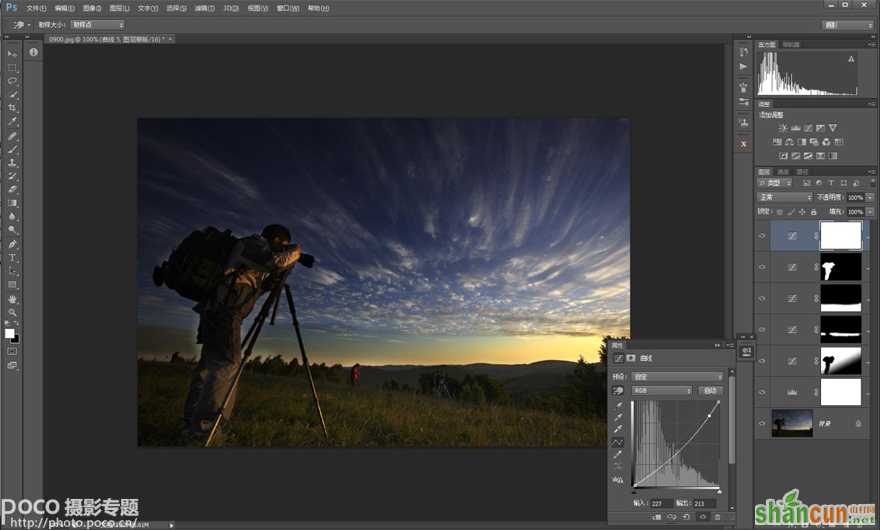
6、在图层面板下方建立——曲线调整层(处理天空霞光),选中“直接调整工具”,在天际彩色亮光处鼠标下压曲线,层次出来了。但这个调整层只针对天际霞光,暂不调整其他。
7、在此,工具箱中设背景为黑色,用快捷键Ctrl+Delete在蒙版里添充黑色,再用白色画笔(合适直径、最小数值)对天际霞光涂抹,使霞光效果显现出来。涂抹过程很难一步到位,这样再改用较小直径的黑画笔,将地面与天边霞光上边部分再涂抹回来。让蒙版遮挡的区域更符合霞光的位置。
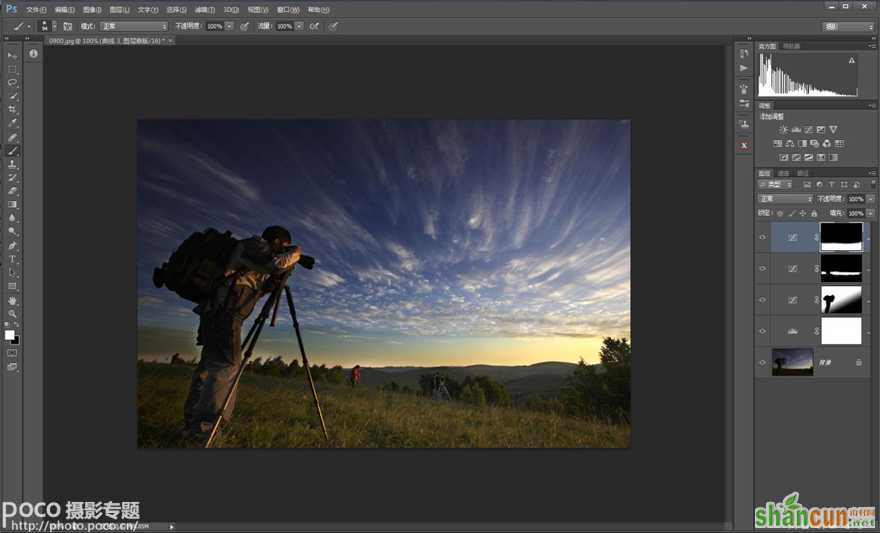
8、地面太暗了。在图层面板下方建立——曲线调整层(处理地面),点选直接调整工具,鼠标左键点住地面最亮处向上拉曲线,再点住地面暗处回压少许,地面亮了,反差有了。
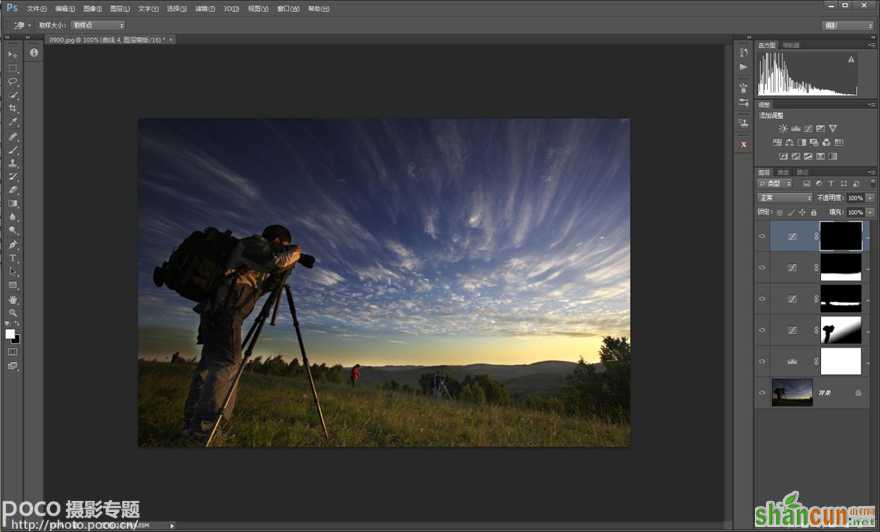
9、同时,在此蒙版下Alt+Delete(背景为黑时Ctri+Delete)添充黑色蒙版。
10、用白色画笔将地面部分涂抹出来。
11、在图层面板下方建立——曲线调整层(处理人物),选中直接调整工具,鼠标点住人物较暗处稍向上拉曲线,人物影调亮了。
12、在此蒙版中用Ctrl+Delete在蒙版里添充黑色,工具箱画笔(白色),设置适当直径和最小数值。
13、把人物大致涂抹出来。
14、在图层面板下方建立——曲线调整层(处理天空霞光的高光),在曲线面板上选中直接调整工具,在天际霞光右侧按鼠标向下压,影调满意即可。
15、 Ctrl+Delete键在蒙版中添充黑色,再用白色画笔,设置适合直径和最低硬度,在霞光右侧涂抹到影调舒服即可

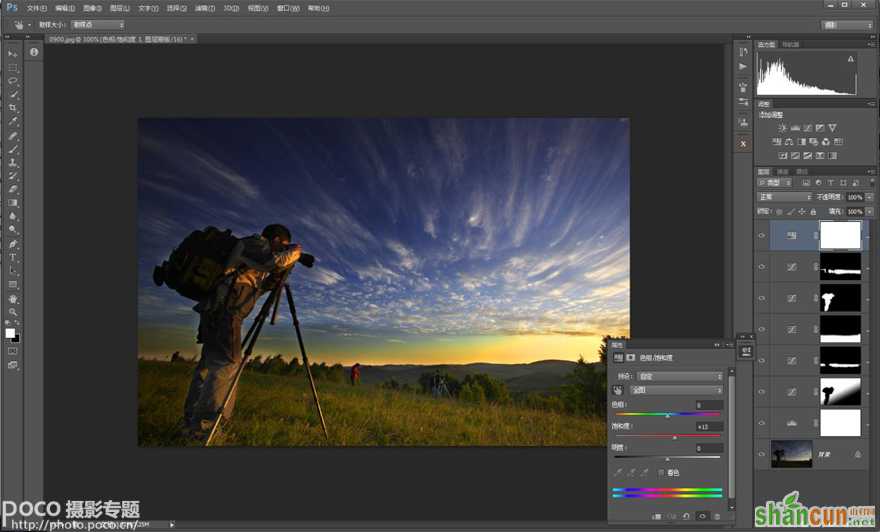
16、在图层面板右下方建立——色相/饱和度调整层(处理色彩),选中直接调整工具,鼠标点住霞光处通道自动选中黄色,我是向右拉到38左右;再点住偏红的地方通道自动选中红色向右拉到15左右(如自动红色未选中可行点选红色);然后鼠标点住天空通道自动选中蓝色向右拉到13左右。最后,点选“全图”,将全图色彩饱和度整体提高一下。
17、最终效果
JPG出图
通过上述后期调整,最终的片子比起原片是不是更好看、更具美感、更有冲击力。因此,一张前期拍摄较好的照片,也还是需要后期有针对性的调整和修饰,才能更加好看、更能表达想法甚至感情。虽然刚开始学时有些难度,但我仍然继续努力并快乐着。
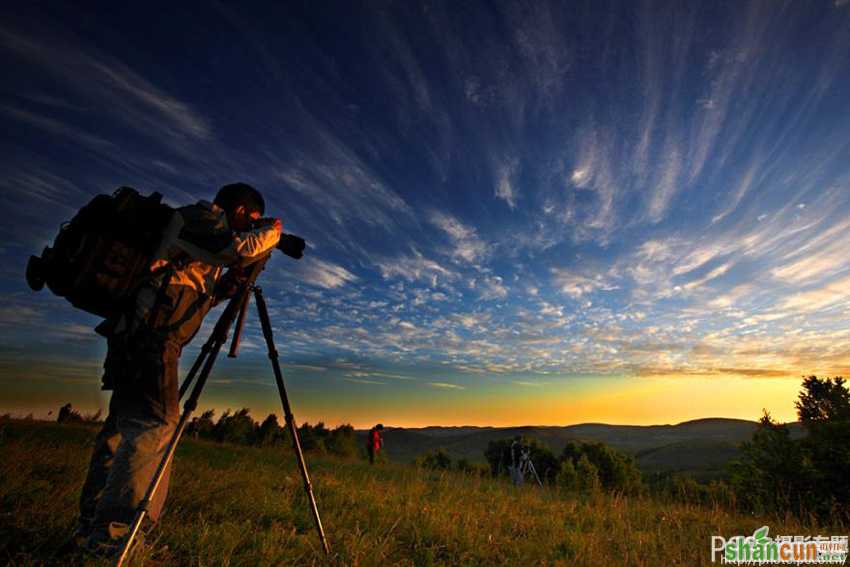
完成图


