
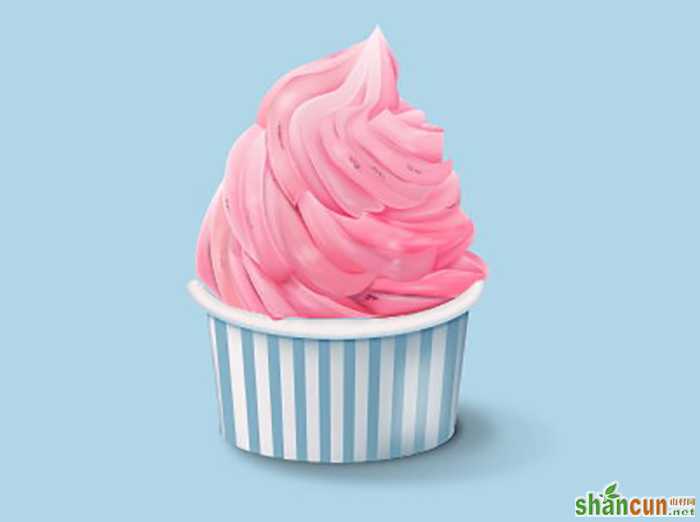
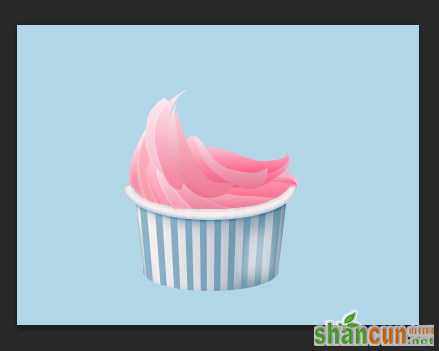
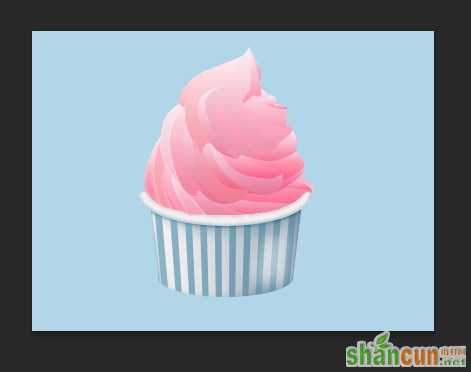
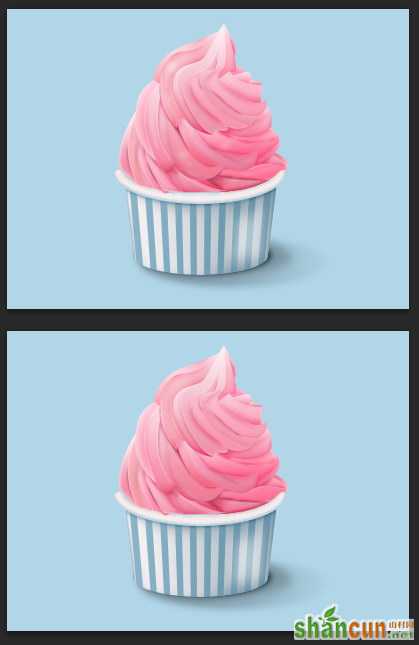
最终结果:
Step 1
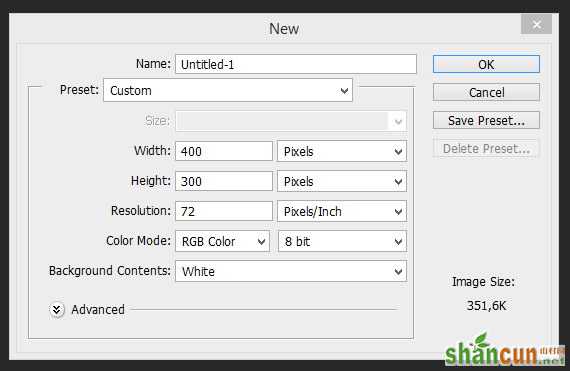
新建一个画布,大小为400×300像素。
Step 2
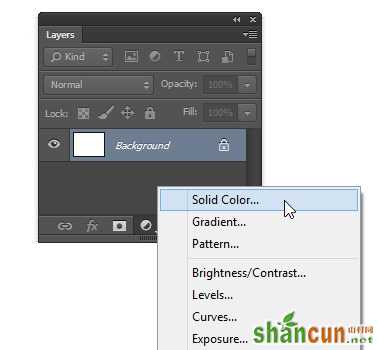
单击“创建新的填充或调整图层”,然后选择纯色。
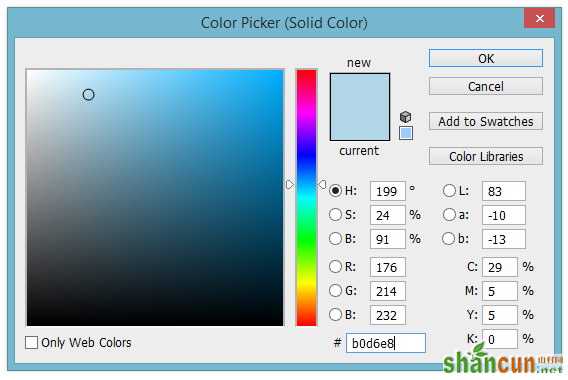
选择浅蓝色作为背景(参数如图)。
Step 3
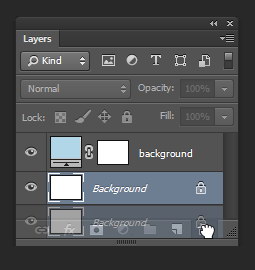
在图层面板中双击图层名称更名为“ background”. 这个小的的习惯可以帮助你整理图层。
图层面板底部的默认背景已经不再需要,可以删除它。这种方法,可以让你的文件大小节省几千字节。
Step 4
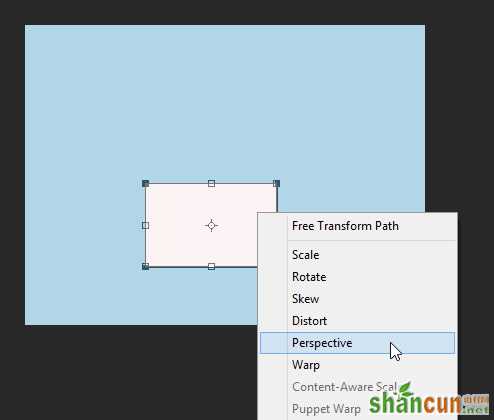
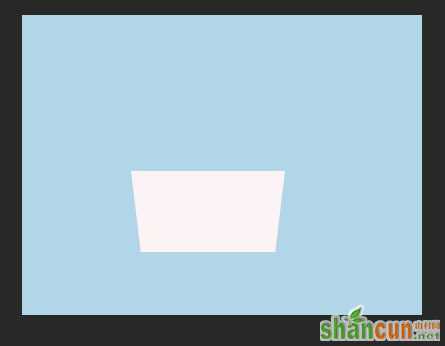
使用矩形工具画一个矩形。颜色选择白色, 填充为无。
Step 5
按Ctrl + T应用自由变换。右键单击,然后选择透视。
Step 6
将矩形右上个角向外拉动。按回车键确认变换。
Step 7
选择椭圆工具,在矩形下部添加椭圆形。
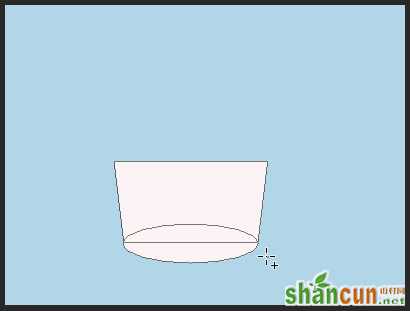
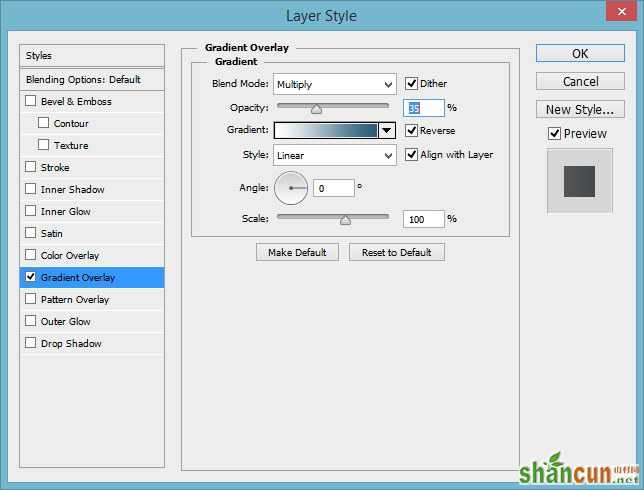
Step 8
双击图层,添加一个从白色到淡蓝色渐变叠加样式。 样式为“线性”,混合模式为“正片叠底”(其它参数如下)。
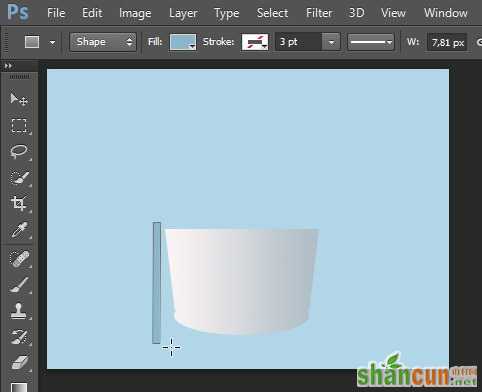
Step 9
添加一个浅蓝色的矩形,并把它垂直于杯身。
Step 10
选择路径选择工具,选择我们刚才制作的形状,按住Shift + Alt复制并拖动,直到矩形覆盖杯身。
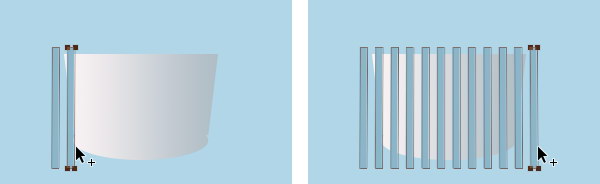
Step 11
用选择工具选中形状按Ctrl + T进行自由变换,右键单击,然后选择透视。
Step 12
将右下角向内拉动,直到其形状与杯身的角度一致(如图所示)。
Step 13
按Ctrl + Alt + G向下剪贴蒙版。 所有的矩形将成为杯子的条纹。
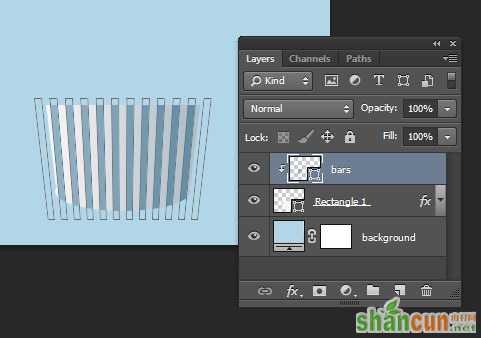
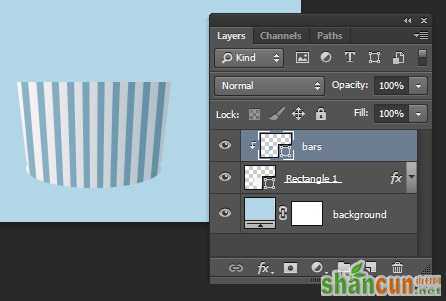
Step 14
在图层面板中,创建新组命名为“Cup”,我们用来绘制杯子。 建立组能够让你大大提高工作效率。接下来用椭圆工具绘制一个椭圆。
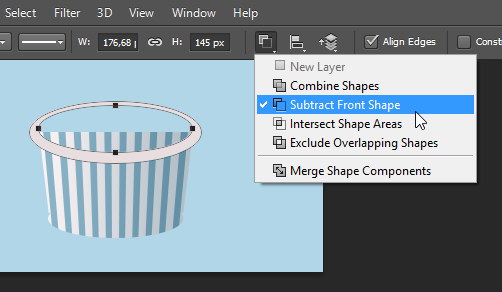
Step 15
在之前的形状上添加一个较小的椭圆形状。从选项栏中设置路径模式为减去顶层形状做为冰淇淋杯的上部。(注:快捷键为alt)
Step 16
想要把它变成三维的图像,我们需要添加灯光和阴影。用路径选择工具选择大的椭圆形状,按Ctrl + C复制,然后按Ctrl+V粘贴。我们现在便有两条路径。选择复制的路径向上移动(如图所示),然后将其路径模式设为减去顶层形状。将会得到两个重叠的椭圆。
Step 17
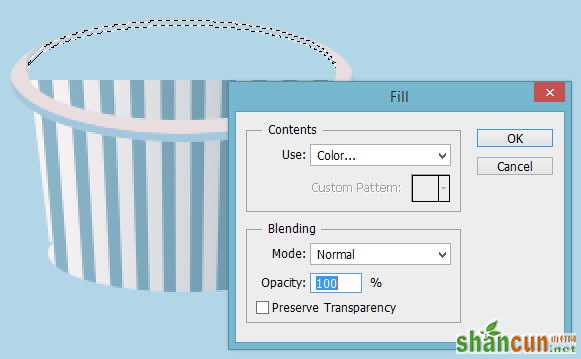
点击Ctrl+Enter将其转换成选区,将有一个月牙形状的选区。建立新层,填充颜色,作为下一高光层的剪贴蒙版来使用。点击编辑 > 填充. 在对话框中,选择使用:颜色,将会对话框显示要求输入颜色,选择蓝色,点击OK。
Step 18
重复前面的步骤, 在顶部建立一个新的月牙的路径。

Step 19
转换为选区。仍然使用同样的方式,填充蓝色。
Step 20
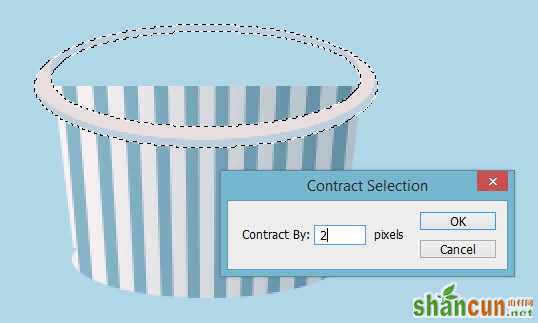
按Ctrl点击我们之前创建的第一环的形状,按Ctrl + Enter转换成一个选区。 单击“选择>修改>收缩大小为2px。
Step 21
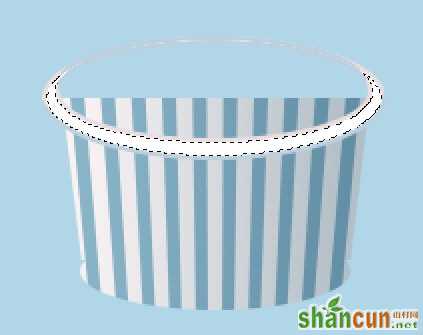
建立新层,然后填充选择白色。
Step 22
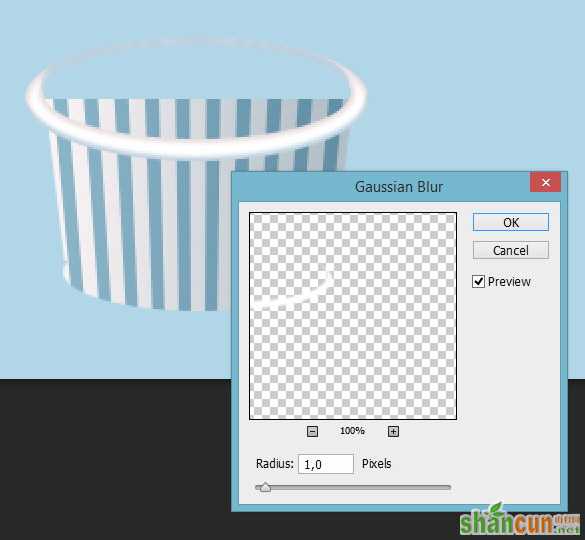
Ctrl + D取消选区, 然后添加滤镜(滤镜>模糊 >高斯模糊)。
Step 23
确保这一图层在最上方, 将其转换为剪贴蒙版(按Ctrl + Alt + G)。
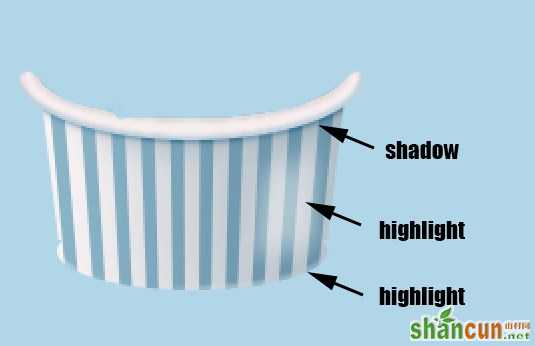
Step 24
给图层组添加蒙板,选择画笔工具,填充为黑色,如图所示隐藏多余的部分。
Step 25
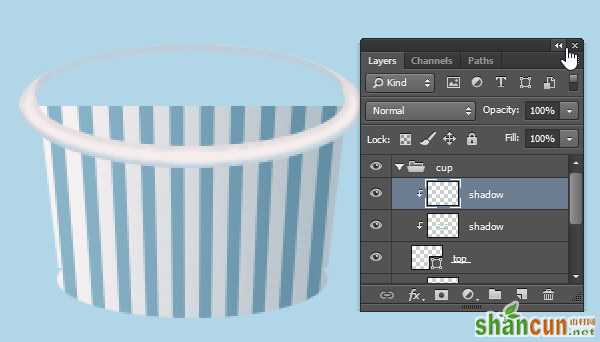
新建一层, 给画笔工具调整好适当的透明度,用画笔工具给杯子画上阴影(如图所示)。
Step 26
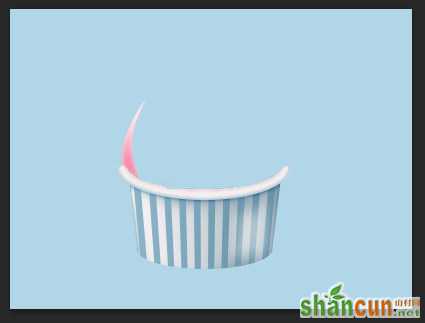
创建一个图层组并将其命名为“ ice cream”. 将这一图层组放在“cup”组的下面。
Step 27
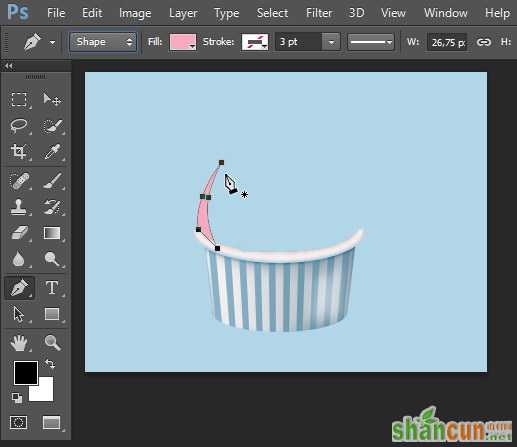
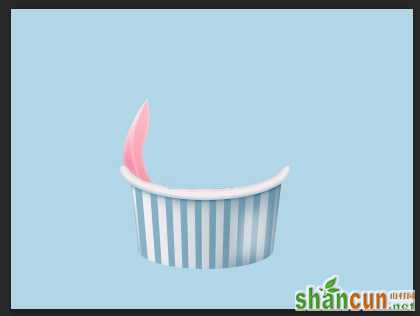
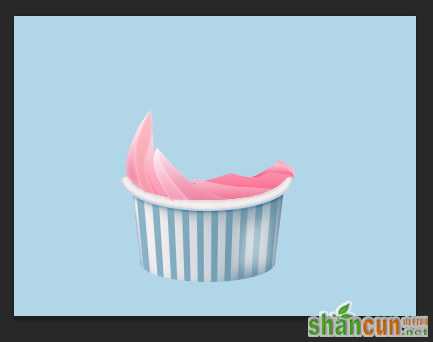
选择钢笔工具,在选项栏中选择形状。 填充色选择一个粉红色,描边为无,你也可以选择你自己喜欢的颜色。单击并拖动以绘制一个曲线的形状(如图所示)。
Step 28
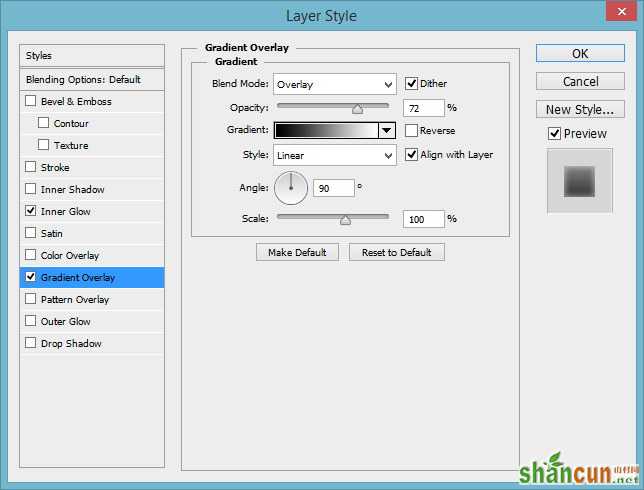
双击该图层,然后添加一个内发光, 颜色为白色, 混合模式为滤色,方法为柔和,。然后添加一个渐变叠加, 颜色从黑到白,混合模式为:叠加,样式为线性(参数如图所示)。
Step 29
继续使用相同的颜色用钢笔工具绘制一个弯曲的形状,但这一次,颜色可以在原基础上加一点亮度变化。这样后面的颜色看起来才会自然一点。
Step 30
添加相同的图层样式,你也可以按住alt,拖动“fx”直接复制图层样式。
Step 31
继续添加冰激凌的形状,形状任意,颜色相似,添加相同的图层样式。

Step 32
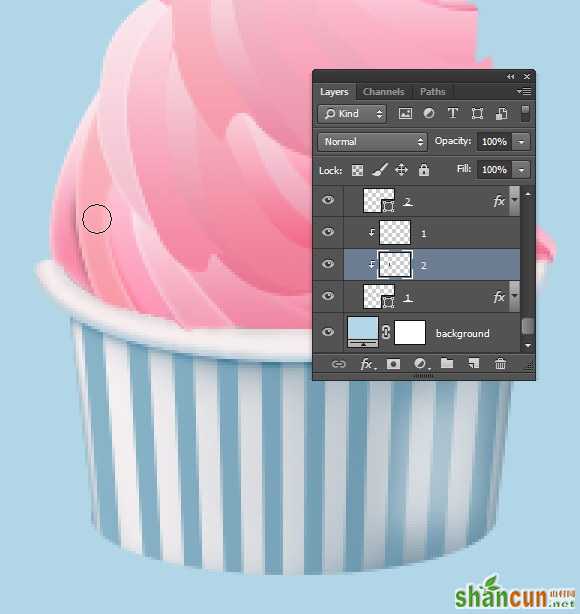
现在,我们要添加阴影和高光使它更真实。选择之前第一层的形状,在上面添加新层。 将其转换为剪贴蒙版(按Ctrl + Alt + G)。
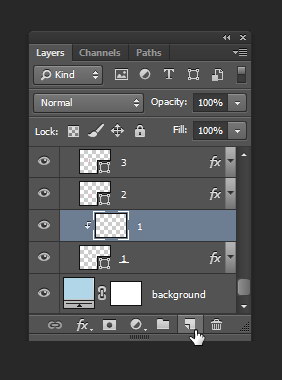
Step 33
选择画笔工具,大小为10。 改变笔刷的大小,只需单击打开画笔选项。
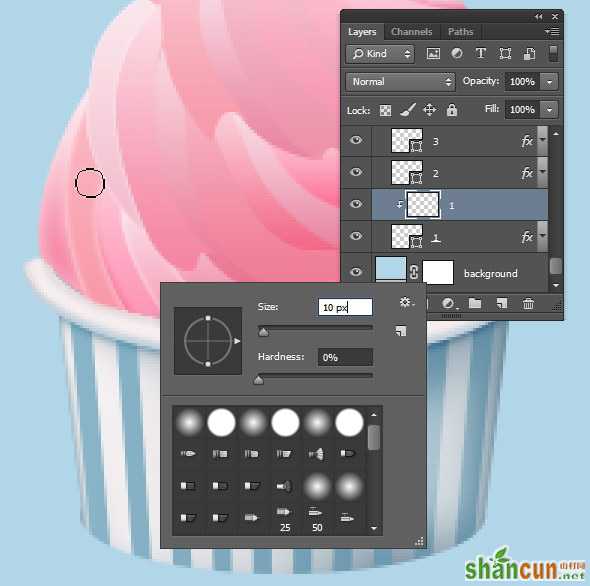
Step 34
将前景色改为暗粉红色,然后画上阴影。再画的过程中可以不断添加亮度,如果需要的话,你继续添加新的图层,然后把它剪贴蒙版。
下面你可以使用画笔工具添加相较之前不同的和灯光和阴影。 你可以在选项栏中降低的画笔工具的不透明度。
Step 36
让我们继续在杯子表面添加阴影,可以继续添加新的层组。
Step 37
选择椭圆框选工具画一个和杯底大小一样的椭圆选区,如图所示。
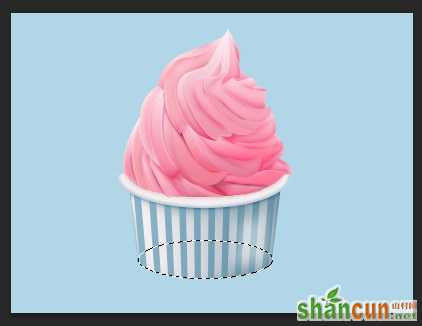
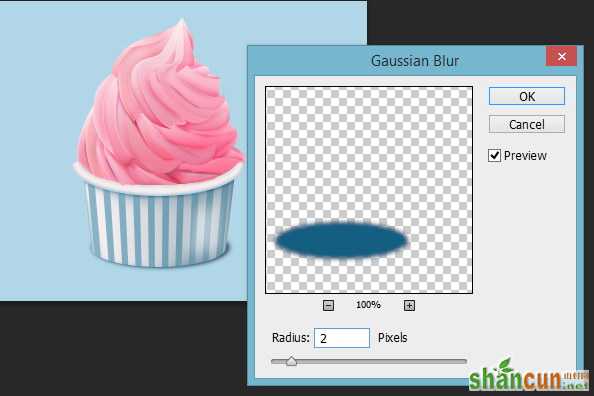
Step 38
添加新的图层,点击编辑>填充,然后选择填充深蓝色。 你也可以选择不同的颜色,这取决于你自己画的的杯子的颜色。使用键盘快捷键Ctrl 激活选区,点击滤镜>模糊>高斯模糊,柔化阴影取消选区。
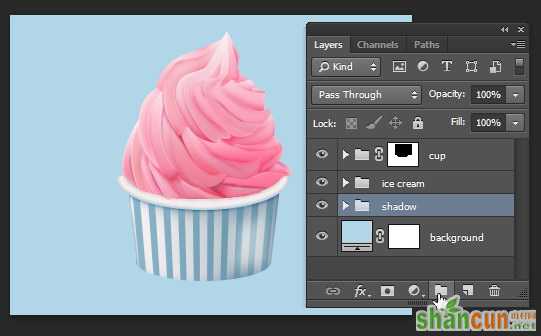
Step 39
选择移动工具,然后点击右箭头两次,将阴影向右边移动两个像素。

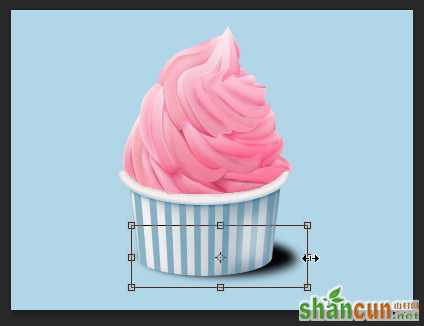
Step 40
按Ctrl + J复制阴影。按Ctrl + T变换它的形状,让它变的更宽。
Step 41
可以降低其不透明度使阴影自然一点。 你也可以再次使用高斯模糊滤镜使它变的更柔和。
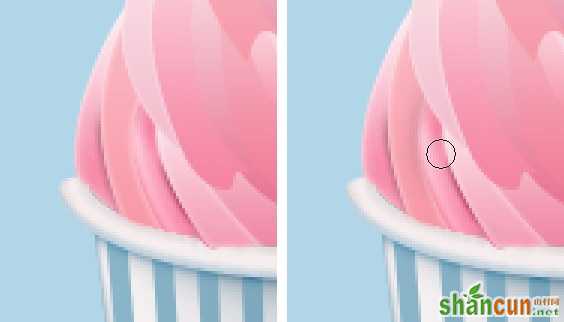
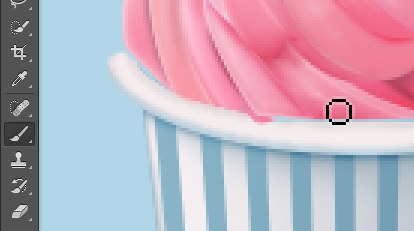
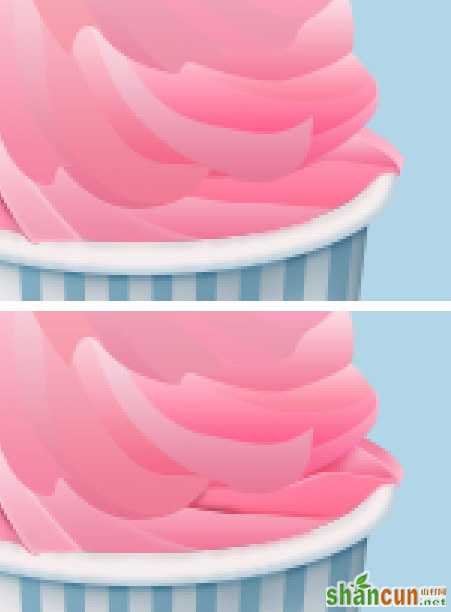
Step 42: 添加阴影和高光
我们可以发现冰淇淋目前还是太平了。我们可以到其表面添加更多的高光。 建立新的图层,选择画笔工具,颜色为白色、降低画笔透明度在冰淇淋表面涂抹。
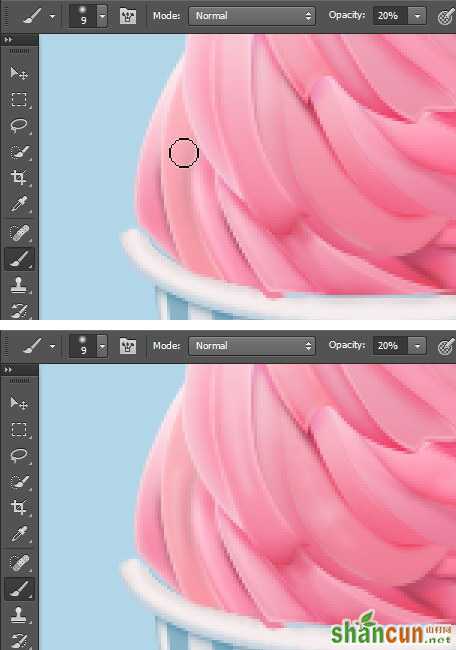
可以发现发生了微妙的差异。
Step 43
现在使用画笔工具来给表面添加一点阴影,颜色改为黑色,降低不透明度。
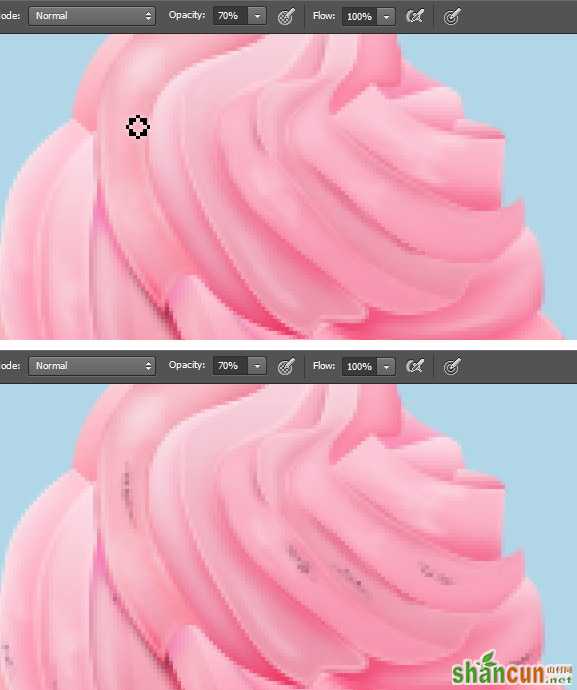
Step 44
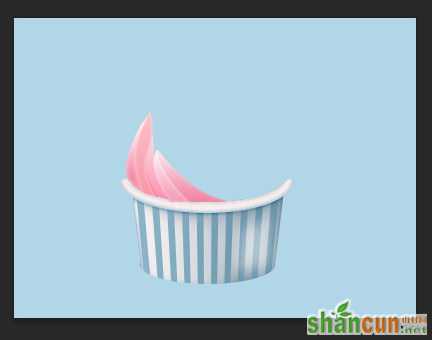
为了让它更真实,我们还需要在表面上添加一些小瑕疵,可以稍微提高画笔的透明度并减小笔刷的大小,例如 1 px 或 2 px. 添加新的图层,再随机在冰淇淋表面涂抹。
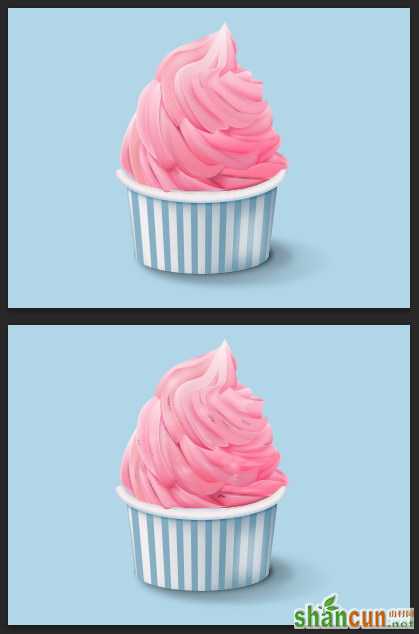
你可以看到发生了细微差别,便得到了一个更逼真的冰淇淋。
我们得到了一个看起来好看又美味的冰激凌 icon。这个教程,关键是耐心,希望你喜欢这个教程。


