
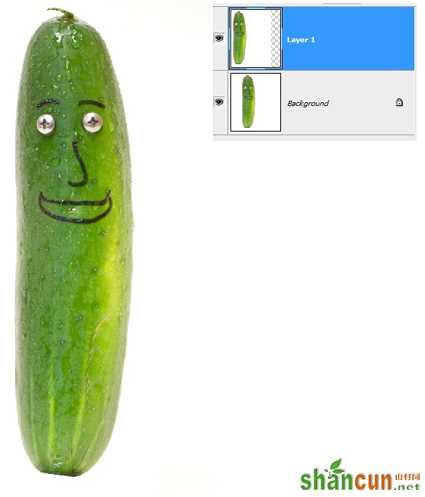
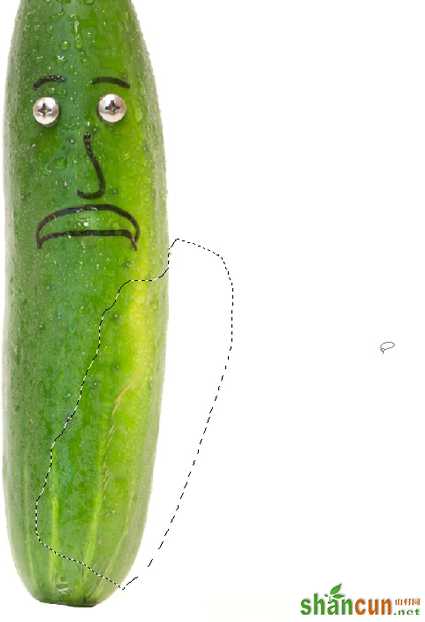
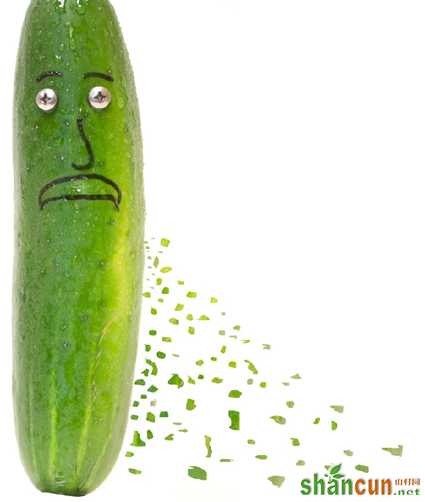
最终效果图:

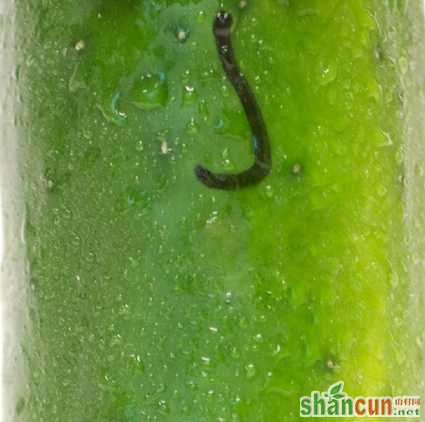
第1步打开黄瓜素材。素材下载

第2步按CTRL+J复制图层。然后把黄瓜往左边移动。
第3步我们现在的黄瓜是在笑的,所以我们要把它弄成痛苦。所以我们用选取工具选择黄瓜的嘴。
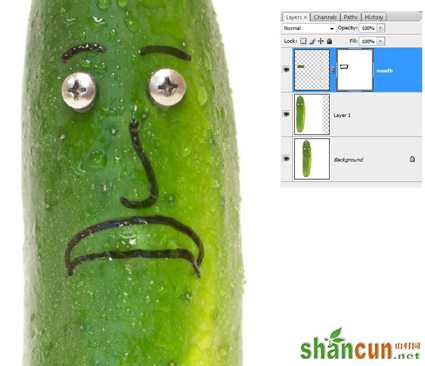
复制并粘贴(CTRL+J),然后倒转它(CTRL+T,垂直旋转)。
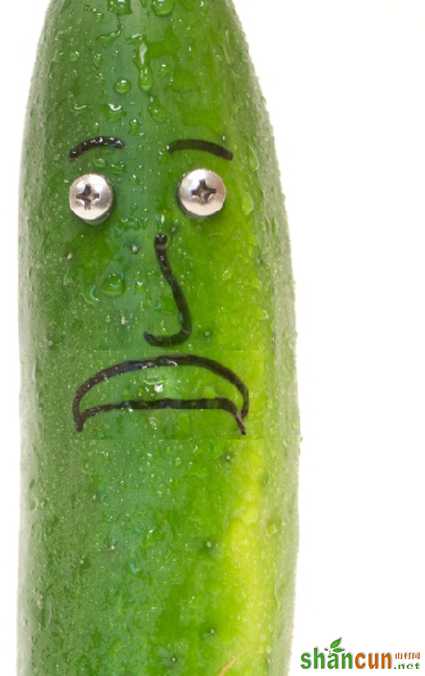
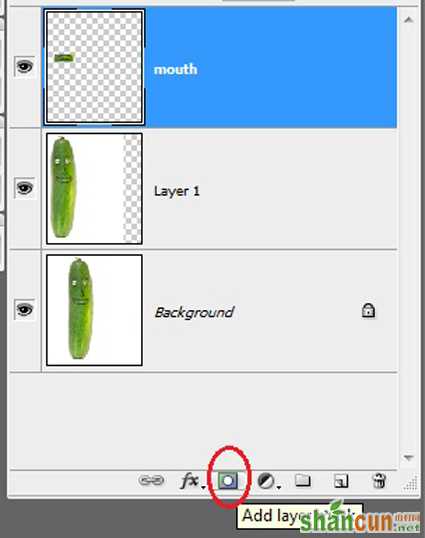
在添加一个图层蒙板。
然后使用画笔工具,流量为0,画笔大小为60.颜色是黑色,然后把嘴巴旁边的区域刷掉,让他融合一起。
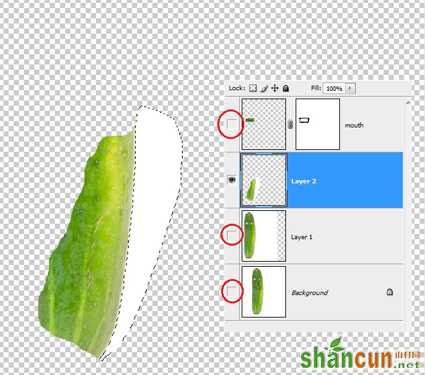
第4步转到黄瓜图层,使用套索工具选取一部分,然后CTRL+J复制图层,如下:
现在我们把其他图层全部隐藏起来,然后到我们刚才复制出来的图层使用魔术棒工具,把白色区域删除掉。
第5步使用套索工具,然后按住CTRL键,一块一块的选取区域,然后直接拖动到图层外面。(注:这种方法在今天很死板,因为现在有大量的分裂笔刷,做出来的效果会比这个好,当然这样做的目的是让大家在一些不适合用笔刷的地方更加灵活的使用这种方法,比如自定义的。)
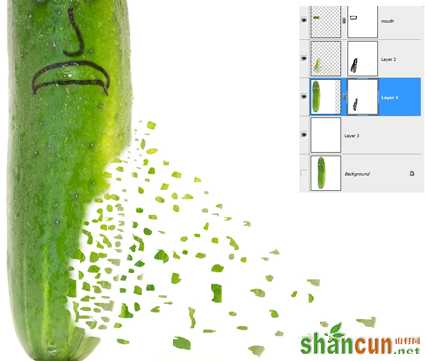
第6步当你绝对散布出去的黄瓜皮效果够了就把图层全部显示出来。
我们到黄瓜图层新建一个蒙板,这时候我们拖动出来的黄瓜皮应该是合并在一个图层的,所以我们按CTRL,然后单击此图层。然后到黄瓜图层点击删除。
第7步我们把纹理下载,让放进去。素材下载,混合模式为:叠加。在添加蒙板,删除掉边缘,让他融合图层。

现在我们就完成,虽然这个教程不是很好,但是想让大家知道的是怎么很好的适用蒙板工具,让图像合成更加方便。
注:更多精彩教程请关注山村photoshop教程栏目,山村PS群:249667984欢迎你的加入


