
效果对比:
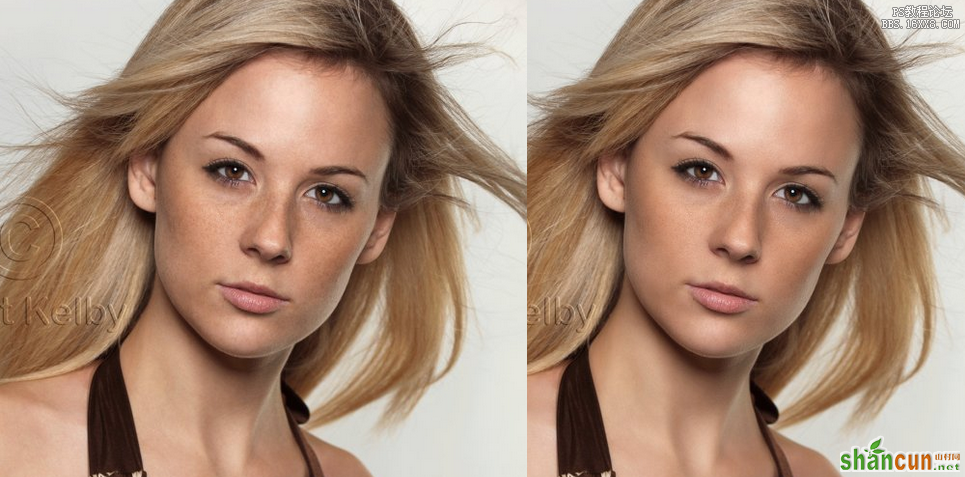
效果图:
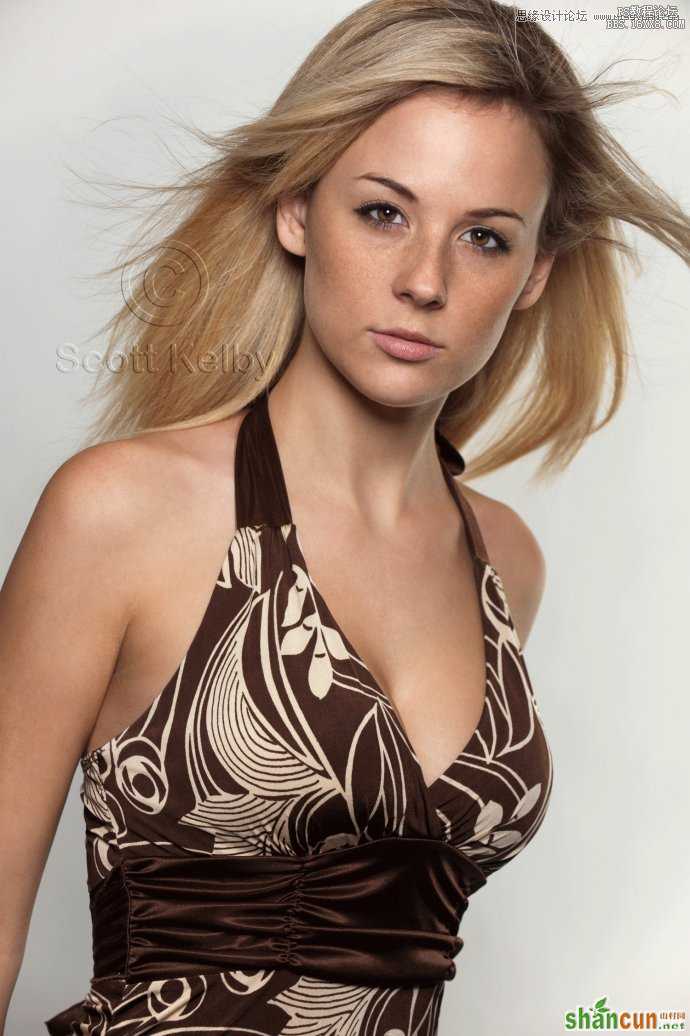
原图:
操作步骤:
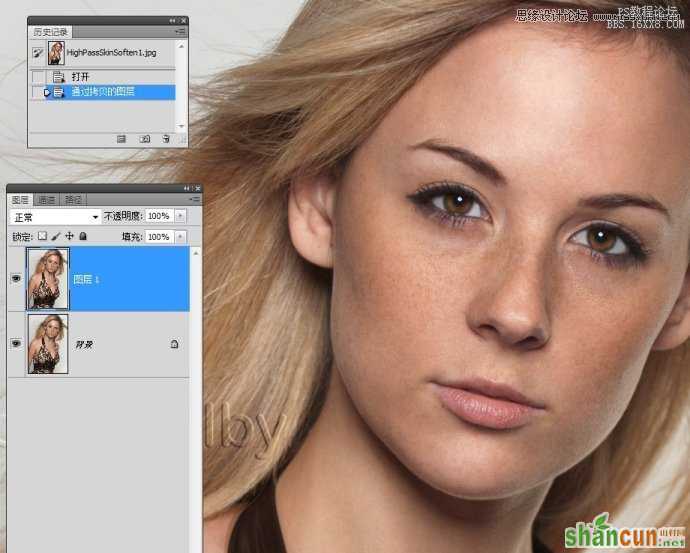
1。打开图像,拷贝图层。

2。执行反相命令。
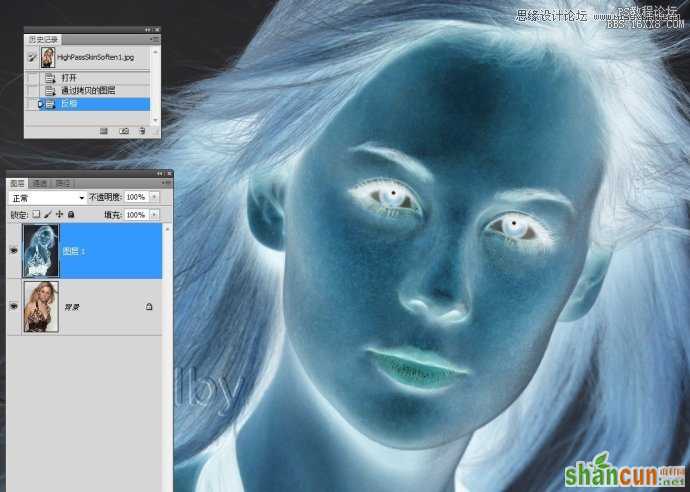
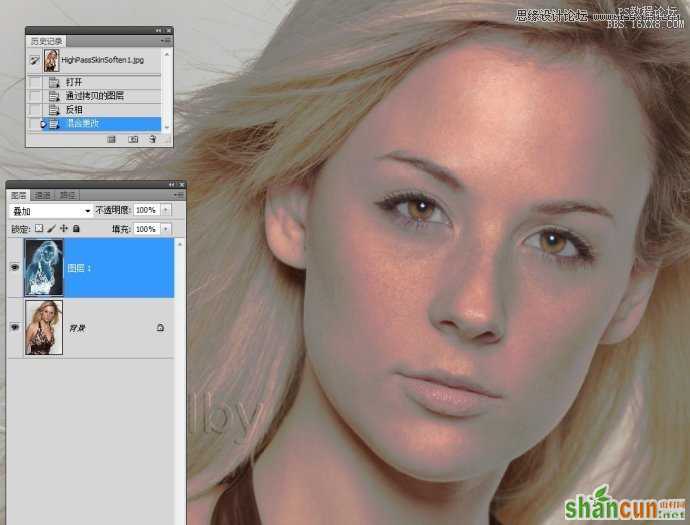
3。更改图层混合模式。
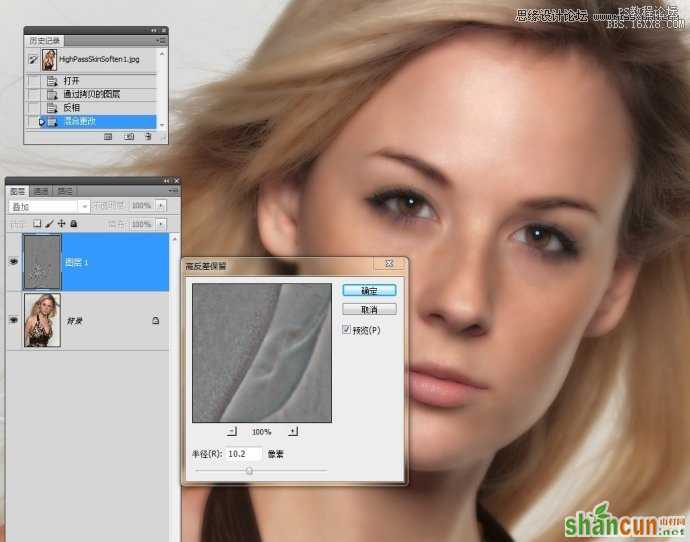
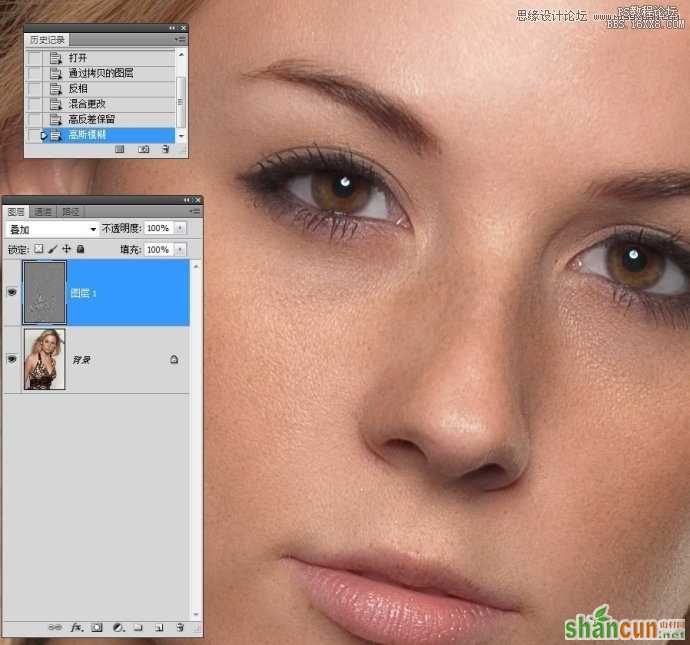
4。执行高反差保留命令。
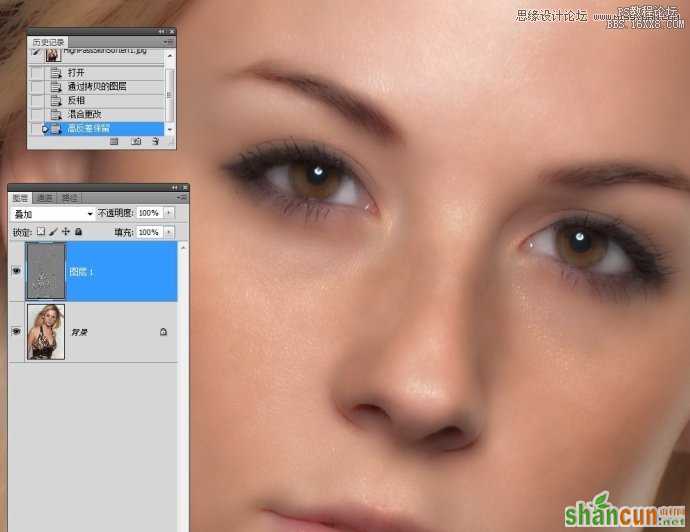
5。执行高斯模糊命令。

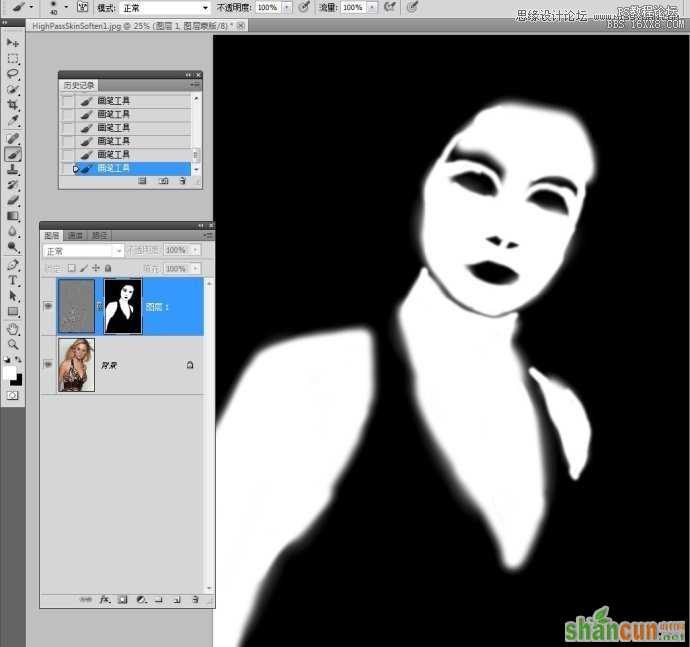
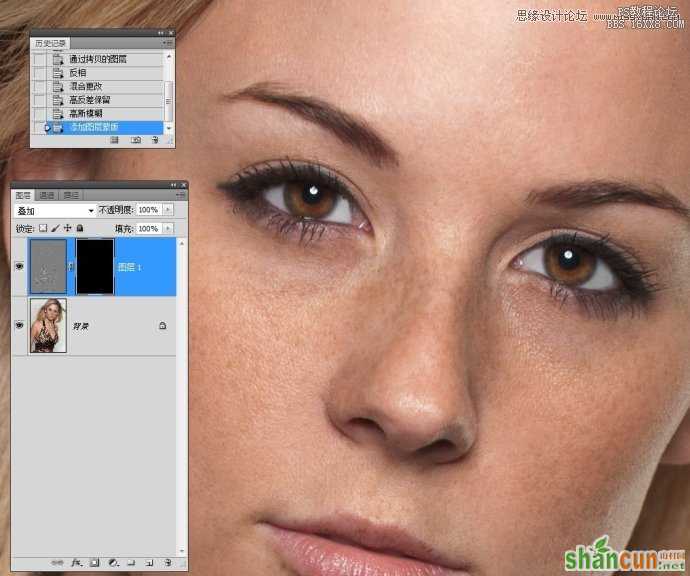
6。添加图层蒙版。
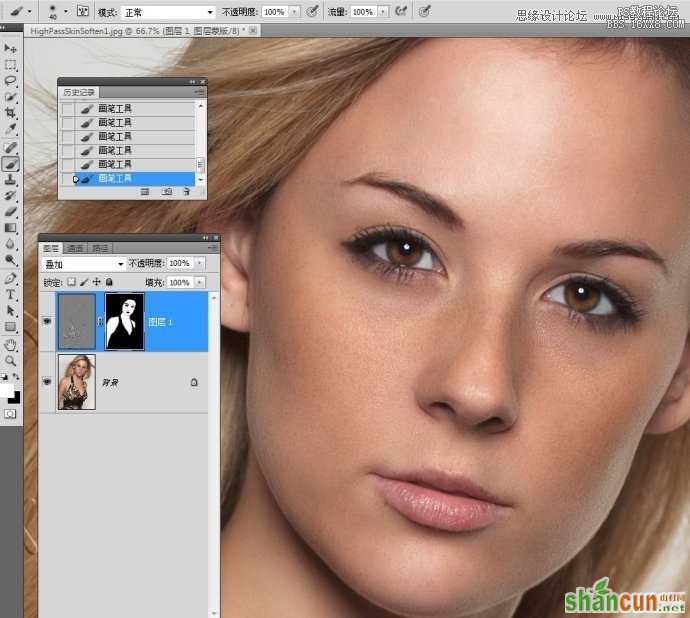
7。使用白色画笔涂抹皮肤。
8。观察下蒙版情况。这样操作有利于我们涂抹皮肤。
9。更改图层不透明度。

最终效果图:
效果对比:
效果图:
原图:
操作步骤:
1。打开图像,拷贝图层。
2。执行反相命令。
3。更改图层混合模式。
4。执行高反差保留命令。
5。执行高斯模糊命令。
6。添加图层蒙版。
7。使用白色画笔涂抹皮肤。
8。观察下蒙版情况。这样操作有利于我们涂抹皮肤。
9。更改图层不透明度。
最终效果图:

手机看新闻


网站客服
法定工作日
8:30-17:30
微信扫描关注


