
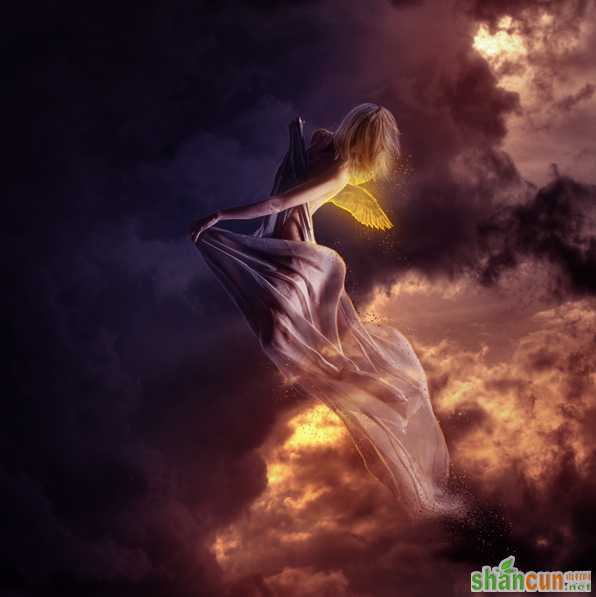
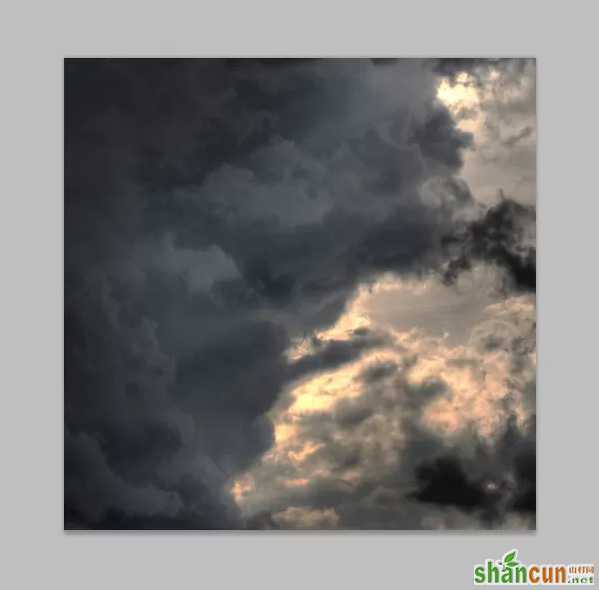
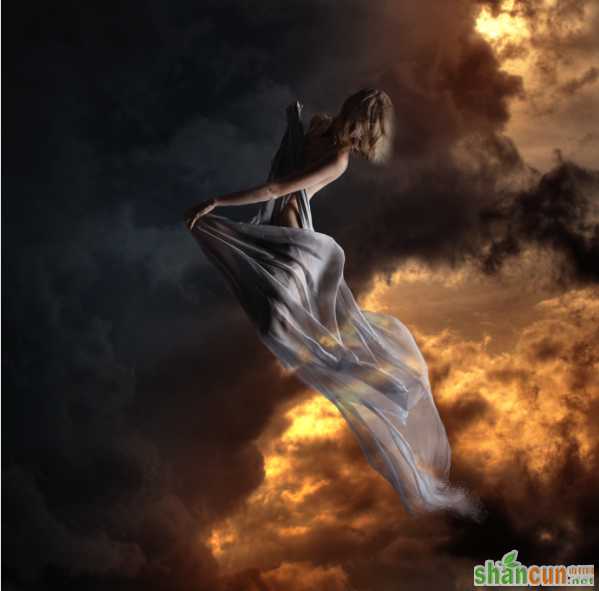
预览:
第一步
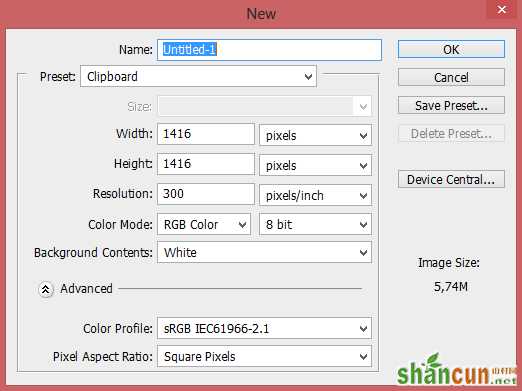
新建一个文件,大小为1416*1416,具体信息如下:
第二步
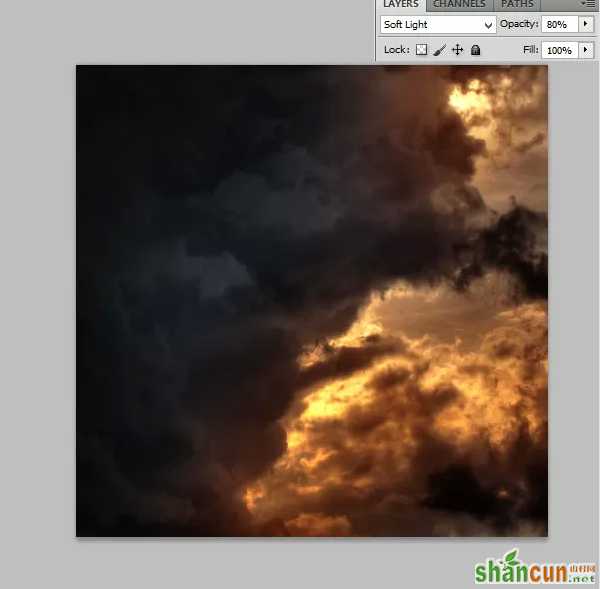
置入Dark clouds ahead这张图。

第三步
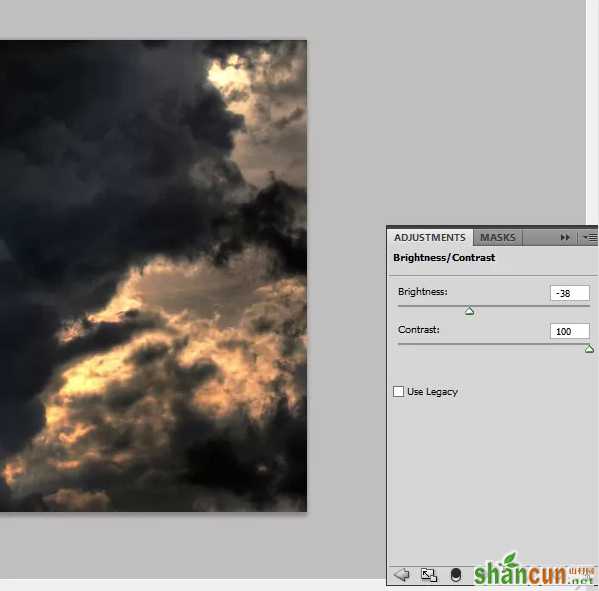
添加调整图层(图层>新建调整图层)亮度/对比度,设置数据如下:
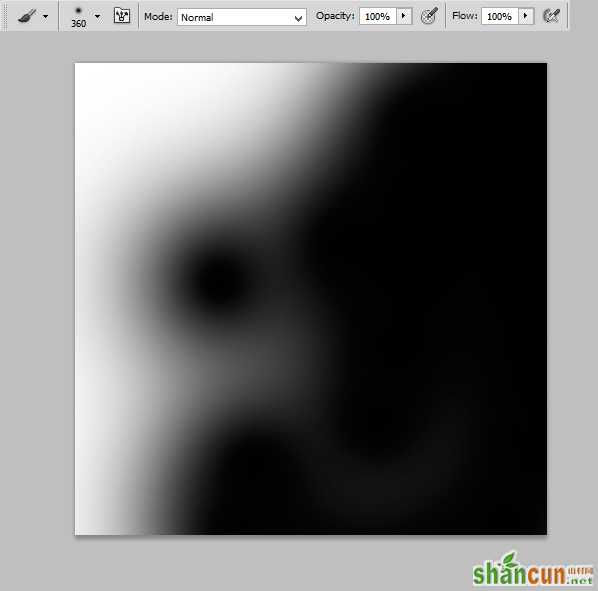
现在背景很暗,为了调整它,你需要使用蒙版。选择图层蒙版,然后使用360px的圆头软笔刷在图片的右侧描绘,下图是我的示范:
结果:
第四步
看来看去背景还是不怎么样,处女座就是追求完美,唉没办法…于是我再加一个亮度/对比度的调整图层,设置如下:
第五步
现在我们要给背景图层添加光线。新建一个图层,选择第三步中相同的笔刷,颜色设置为#f46307,然后描绘如下位置:
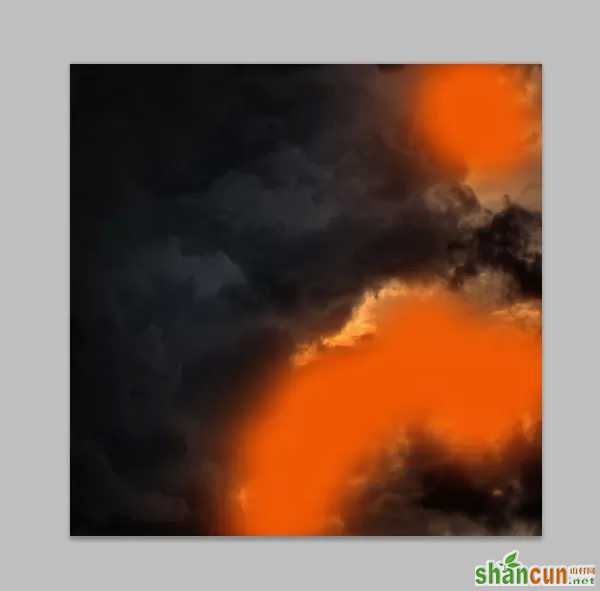
然后再模糊一下。选择滤镜>模糊>高斯模糊,数值为125px。
将图层模式调整为柔光,透明度改为80%。
第六步
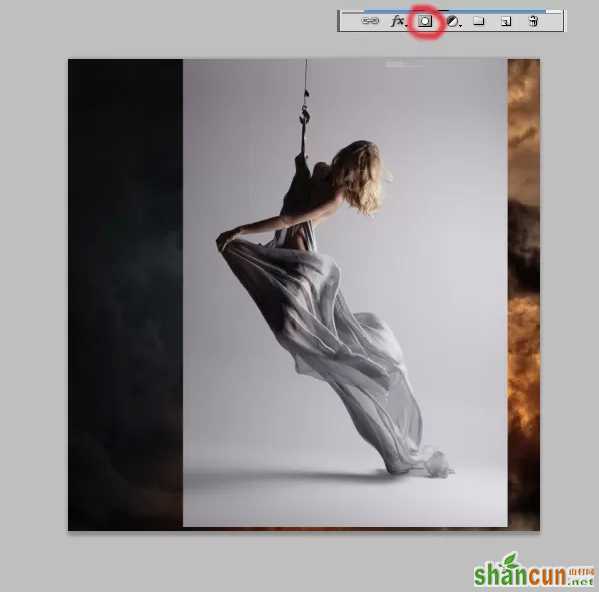
现在轮到女神出场了!将A slow fall stock这张图片粘贴到我们的文件中,并对其添加蒙版。
第七步
本次教程的第一个抠图技巧来了。选择大小为38px的软笔刷,将其透明度改为40%,在图片较亮的一侧涂抹。注意:按亮度调整笔刷的透明度和大小,在有褶皱的部位,透明度应该更小一些。
第八步
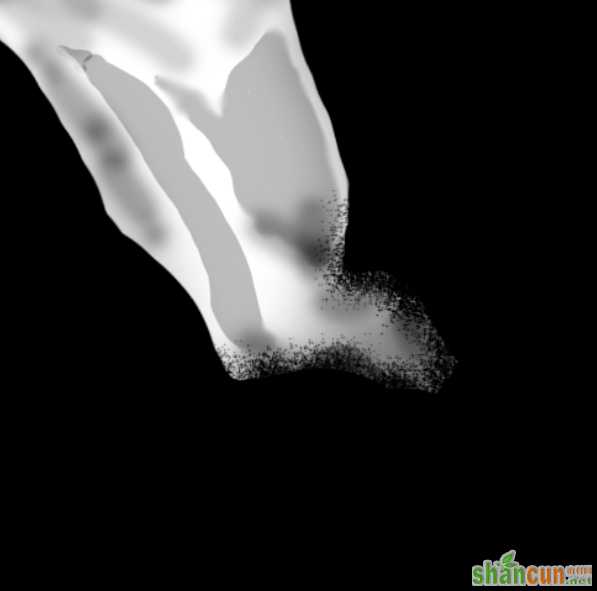
现在要将女神的裙裾处理的更加仙一些。选择粗糙的黑色棕毛刷,在裙边涂抹。
效果:
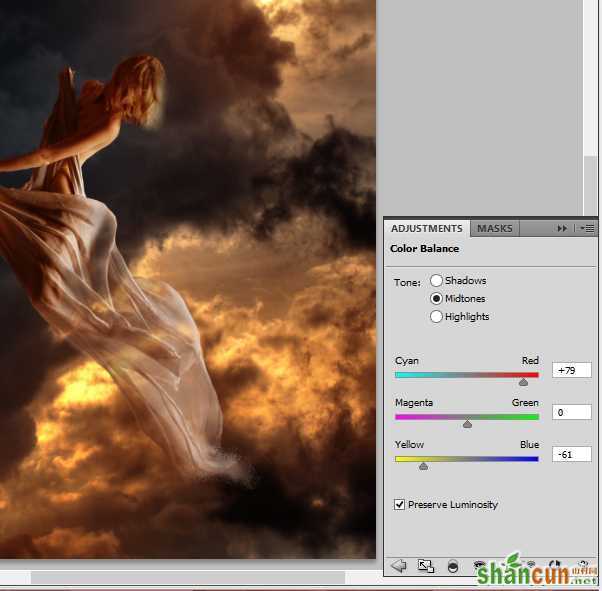
第九步
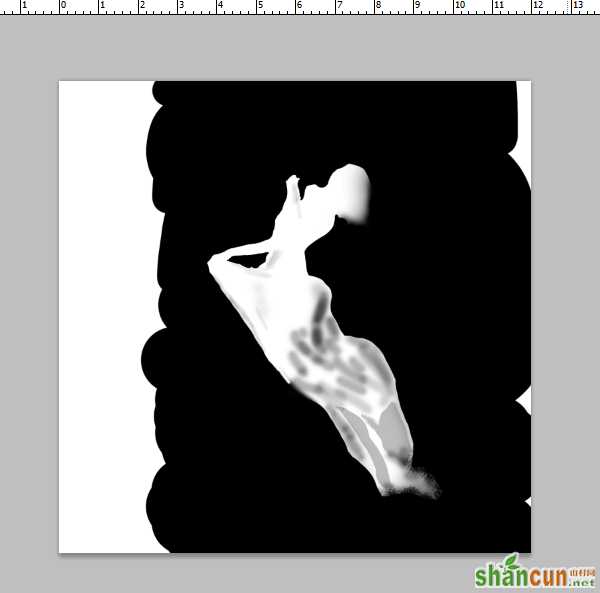
给女神这一图层添加色彩平衡调整图层(鼠标点击右键,选择剪贴蒙版)。
在调整图层上选择蒙版,下面是我的蒙版:
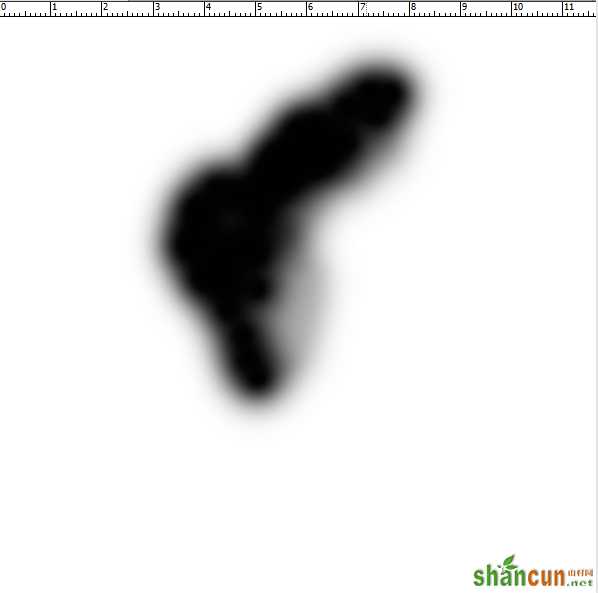
蒙版结果:
第十步
女神怎么能缺少翅膀呢?现在我们就来给她加上~置入最后一张图,用自由变换调整其大小和方向。
第十一步
加上第二只翅膀。
第十二步
现在将翅膀图层转化为智能对象。
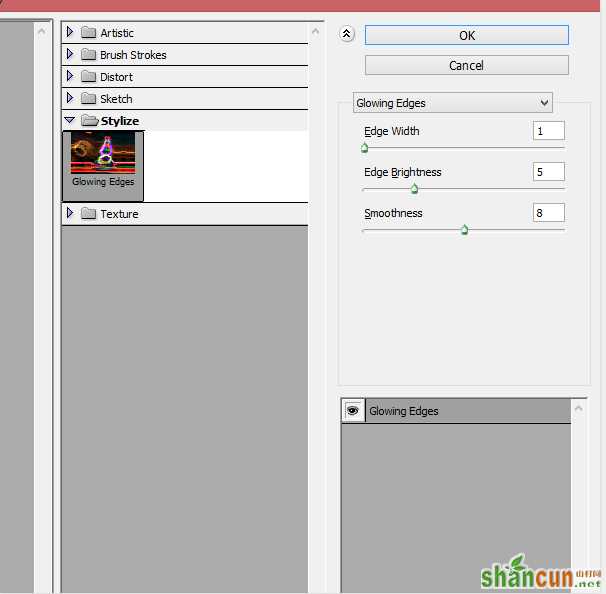
第十三步
选择滤镜>滤镜库,然后再选择风格化>发光的边缘。
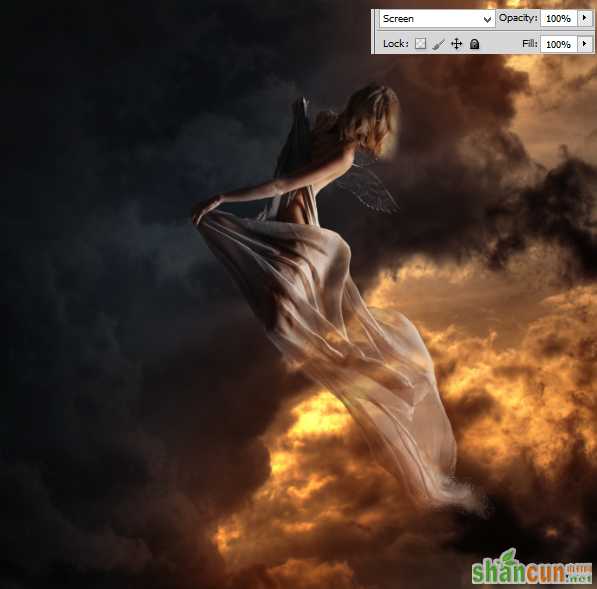
第十四步
选择翅膀图层,将其模式改为滤色。
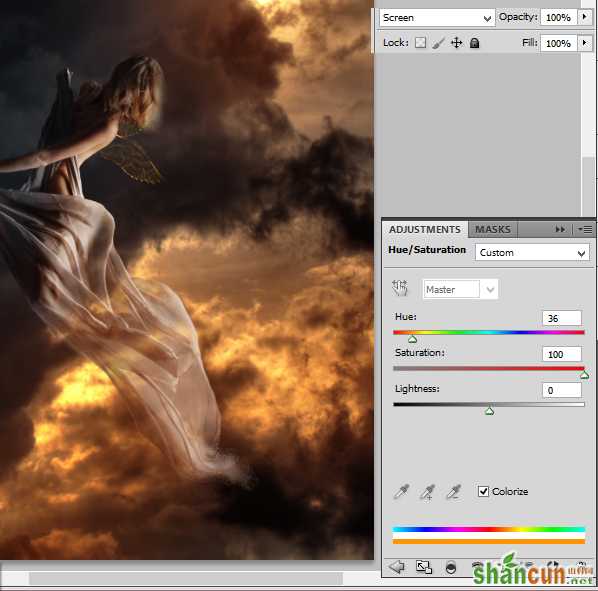
第十五步
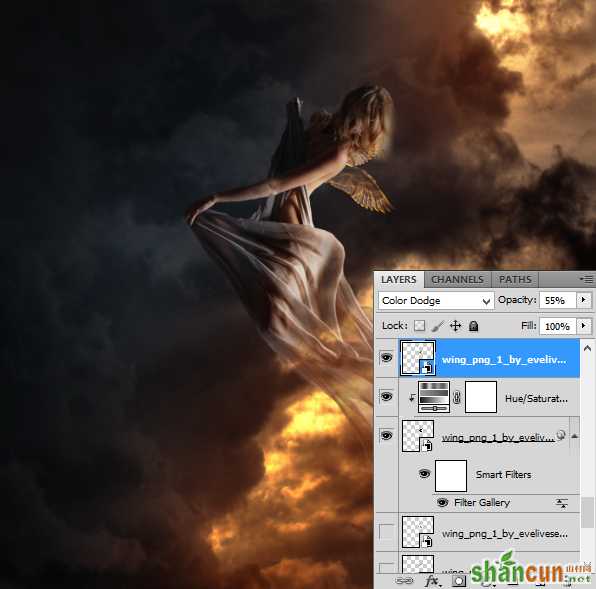
翅膀应该是金色的,所以我们给小翅膀添加一个色相/饱和度调整图层。
第十六步
现在的翅膀看起来很像糖画,为了让它更立体,我们复制这个图层,然后将复制的图层模式改为颜色减淡,透明度为55%。
第十七步
用颜色为#d9cb04的细笔刷描绘翅膀的边缘。
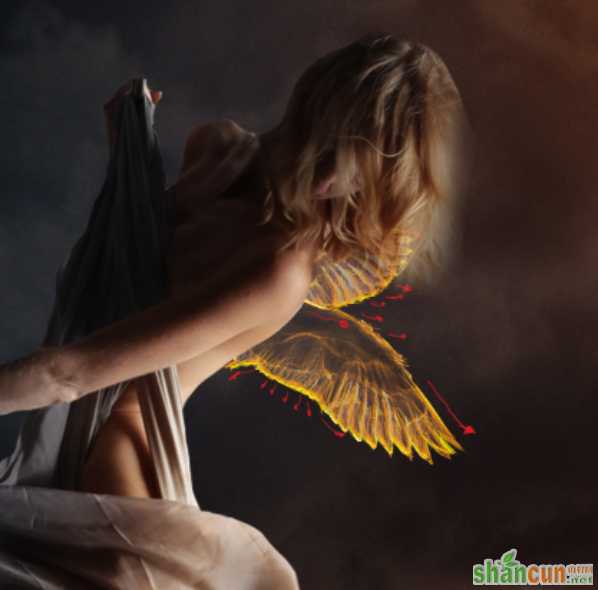
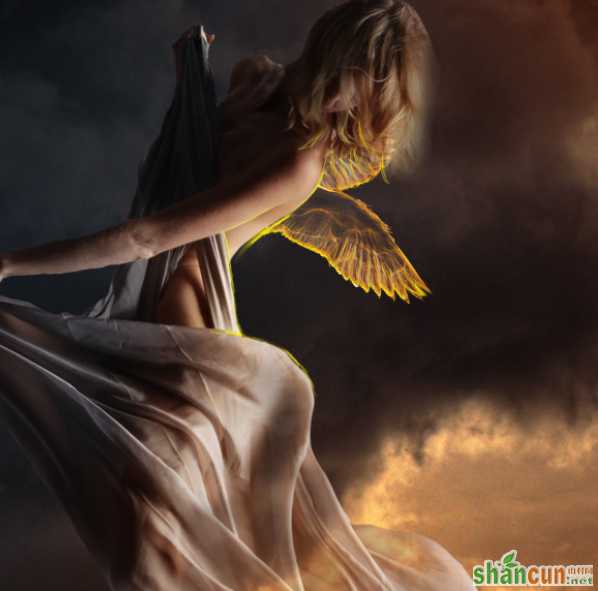
第十八步
为了让翅膀更加真实,我们要将翅膀的光辉散播到女神身上。 用颜色为#f7e802的细笔刷描绘她的背部。
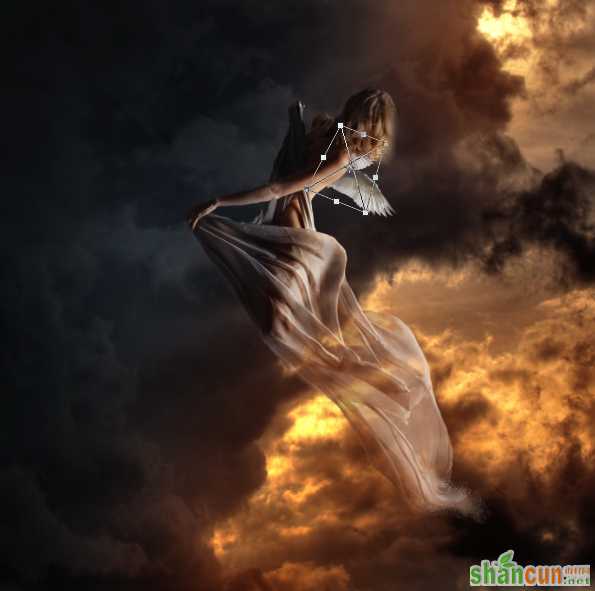
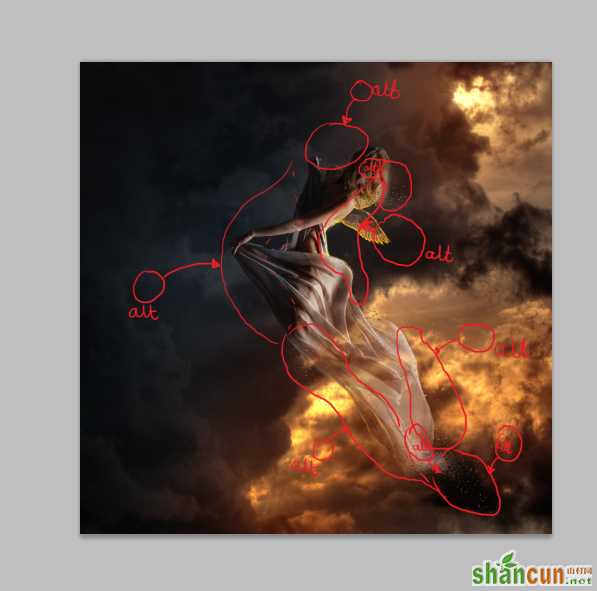
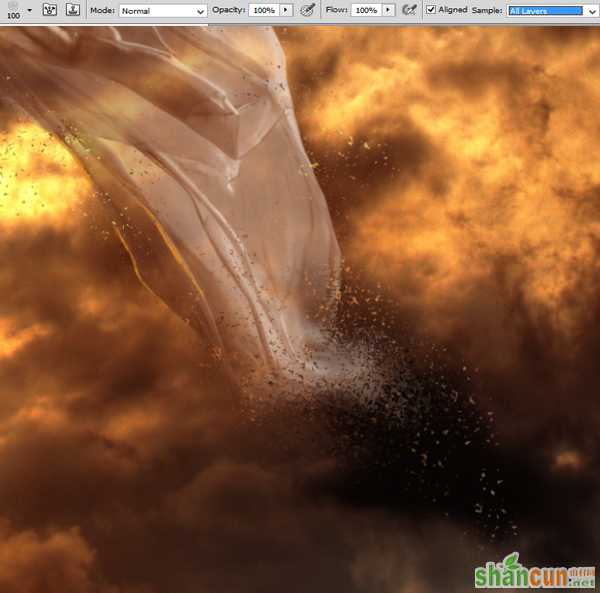
第十九步
新建一个图层,选择仿制图章工具,将其大小调整为100px,按住alt键先选择要仿制的部分,然后松开将仿制的部分画在你想要展示的地方。
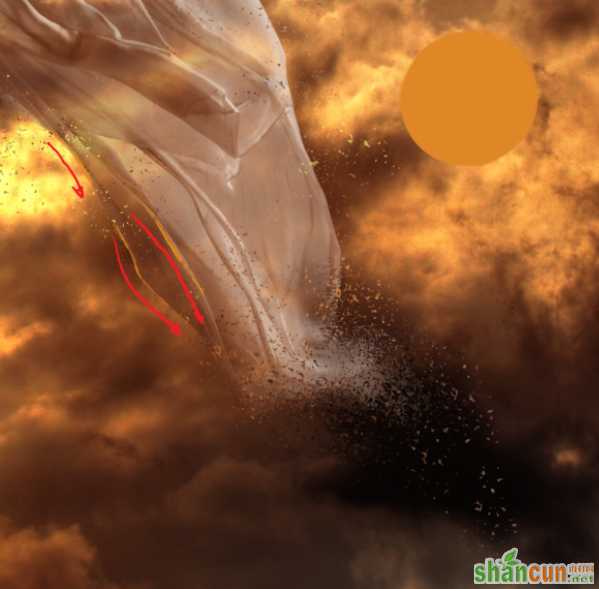
第二十步
为裙子添加橙色的线条,选择颜色为 #df8726 、大小为1px的软笔刷,按照箭头指示方向描绘。
第二十一步
添加一个新图层,选择相同的笔刷,给模特勾勒一个金色的背部线条。颜色: #ebac67 和 #ffffff 。


