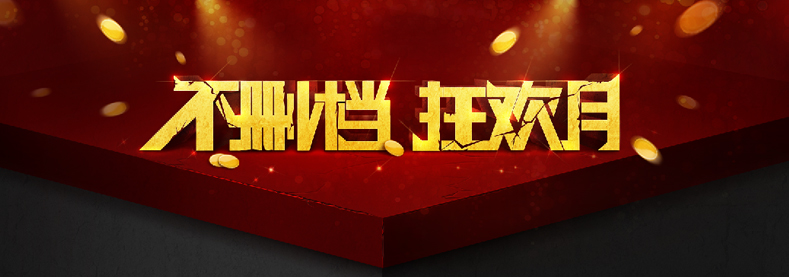
最终效果
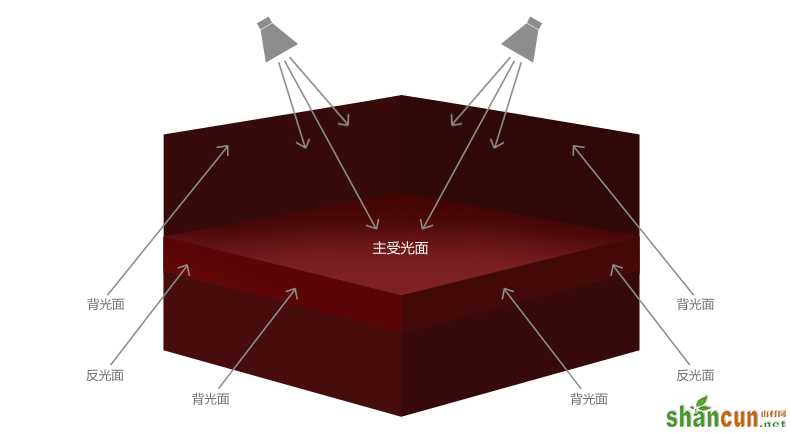
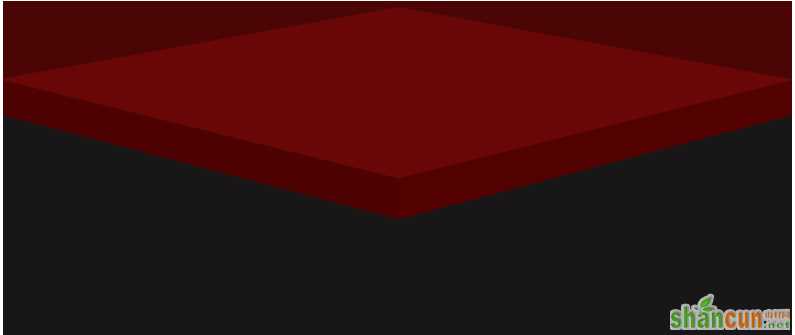
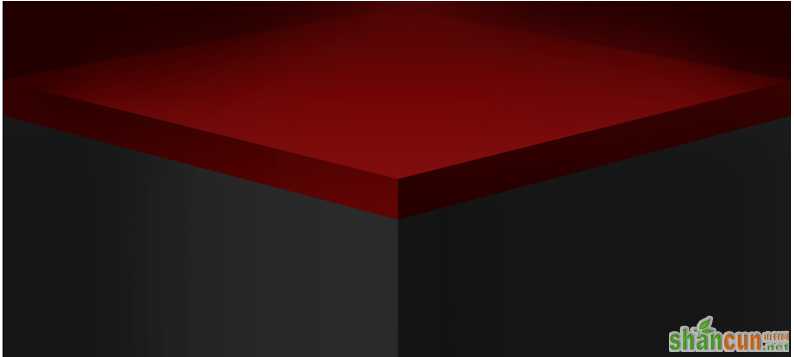
光源分析
为舞台设置顶部两侧打光的视角,要想突出立体感,就要从光源方向表现出三个面的受光关系。如下图所示:
制作步骤
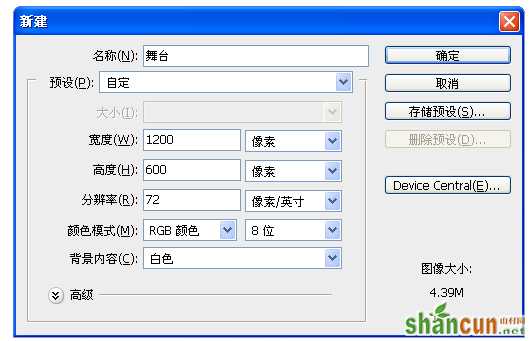
1、Ctrl+N新建一个尺寸为1200x600px的画布;
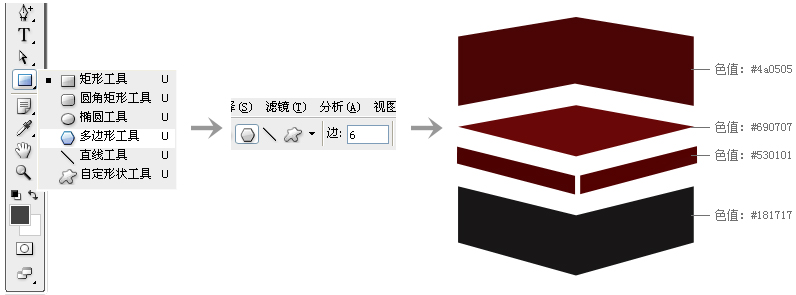
2、根据开篇所示的光源分析图,我们先来搭建一个纯色的组合平面几何图形;
通过拆分的方法,我们可以得到:2个六边形+3个四边形;
选择左侧工具栏→矩形工具→多边形工具>,顶部工具选项→边数,输入需要的边数就可以制作四边形、六边形了,根据空间平行和近大远小的透视关系,调整图形节点得到我们想要的舞台模型,效果如下图所示。
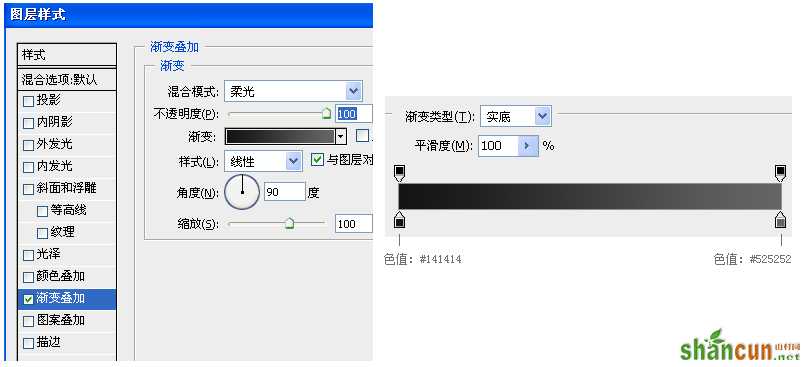
3、做光影明暗关系;
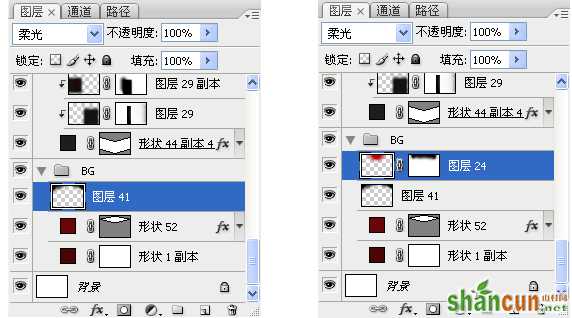
选择图层面板→添加图层样式,给几何图形的每个面做混合模式为柔光>的渐变叠加>图层样式,每个面的渐变数值根据透视关系做相应调整,效果如下图所示。
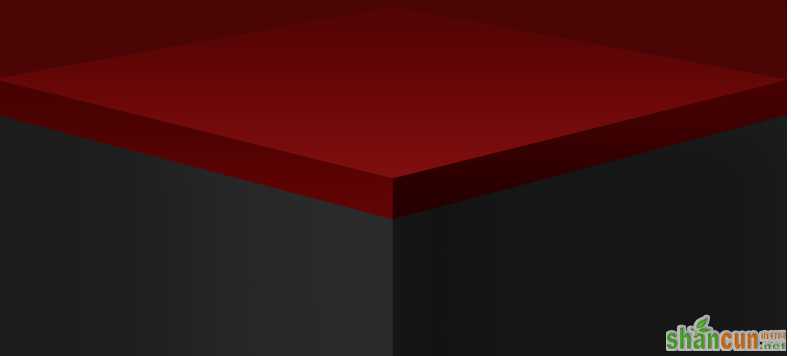
4、细化加强每个面的受光、背光、反光、环境光关系,增强舞台的立体感;
如舞台中央的受光面、背光面,选择创建新图层,用画笔工具>在图层上画出舞台的暗部和打光部分,对图层选择柔光>效果,增强明暗对比,其他几个面的处理效果相似。
5、添加台面的投影;
通过图层样式添加的投影过于均匀,这里我们同样选择创建新图层,用画笔工具在图层上画出舞台的投影,对图层选择正片叠底效果,重复上述操作加重处理位于前端的投影,效果如下图所示。

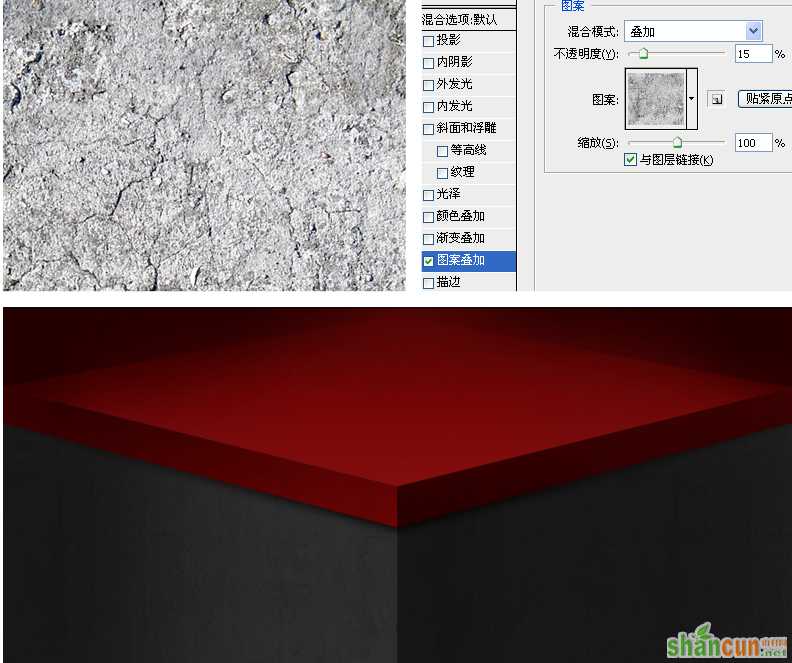
6、给舞台叠加图案,增强质感;
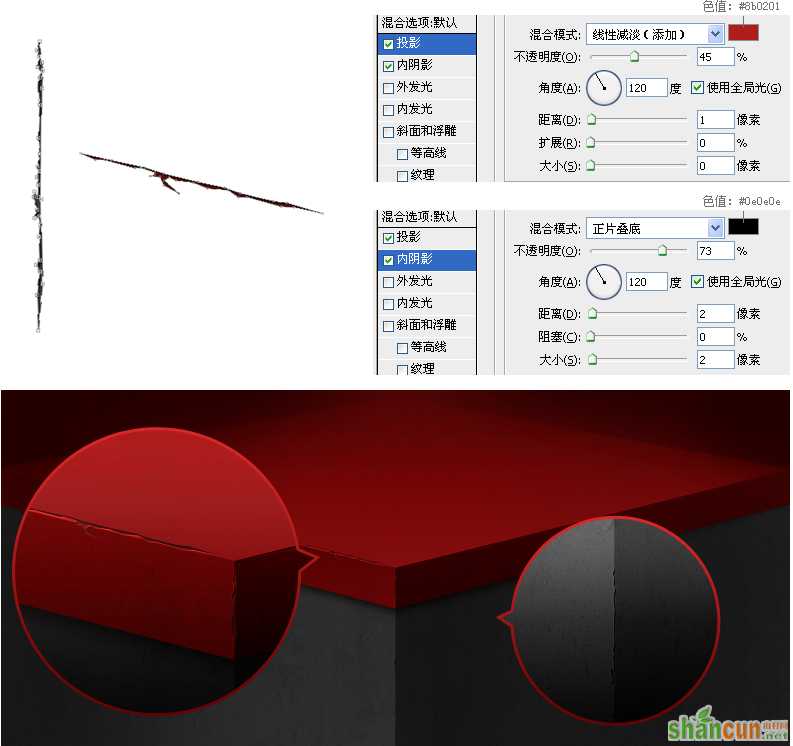
7、在舞台的明暗交界处添加裂痕细节,注意这些小细节的明暗关系处理;
选择左侧工具栏→钢笔工具→形状图形,裂痕要按照舞台明暗交界线的走势绘制,为了使裂痕有凹陷的赶脚,对绘制好的图形添加图层样式→投影、内阴影。
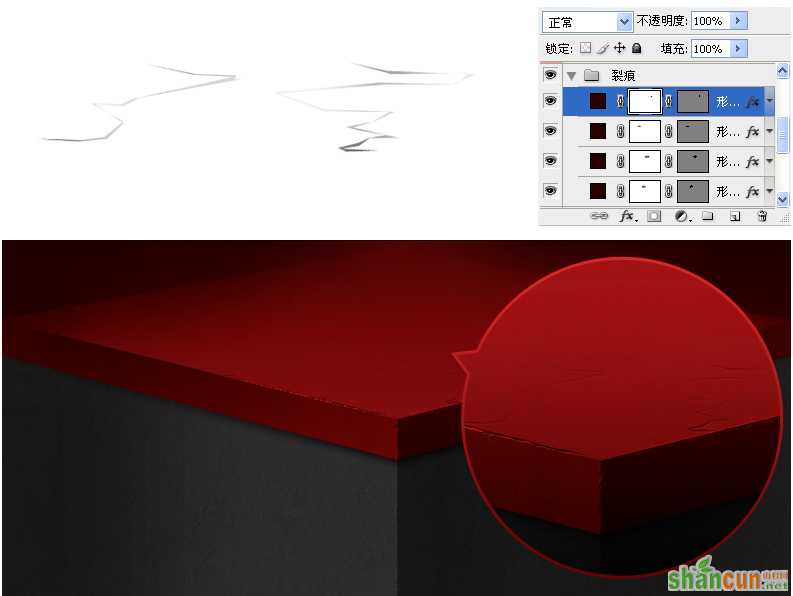
8、按照上述方法,在舞台中央添加些裂痕,增强文字的重量感;
此处裂痕位于受光面,明暗对比要相对弱化,在裂痕上添加图层蒙版,使处于远处的裂痕渐隐。
9、给舞台加入做好的立体文字和顶部打光,为营造金光闪闪的氛围,适当加些光斑光点效果来提气,特别注意在文字底部加强一下光影对比;

10、最后,加入与我们本次狂欢月主题相关的素材,神马金币呀礼物呀,画龙点睛。素材的动静结合,能使页面更有带入感,大家可以尝试一下。