
最终效果图
1. 打开Photoshop,建立一个新文件,颜色模式为RGB,位数为8位,其他默认;
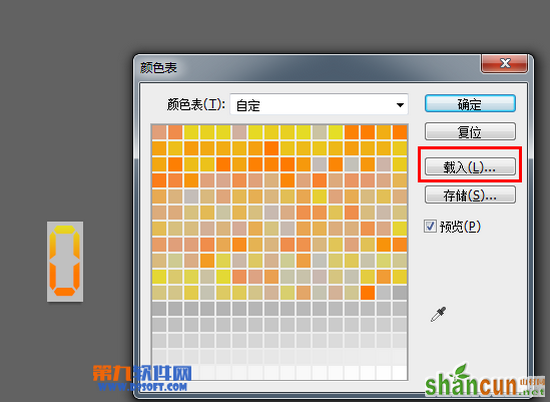
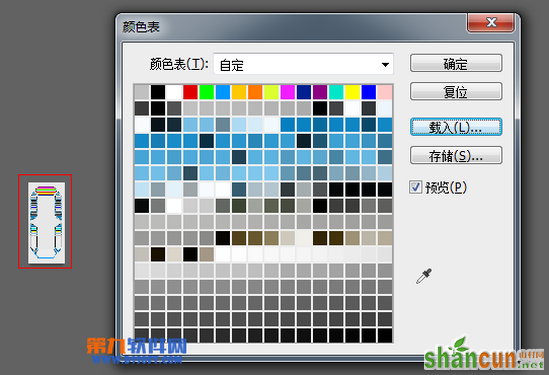
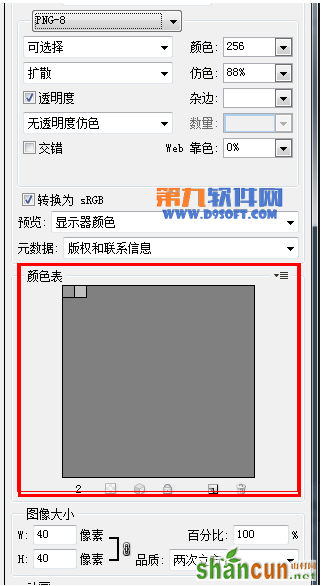
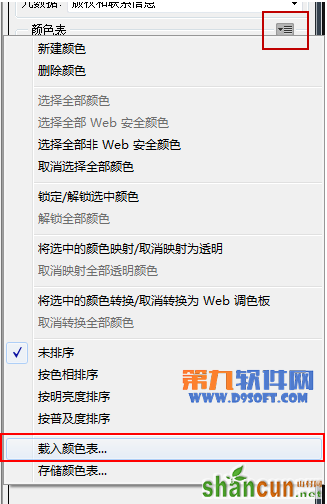
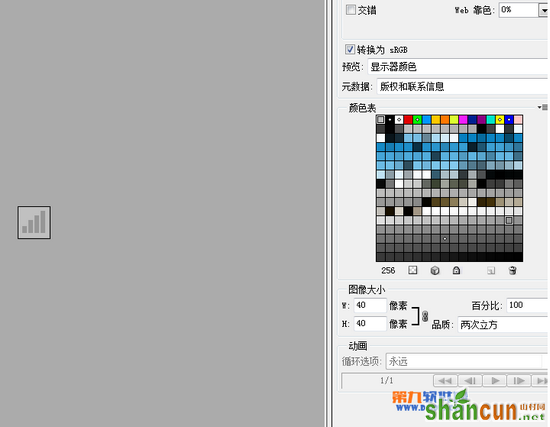
2. 存储为Web和设备所用格式,右边设置中选择PNG-8位,颜色选择为256,在颜色表处载入你要的统一的颜色表,其他选项默认存储;
3. 用Photoshop打开刚存储PNG图片,再存成BMP图片即可!
以下是图片辅助制作过程:
最终效果图
1. 打开Photoshop,建立一个新文件,颜色模式为RGB,位数为8位,其他默认;
2. 存储为Web和设备所用格式,右边设置中选择PNG-8位,颜色选择为256,在颜色表处载入你要的统一的颜色表,其他选项默认存储;
3. 用Photoshop打开刚存储PNG图片,再存成BMP图片即可!
以下是图片辅助制作过程:

手机看新闻


网站客服
法定工作日
8:30-17:30
微信扫描关注


