
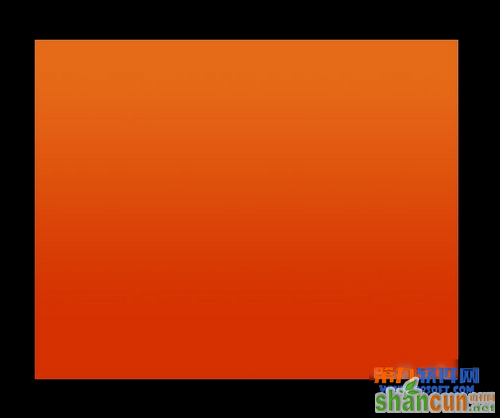
1.新建画布,背景设置成黑色,绘制矩形添加线性渐变(我设置的画布大小为1280x1024px)。
选择两种橙色制作细微的线性渐变(本教程渐变色设置:#e56b15-#d03403)。
2.新建图层。使用多边形索套工具,绘制如下图所示三角形选区。
选择画笔工具,选择大直径的柔角画笔(笔刷直径300px或者其他),笔刷不透明度设置为15%,沿着选区边缘,通过多次绘制制作出白色渐隐的效果,注意白色不能太浓烈。
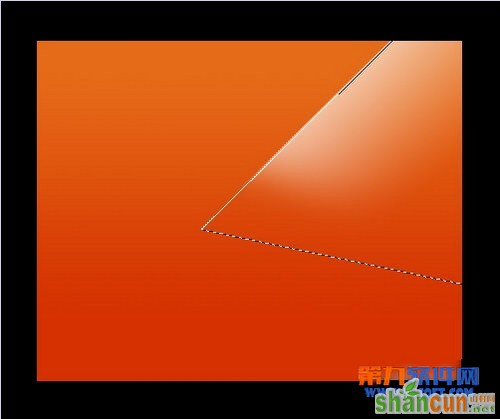
3.设置白色渐变所在图层的混合模式为“叠加”。
新建图层
如上,使用多边形索套工具绘制类似的三角形选区,这次笔刷颜色设置成黑色,然后使用笔刷涂抹绘出黑色渐隐效果(你也可以使用渐变工具制作,渐变色设置成黑色到透明)
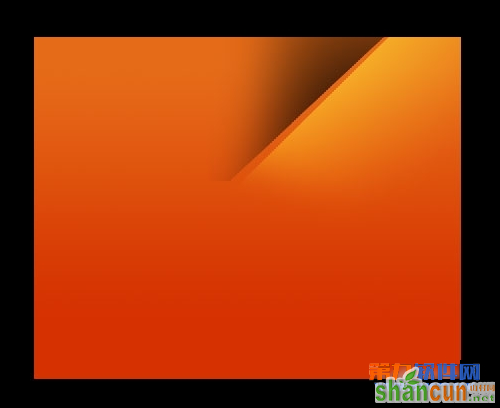
4.设置黑色渐变所在图层的混合模式为“叠加”,不透明度设为34%。
新建图层
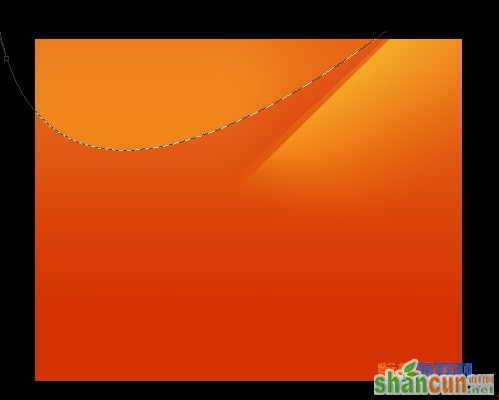
使用钢笔工具绘制如下漂亮的曲线路径。秘诀就是在绘制时尽量把锚点的调节线拉长。
备份路径然后取得选区。
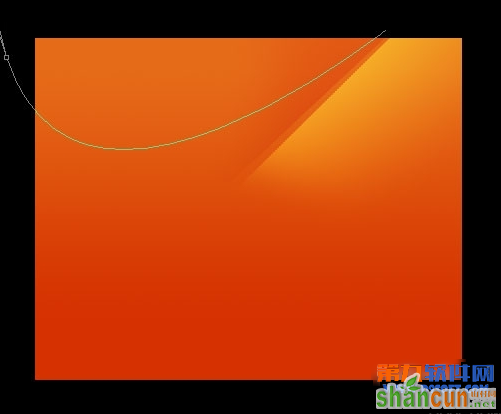
5.在选区内,使用渐变工具绘制白色到透明的渐变。图层混合模式为“叠加”,效果如下:
6.新建图层
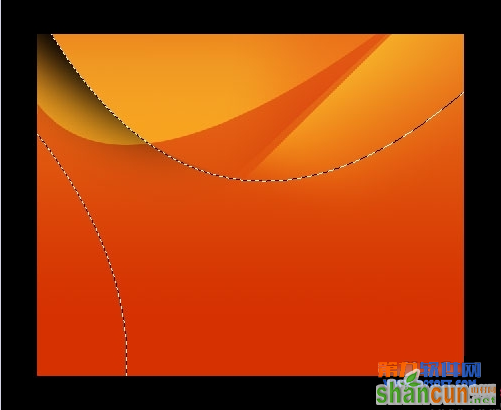
使用钢笔工具创建如下有趣的路径,Ctrl+Enter 取得选区。

7.在选区内,使用黑色画笔绘制黑色渐隐效果参照下图:
不要取消选区,下面还要用。
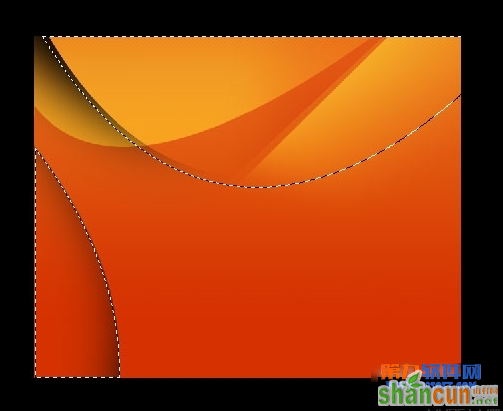
8.新建图层
选定选择工具,向下移动10个像素。
Ctrl+Shift+I 反选,在选区的左下角部分,使用黑色柔角画笔绘制黑色渐隐效果如下图。
设置图层的混合模式为“叠加”,不透明度60%。
9.新建图层
Ctrl+Shift+I 反选,前景色设置成白色,使用柔角画笔绘制一些漂亮的白色。选定选择工具,上移10个像素。
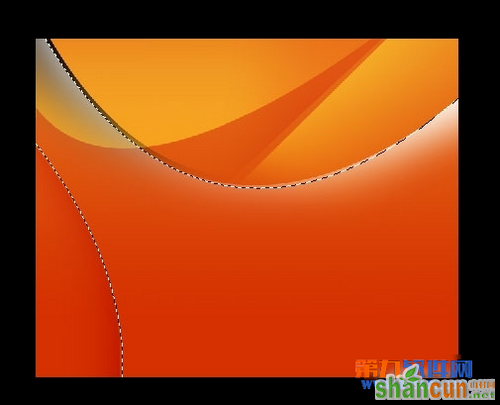
10.新建图层
选择渐变工具,颜色设置成白色到透明渐变,渐变类型选“径向渐变”,绘制渐变如下图:
图层混合模式选“叠加”

11.现在看起来画面的颜色不是很正。如果我想要画面更有活力,可以回到开始的背景层重新设置渐变色。我们这里采用一种更快捷的办法。
新建图层,填充橙色,设置图层混合模式为“颜色”,图层不透明度55%。
12.新建图层,使用钢笔工具绘制如下路径并取得选区。
13.为选区填充白色到透明的渐变,混合模式选择“叠加”,图层不透明度根据个人喜好自由调整。

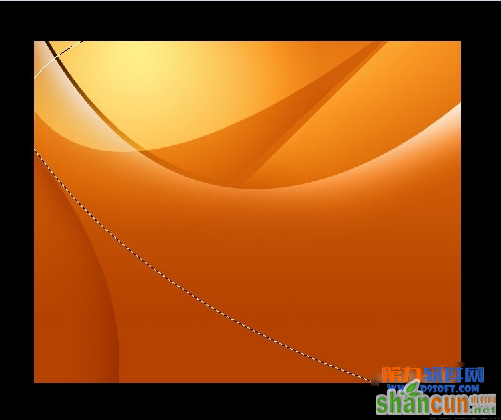
14.新建图层。使用钢笔工具绘制如下图所示,左下角的曲线路径,Ctrl+Enter键取得选区,填充白色到透明的渐变,混合模式选“叠加”。

15.最后的处理。我为背景的左上角添加了白色到透明的叠加图形、右下角添加了黑色到透明叠加图形。完成。


