
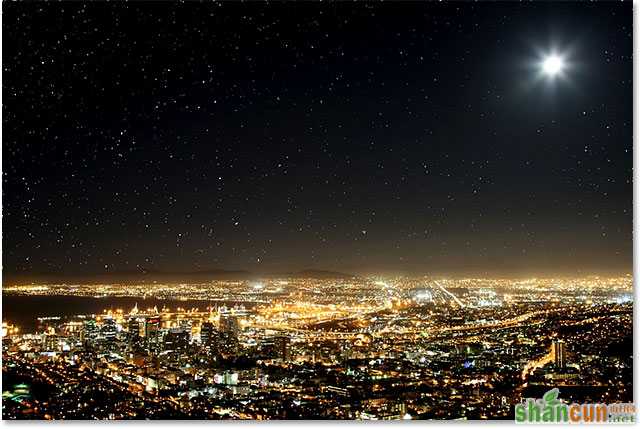
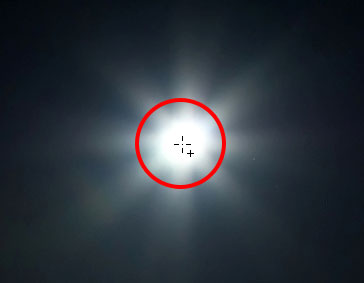
原图:

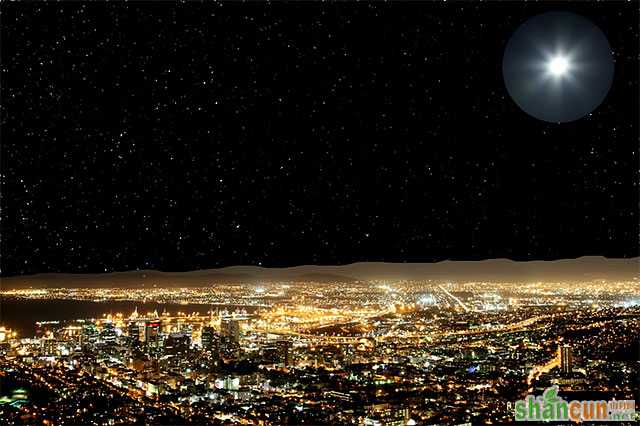
最终效果:
开始吧!
1、新建空白图层

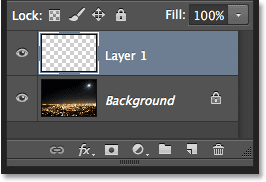
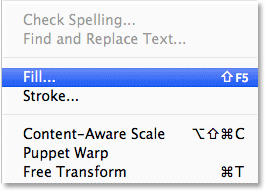
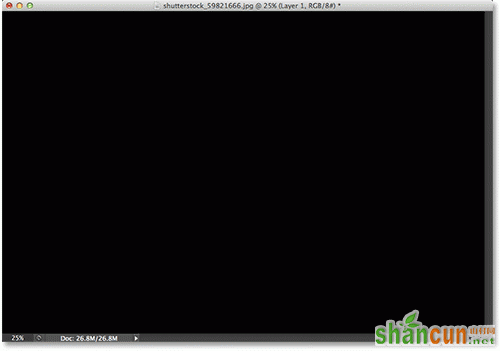
2、填充黑色(编辑→填充)
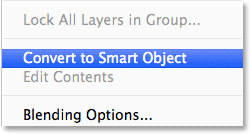
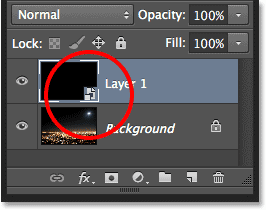
3、转换为智能对象
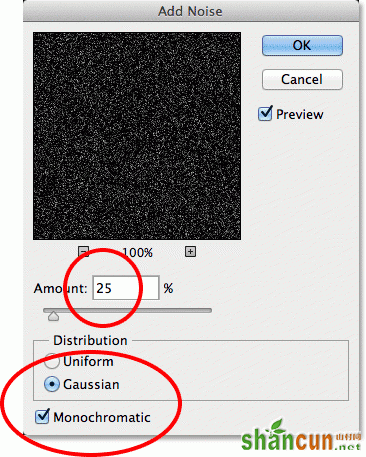
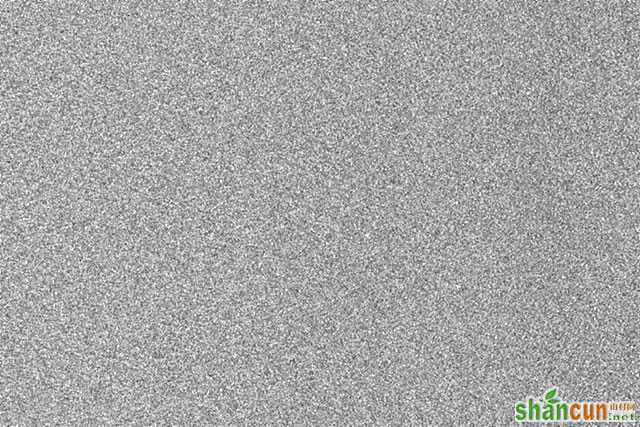
4、添加杂色(滤镜→杂色→添加杂色)
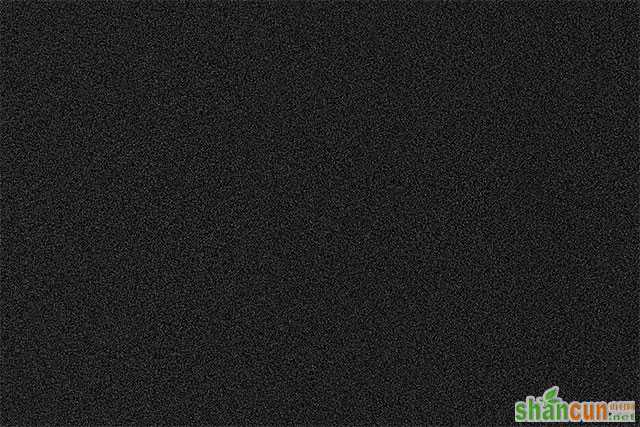
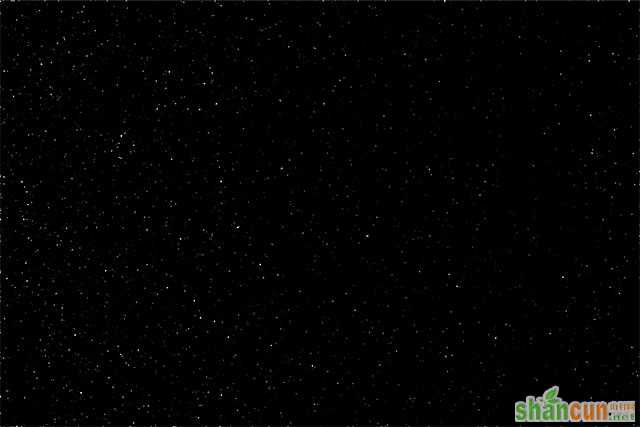
效果如下:
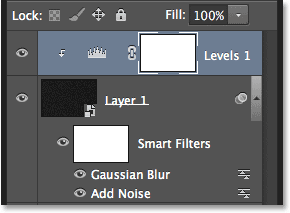
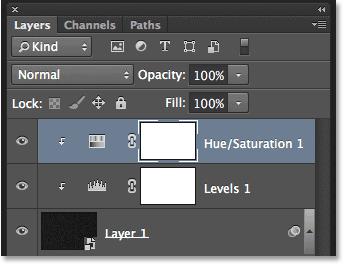
此时图层面板显示如下:
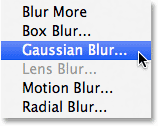
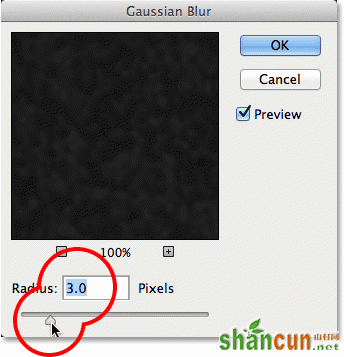
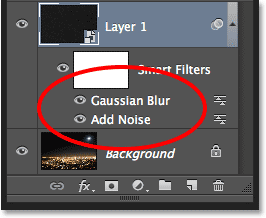
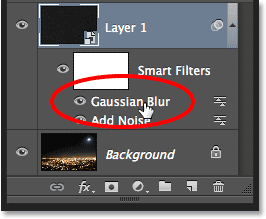
5、使用高斯模糊(滤镜→模糊→高斯模糊)
此时图层面板显示为:
如果你想再次修改模糊效果,可双击该高斯模糊文字打开设置窗口(调整时2-6之间的数据都可以试试。具体效果结合后面的步骤来调整):
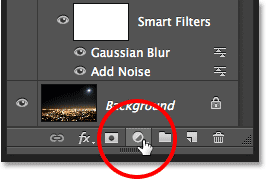
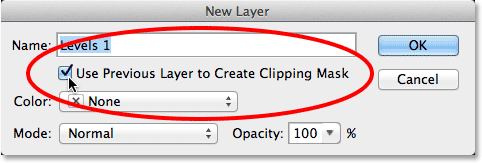
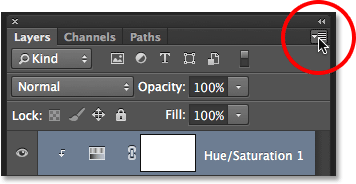
6、新建色阶调整图层
按下Alt (Win) / Option (Mac)键点击图层面板里面的新建调整图层按钮,在弹出的窗口中勾选“使用前层创建剪切蒙版”选项:
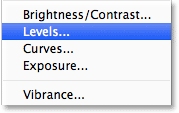
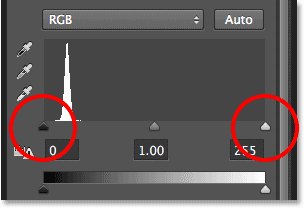
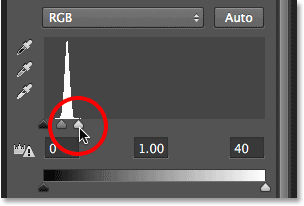
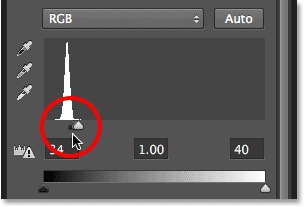
7、色阶调整
右边数据设为40,左边24。实际数据按照你自己的效果来哈。
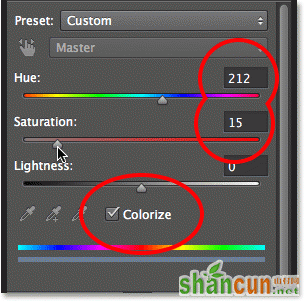
8、新建色相/饱和度调整图层
和上面的方法一样,记住按下 Alt (Win) / Option (Mac) 键。

数据调整:

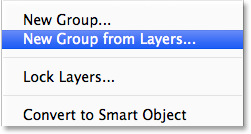
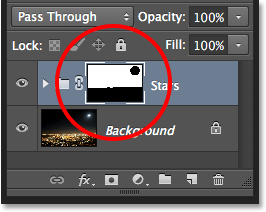
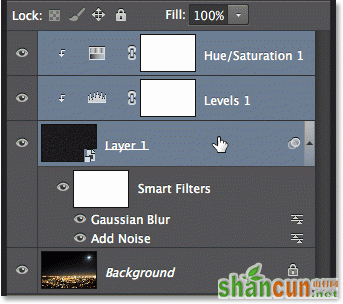
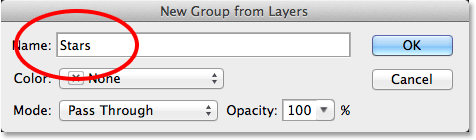
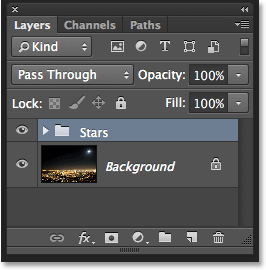
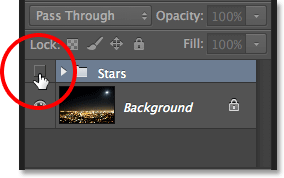
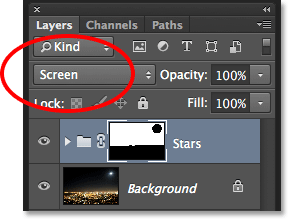
9、编组
给三个图层编组
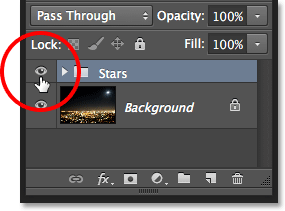
10、取消编组的可见性

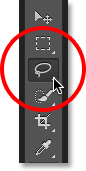
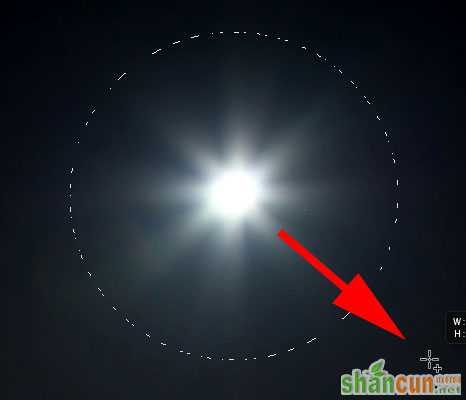
11、选中星星不该出现的区域
使用套索工具圈出城市区域。
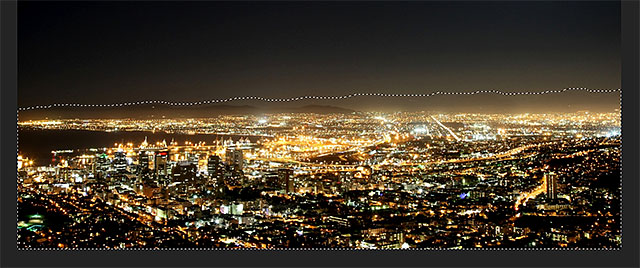
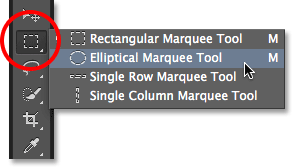
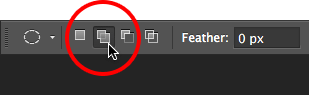
使用椭圆选框工具,点选“添加到选区”按钮,在天空右上角的星星部分划出星星的部分,可以按住Shift+Alt (Win) / Shift+Option (Mac)从星星的中央拖出一个圆形。
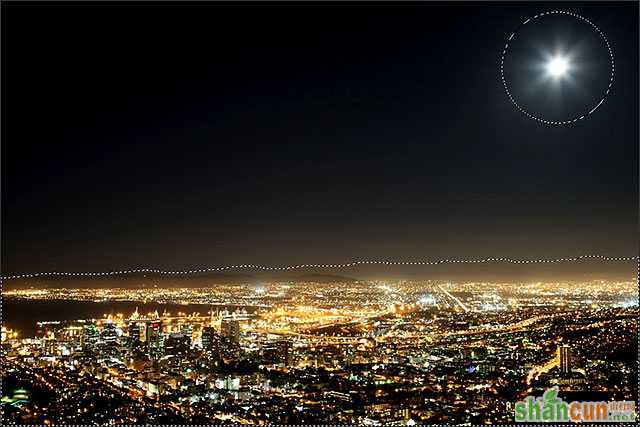
整幅图的选区如下:
12、恢复编组可见性

13、添加图层蒙版
按住 Alt (Win) / Option (Mac)键点击添加蒙版按钮,选区内的星星自动被隐藏。如果不按住 Alt (Win) / Option (Mac)键,则选区是反向的。

14、改变叠加模式为滤色。
这就是最终效果:


