注意:本教程基于PS CS6,因此一些截图与之前的版本略有不同,个别笔刷也仅供CS6版本使用。
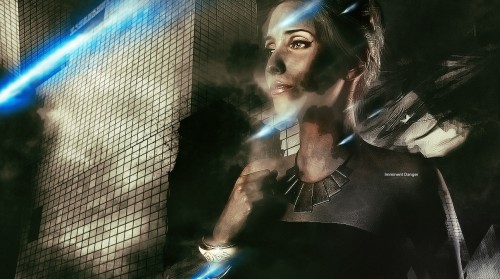
最终效果:
教程所需素材下载:
Model by ~tigersgirl
Flag
City Building
Grunge Brush
Cloud Brush
Step 1
新建一个文件,大小为1290*700像素,背景为黑色。再新建一个图层,用grunge笔刷(素材中的第四个)随意的在背景中画几笔。
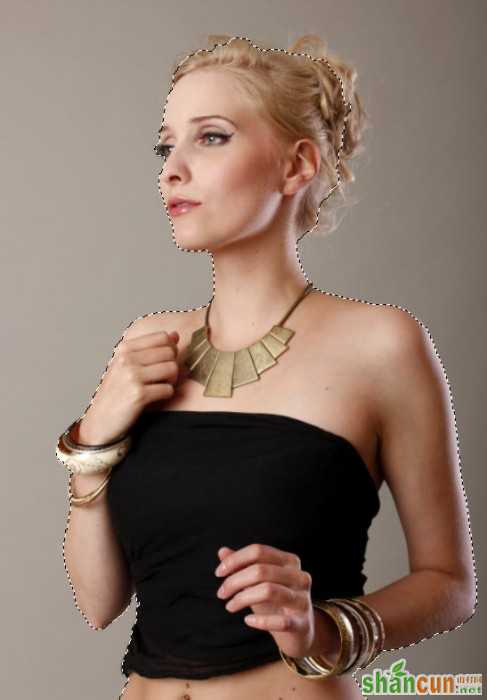
在PS中打开美女的照片(素材中的第一个),用快速选择工具选出美女,如下:
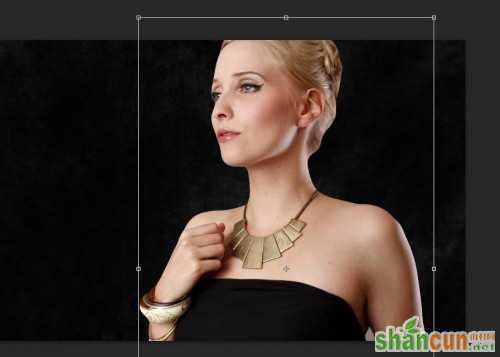
将其复制粘贴到我们的文件中,用自由变换工具调整其大小。
我们希望这个模特轮廓更鲜明一些,打开滤镜>锐化>USM锐化,设置数据如下:
对美女这一图层添加剪切蒙版,然后设置如下:
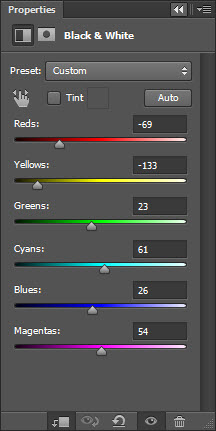
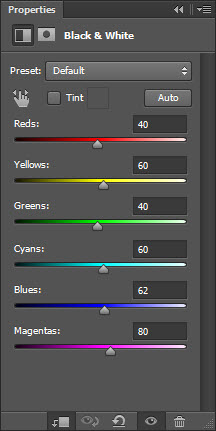
黑&白
这一调整图层的蒙版效果如下:
色阶
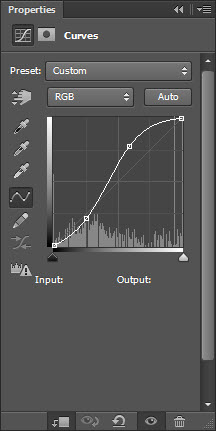
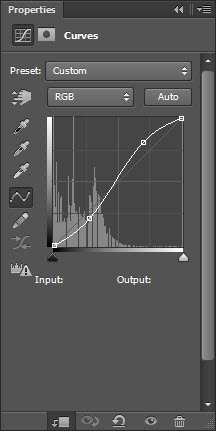
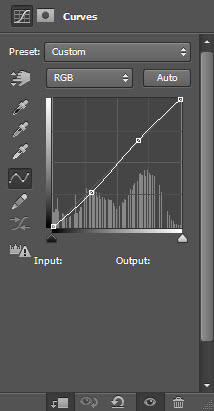
曲线
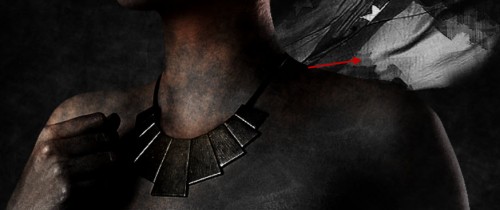
最终效果如下所示,这一步中的一系列调整对这个脏兮兮的效果起到了决定性的作用。

Step 2
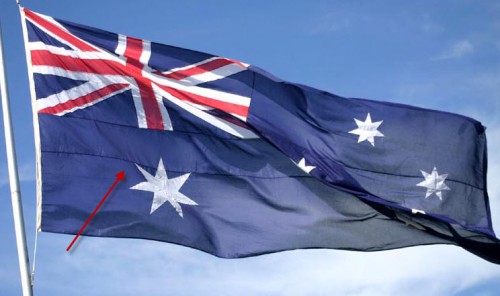
为了说明这位异国美女的身份,我们特意找来了大不列颠帝国的国旗(素材中的第二个)。
将这个国旗复制粘贴到我们的文件中,放在美女这个图层下面,然后用grunge笔刷擦一下。
对国旗这个图层添加剪切蒙版,设置如下:
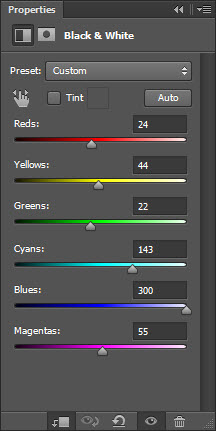
黑&白
色阶
曲线
效果:
一个国旗感觉太少太单调,我们决定多弄几个。复制国旗粘贴两次,放置位置如下,这样国旗看起来才有迎风飘扬的赶脚。
Step 3
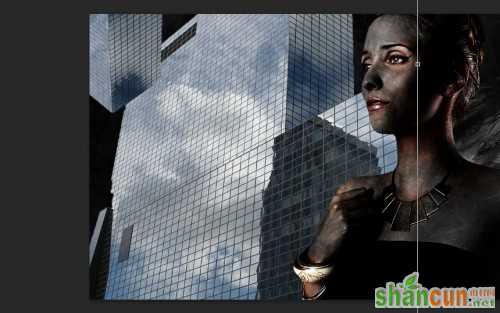
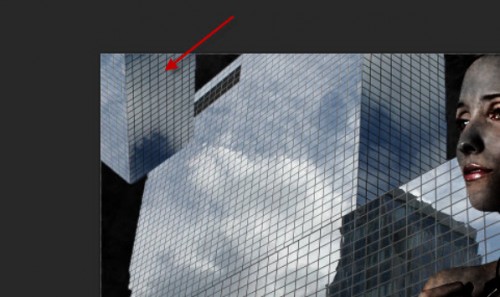
生化危机中怎么能缺少摩天大楼呢,打开大楼(素材中的第三个),扣出大楼主体,如下:
将其复制粘贴到我们的文件中,放在模特和国旗中间,调整它的大小。
为了让整体看起来更加奇幻、紧蹙,你还可以将大楼再粘贴一次,并将其倒转,放置位置如下:
用grunge笔刷将大楼擦黑一些。
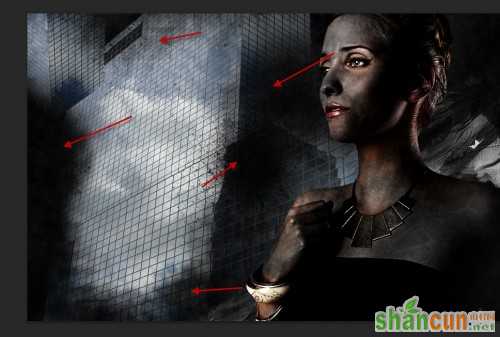
对大楼图层添加剪切蒙版,调整如下:
黑&白
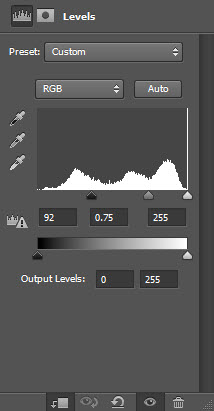
色阶
曲线
效果:
Step 4
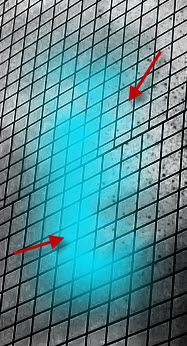
现在我们要打造超现实光感效果,点击矩形选框工具,羽化值为20像素。
随便选择一块,颜色如下:
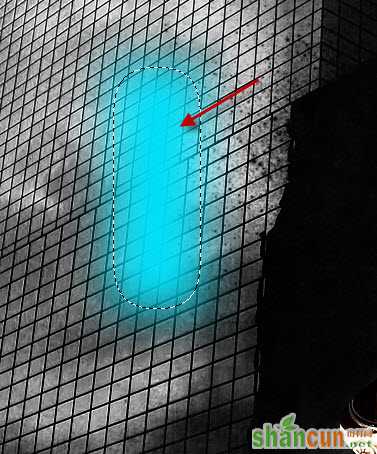
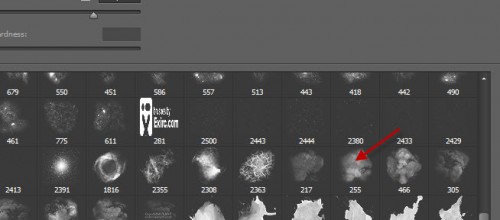
将云笔刷(素材中的最后一个)置入PS,选一个你喜欢的。
用云笔刷擦选框的边缘。
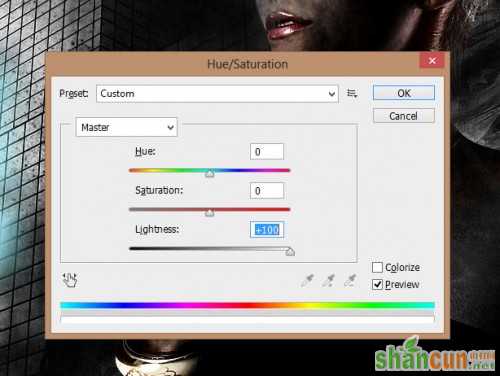
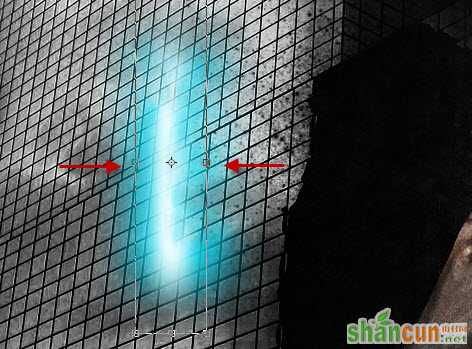
复制一次这个图层,对复制的图层进行色相/饱和度调整。
用自由变换工具压缩复制图层。
合并这两个图层,设置如下:
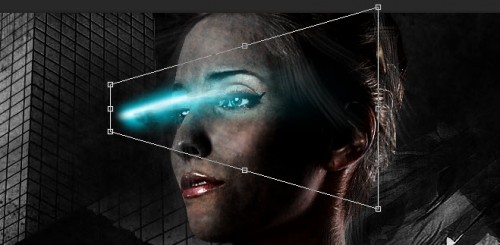
多复制几次上面那个图层,调整它们的大小,然后分散它们,要让它们像子弹一样飞。

Step 5
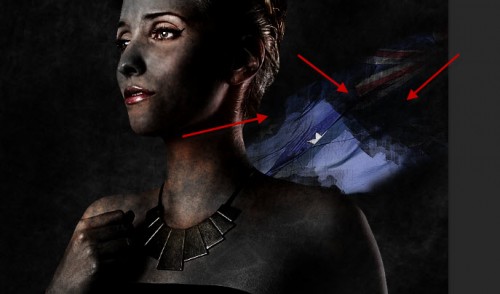
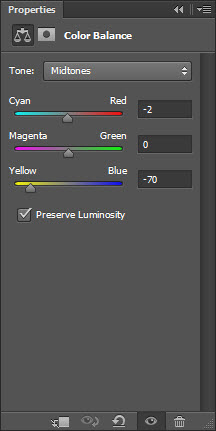
铛铛铛铛~马上就好啦!为了让美女看起来更加可怜,我们决定用云笔刷在她的脸部画一些黑气。
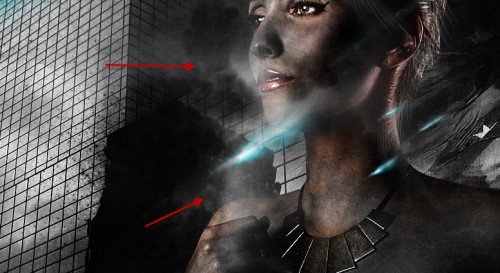
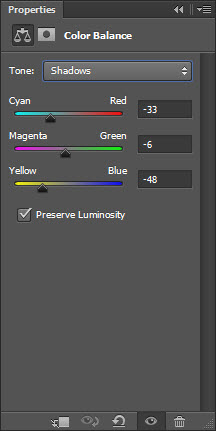
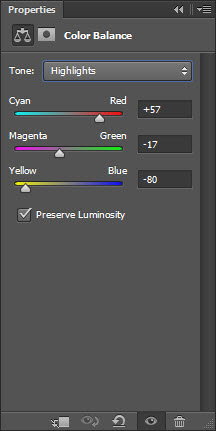
对黑气这个图层做一下颜色调整,打开色彩平衡,设置数据如下: