
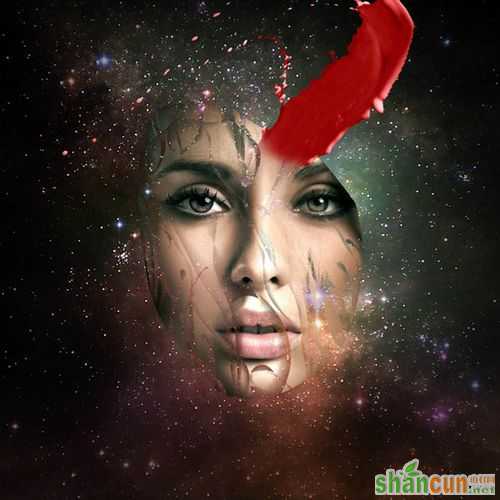
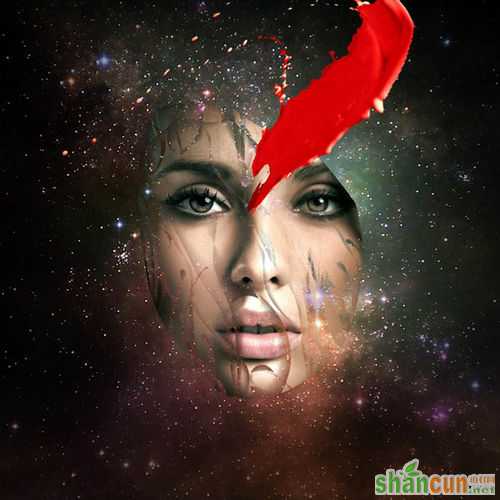
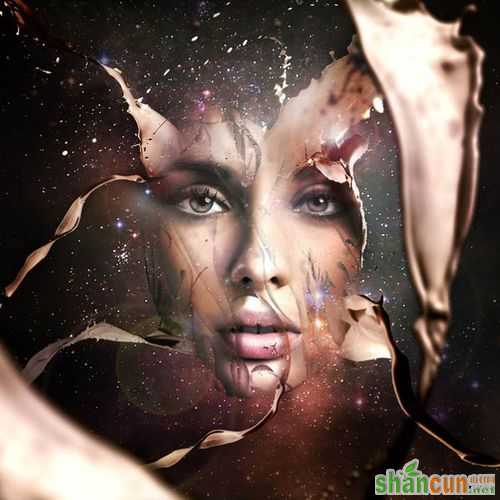
最终效果图:

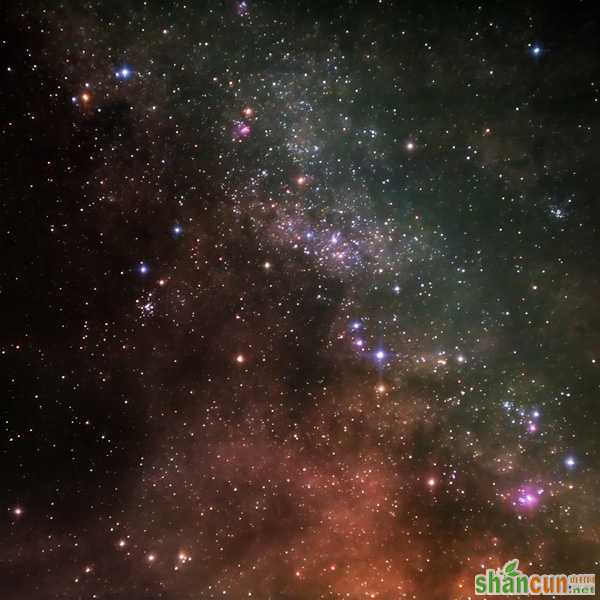
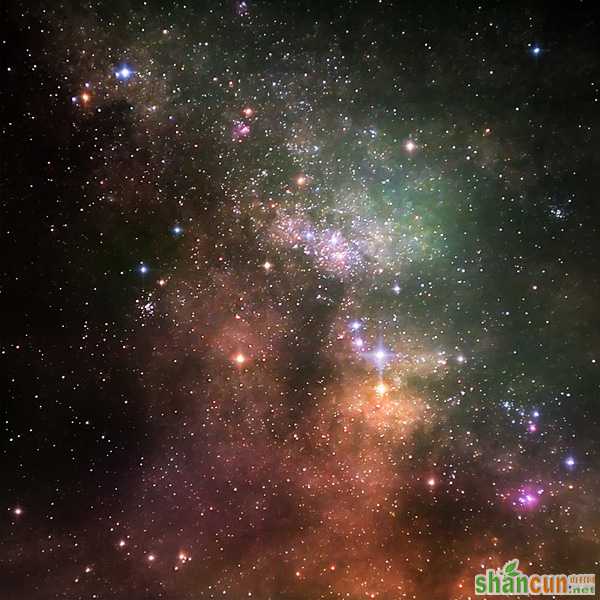
1、打开下图所示的背景素材。
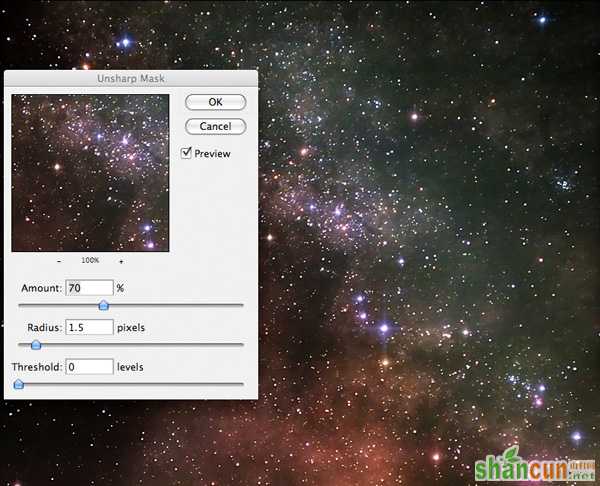
2、这时候看星空图片有些模糊,可以点击“滤镜>锐化>USm锐化”并如下设置。
3、下面来将一个光源,新建一个图层,选择“渐变工具”,设置颜色为“白色到透明”渐变,在画布中心向外拖出一个渐变,如下所示。
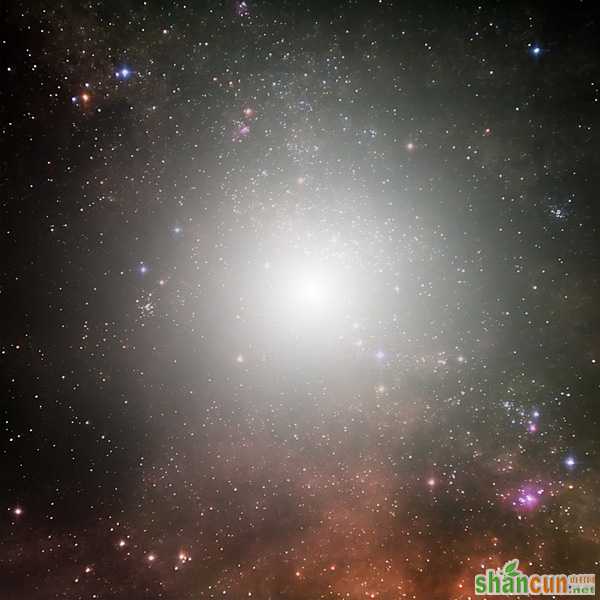
4、完成后将图层的混合模式设置为“叠加”,得到如下效果。

5、下面再做更多的彩色光点,新建一个图层,使用上面的步骤,在画布上拖出更多的小的白色到透明径向渐变。
6、双击这个图层,调出图层样式,选择“渐变叠加”并如下设置。
确保这个图层的混合模式为“叠加”。
7、将图层的混合模式设置为“叠加”,并将不透明度设置为5%,得到这样效果。
8、打开人物素材,用“套索工具”抠选出脸部,并粘贴到画布上,如下图所示。
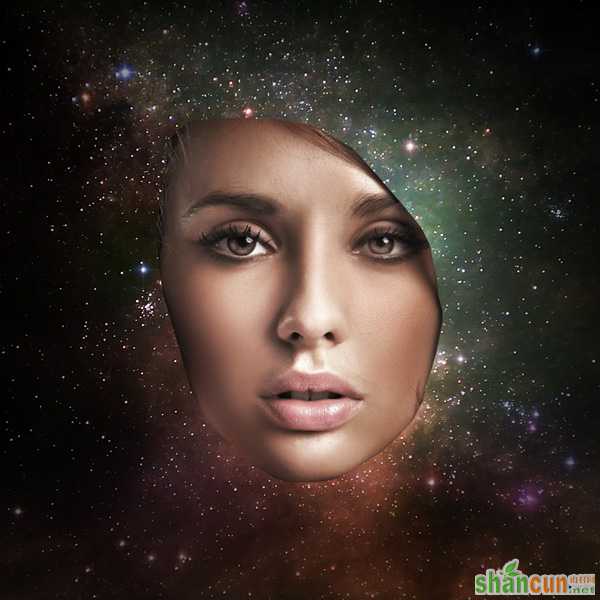
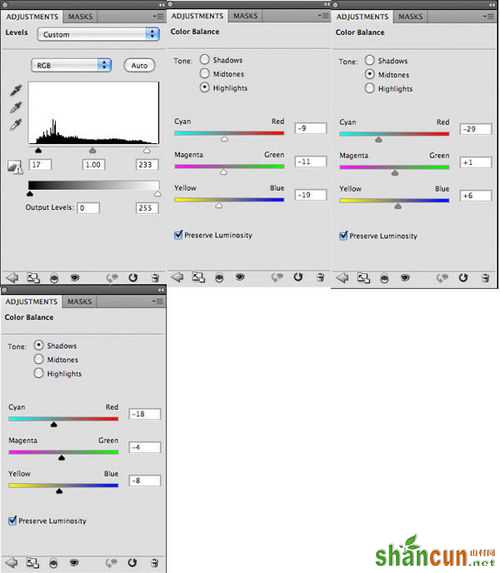
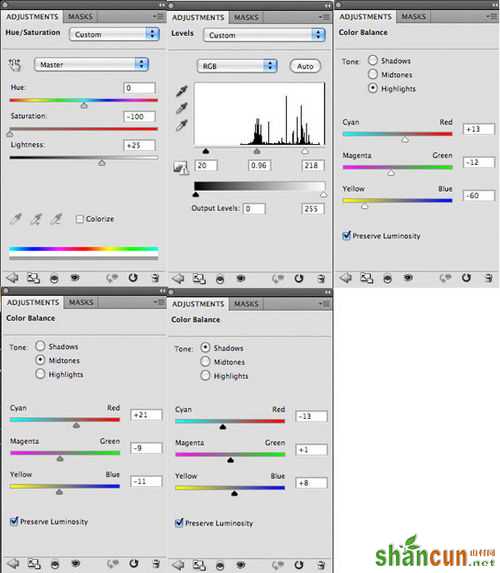
9、分别创建色阶、色彩平衡调整图层,参数设置如下图,完成后要记住按Ctrl+Alt+G将这些调整层给人物脸部图层“创建剪贴蒙版”,让这些调整只作用与脸部。
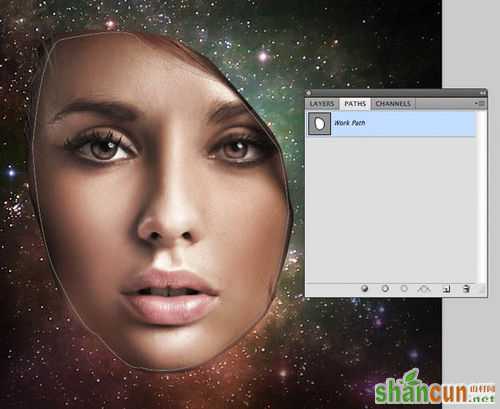
10、使用“钢笔工具”沿着人物脸部绘制一个路径,如下图所思,转到“路径”面变,点击面板下方的“转换为选区”按钮,然后回到图层面板,点击“添加图层蒙版”按钮,隐藏路径外的内容。
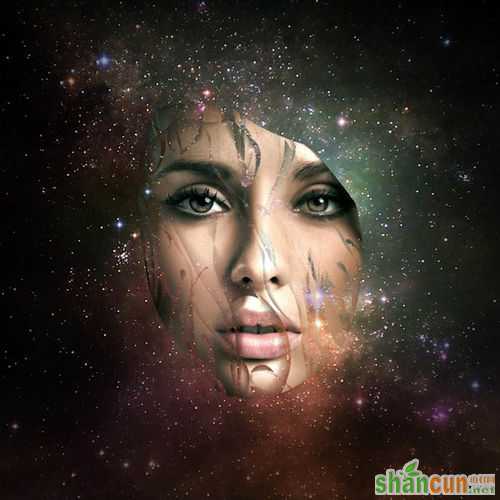
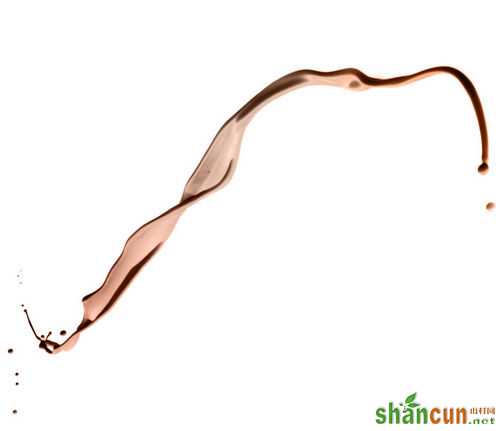
11、使用黑色柔角画笔,点击“图层蒙版”略缩图,在人物脸上涂抹,得到这样效果为止。
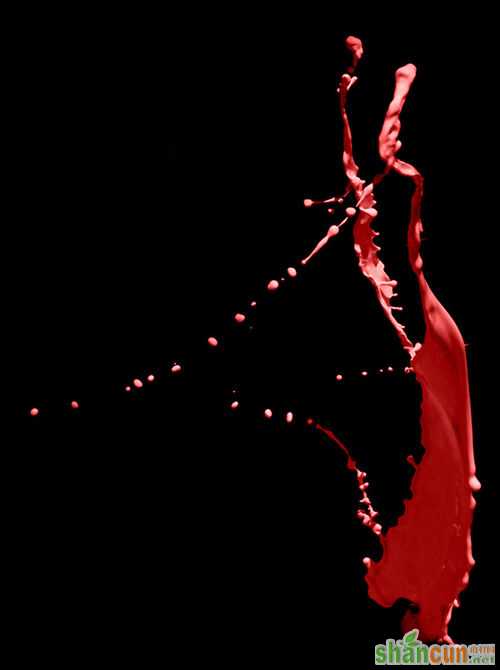
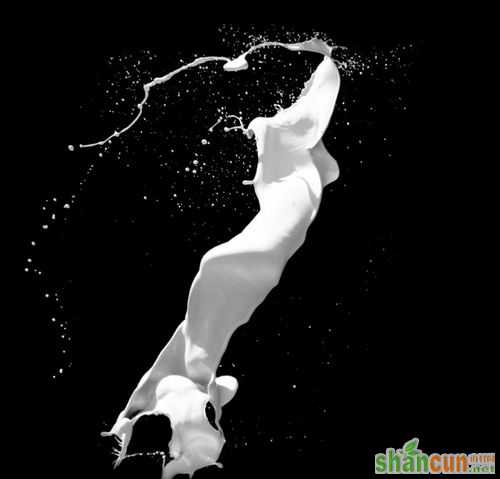
12、打开喷溅素材。
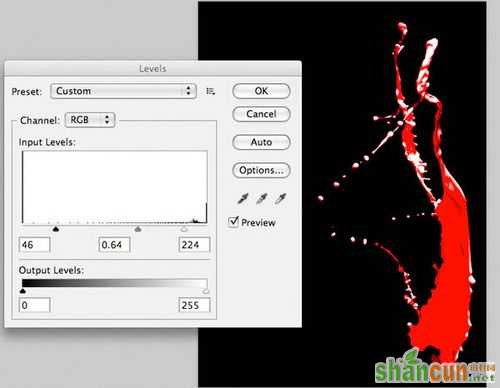
13、点击图像>调整>色阶并如下调整。
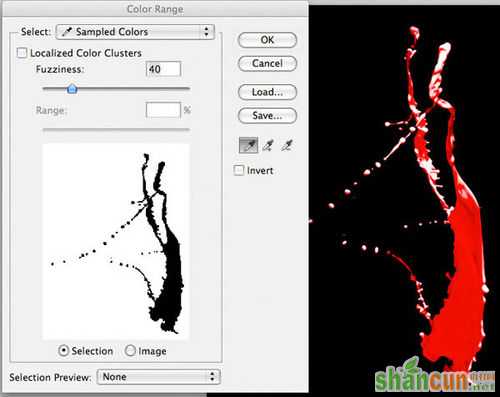
14、在点击选择>色彩范围并如下设置。
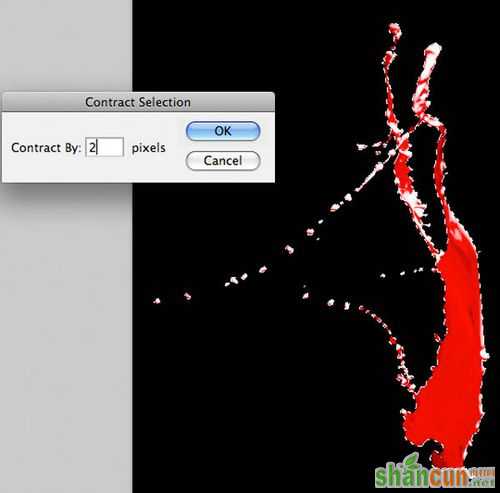
15、完成后点击“选择>反选”,在点击“选择>修改>收缩”并如下设置。
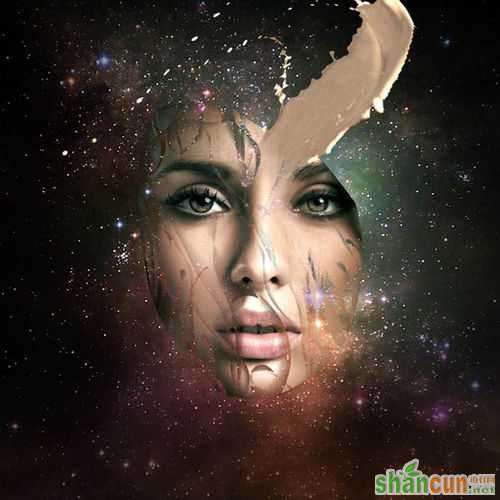
16、将油漆飞溅复制并粘贴到画布上,如下图所示。
17、点击“编辑>变换>扭曲”进行变换。
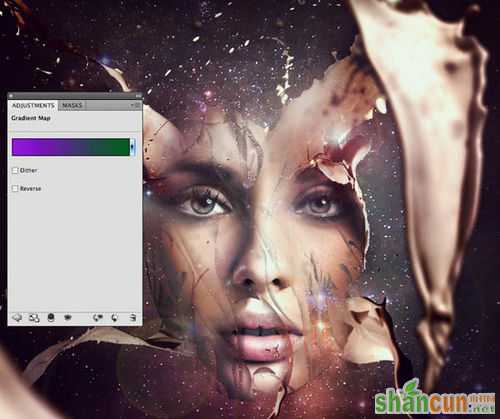
18、添加图层蒙版,涂抹后让其和女人的脸结合。
19、分别创建色相/饱和度、色阶及色彩平衡调整图层,参数设置如下图,完成后将这个调整层按Ctrl+Alt+G创建剪贴蒙版。
20、重复上面的步骤,制作出大量的碎裂。
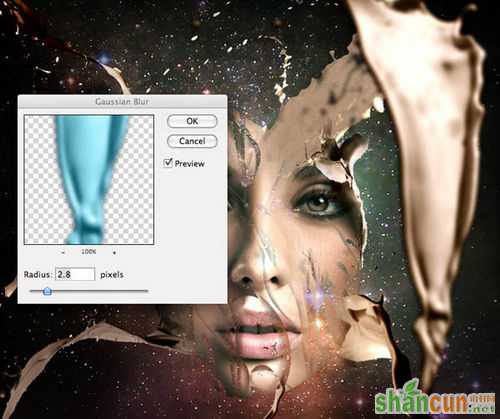
21、点击滤镜>模糊>高斯模糊并如下设置,给飞溅层添加模糊效应。
22、新建一个层,填充黑色,点击滤镜>渲染>镜头光晕并设置下面的照射角度。
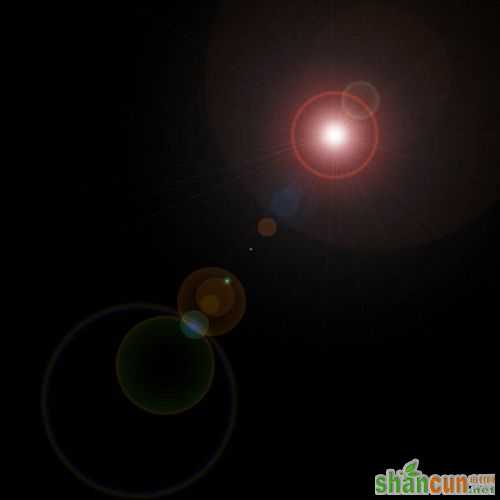
23、将图层的混合模式设置为“滤色”,不透明度设置为80%,得到这样效果。
24、新建一个图层,点击:编辑>填充,使用“50%灰色”,然后选择“加深/减淡工具”在上面涂抹出阴影和高光的对比,如下图所示。
25、将图层的混合模式设置为“叠加”.
26、最后创建渐变映射调整图层,设置颜色#9400e1到#00601b.
完成后将图层的不透明度设置为7%,完成最终效果。


