经验版权:rainxieyu 翻译

超人之钢铁之躯上映,特效很棒。我记得起初看超人电影时还是小孩子,让我想起很多美好的回忆。所以在本教程中我们将使用Illustrator和Photoshop制作超人标志。整个制作过程一般需要3- 5小时,话不多说了,让我们开始吧。
Step1
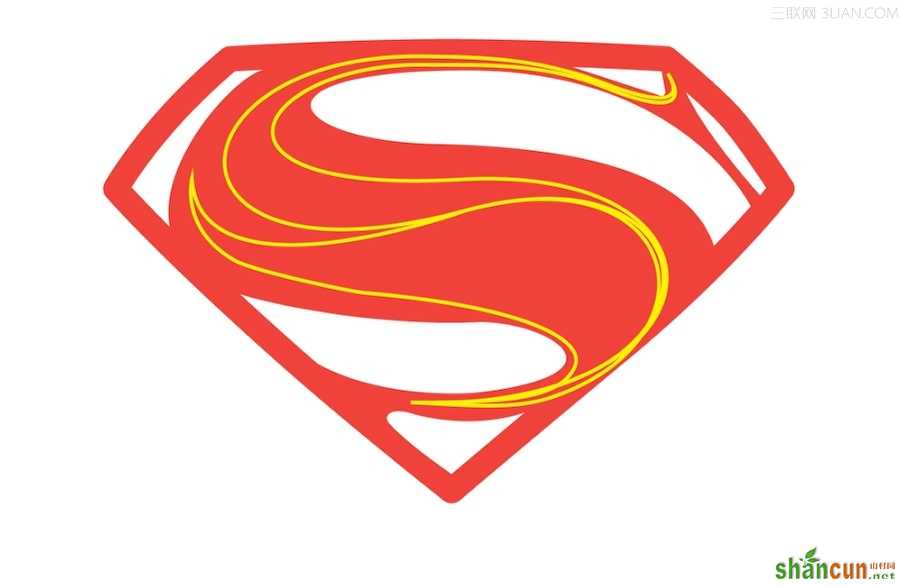
我们先在Illustrator画出基本形,用钢笔工具(P) 开始创建标志外框。

Step2
使用钢笔工具(P) 开始创建S标志(可以参考真正的标志)。
Step3
如果你细心观察会发现标志的中心有几条细钢丝,使用钢笔工具大概绘制出来。这里不必太细致,因为我们后期还需Photoshop做调整。
Step4
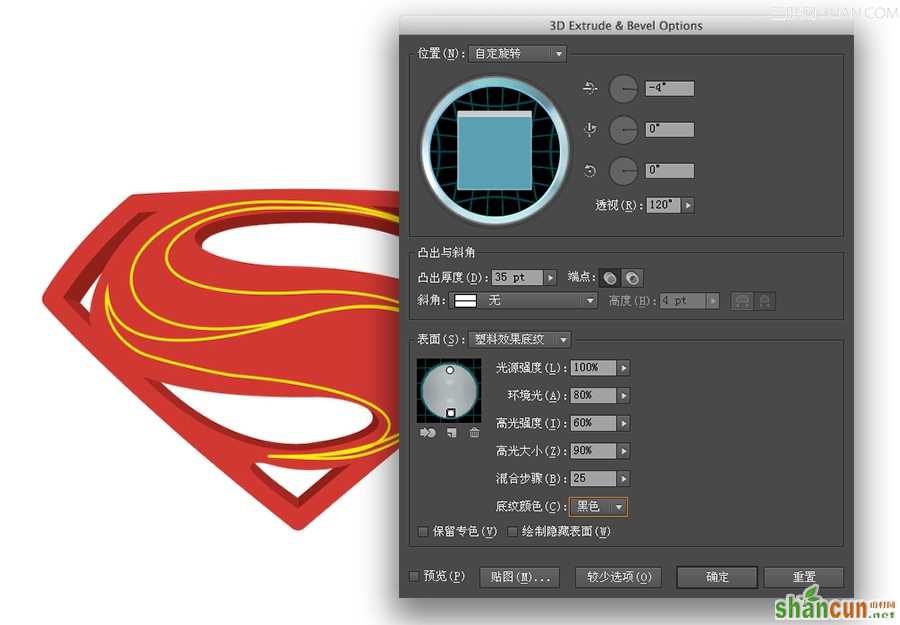
效果>3D>凸出和斜角 。自定旋转:-4º、0º、0º、120º。改变凸出厚度35pt。具体设置可参考下图:
Step5
对象>扩展外观 。分解图形,然后改变颜色为灰色。窗口>路径查找器 。合并形状。

Step6
现在我们到Photoshop中创建一个新的文档。我使用2880px*1800px。背景使用白至黑径向渐变。
Step7
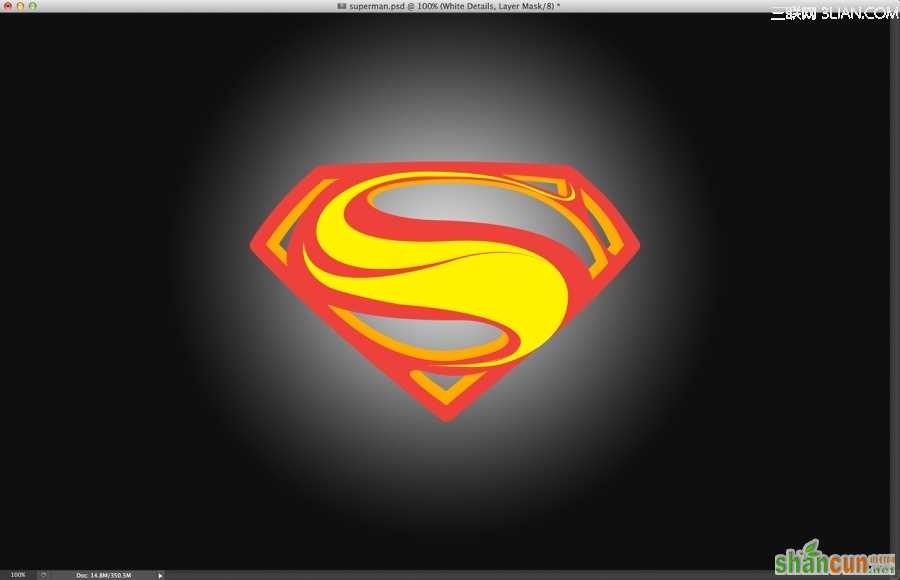
复制对象粘贴(智能对象)到Photoshop中。请把基本形分为一层,3D凸出部分为一层,在加上黄色部分的细节。
Step 8
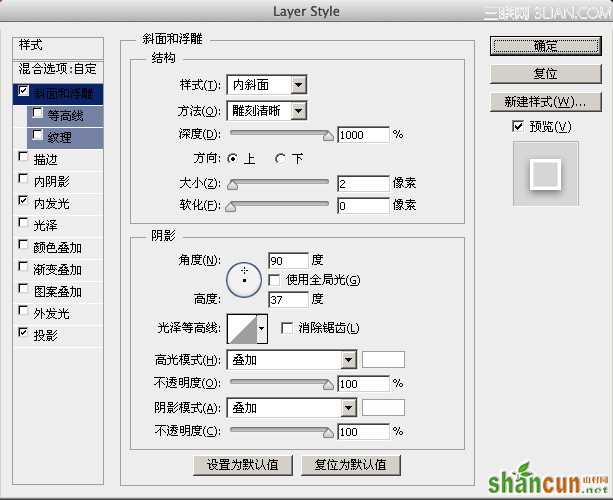
选择黄色图层>图层样式。选择斜面浮雕 ,具体设置可参考下图。
Step 9
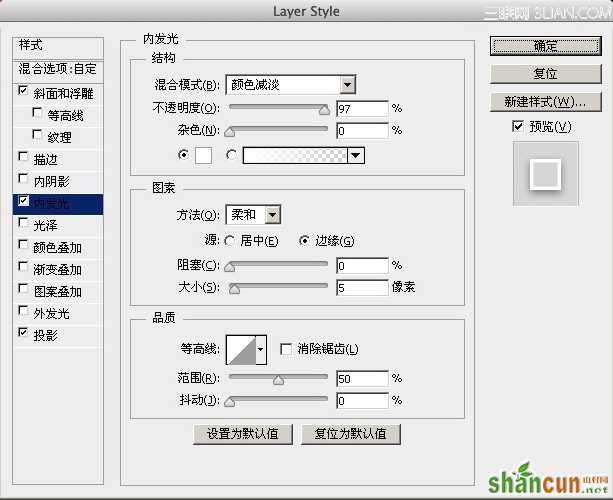
选择内发光 ,具体设置可参考下图。
Step10
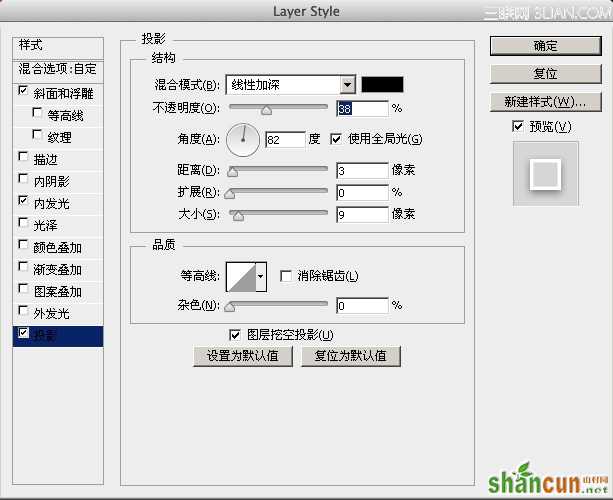
最后我们还可以设置阴影 ,具体设置可参考下图。
Step 11
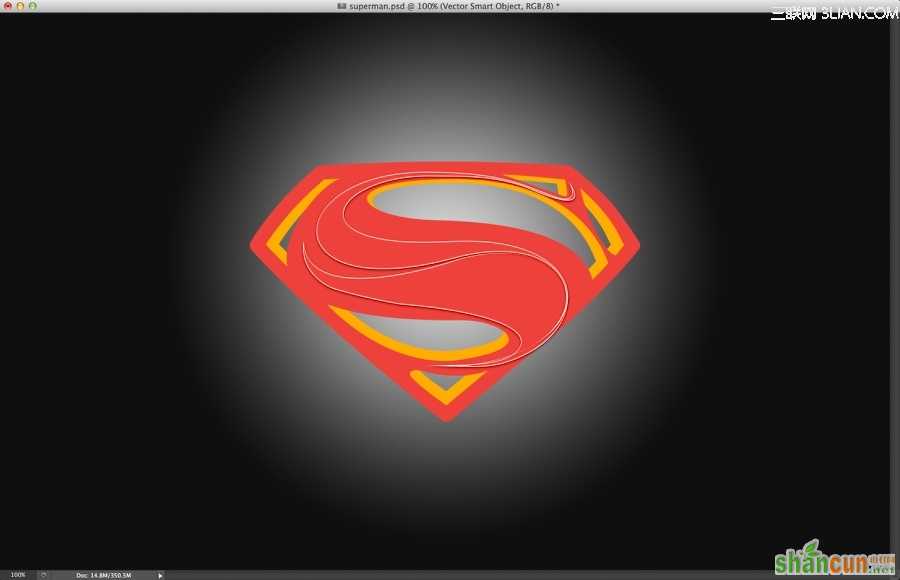
下图为图层样式的效果。
Step 12
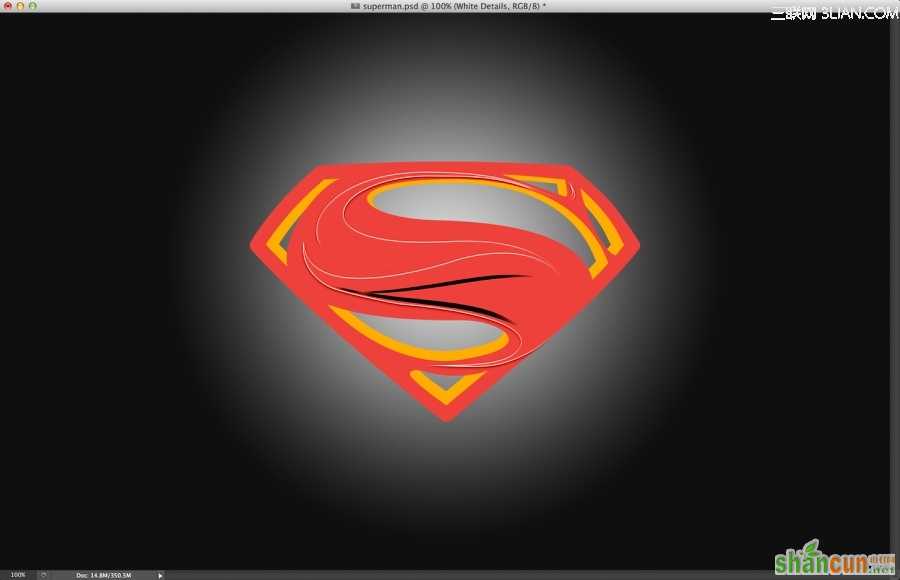
选择现在效果为白边图层>图层蒙版,在用黑色柔软画笔(B )隐藏部分细节(下图1、2、3区域)。
)隐藏部分细节(下图1、2、3区域)。

Step13
现在可使用钢笔工具(P)勾出黑色部分,然后图层蒙版,在用黑色柔软画笔(B)隐藏部分细节。
Step14
在红色标志图层上新建一层,使用黑色柔软画笔(B)增强标志明暗对比。ctrl+G图层编成组(按ctrl+点击红色标志缩览图)加上图层蒙版,只显示标志部分。
Step 15
选择红色标志图层>图层样式。首先选择斜面浮雕,具体设置可参考下图。
Step 16
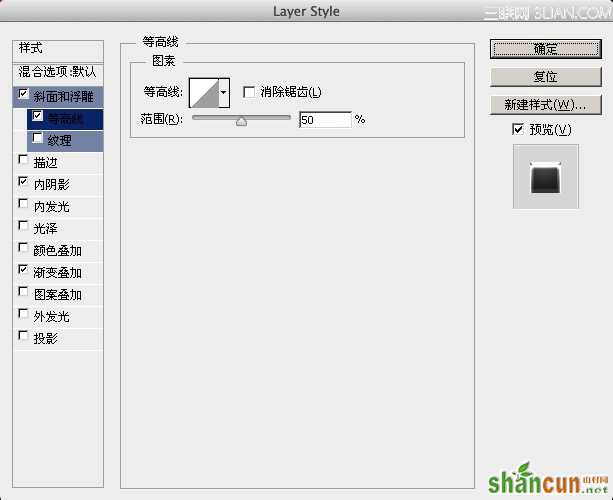
选择等高线,使用默认值。
Step17
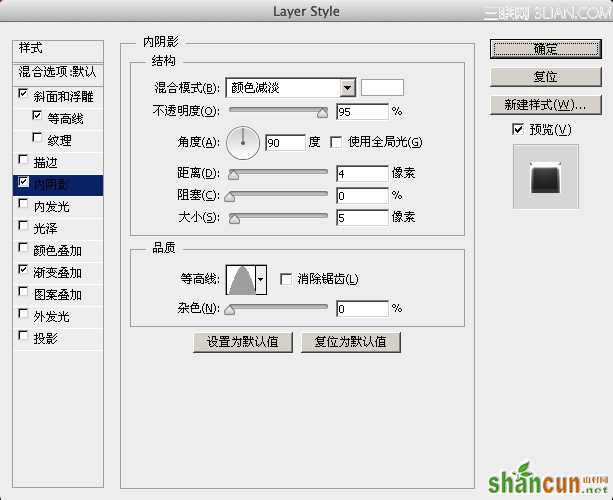
选择内阴影,这里的内阴影主要是提高亮光。
Step18
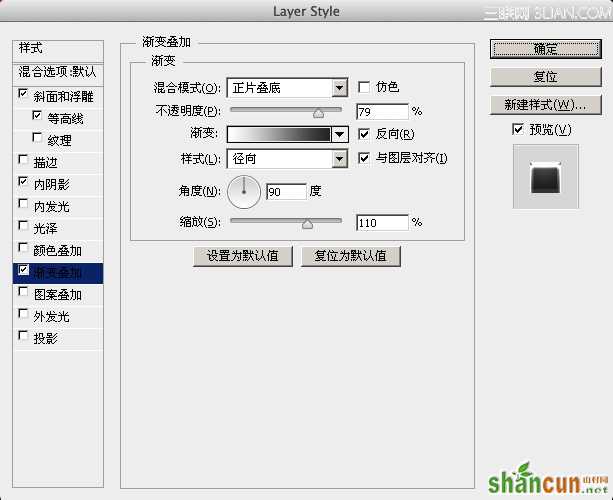
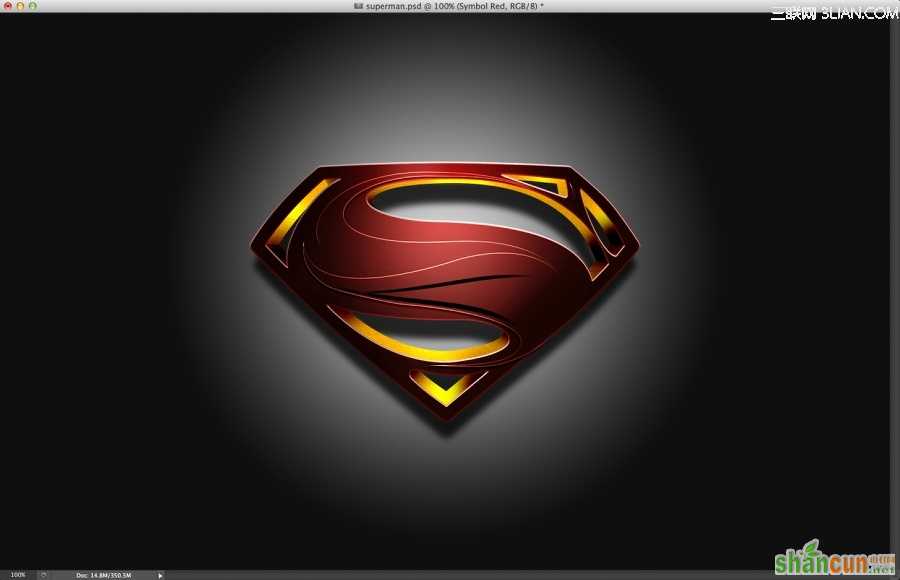
现在添加渐变叠加,使用径向渐变来达到更好的光照效果。
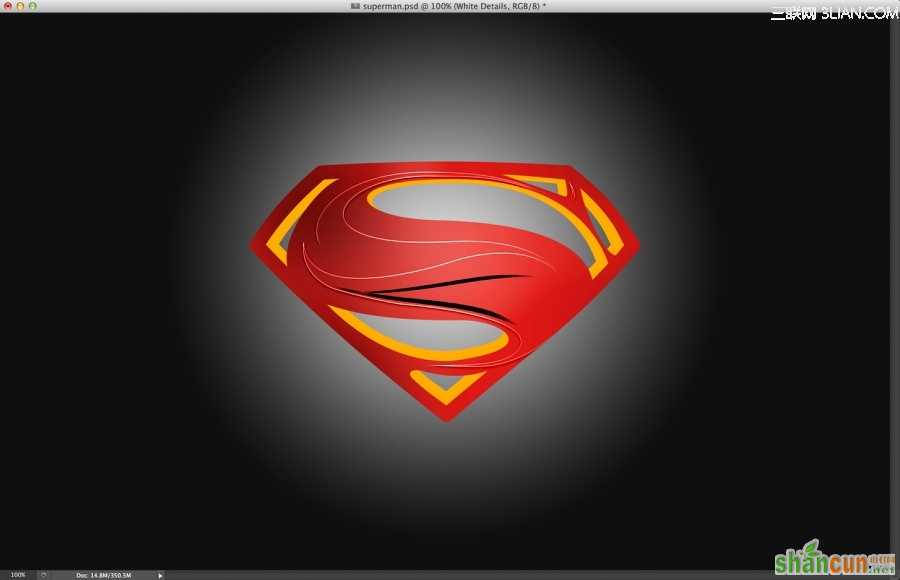
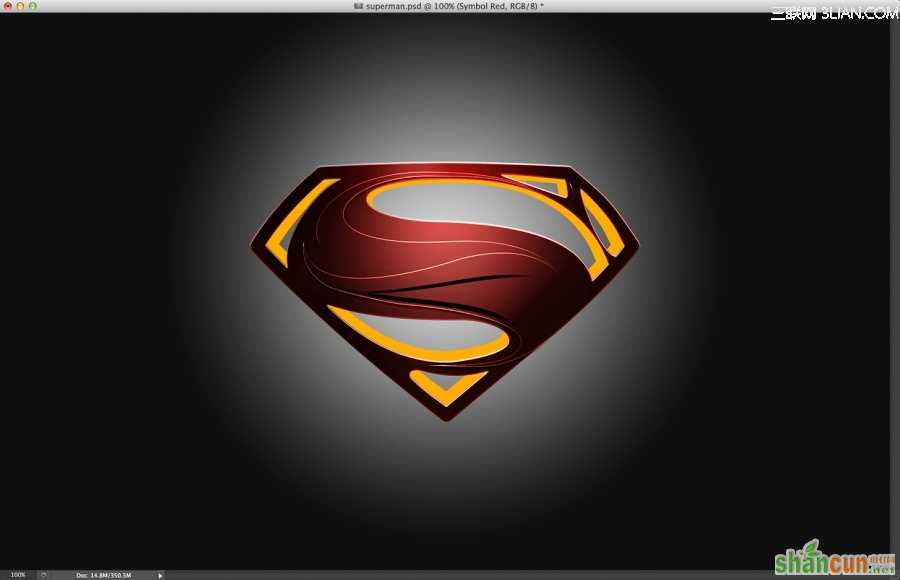
Step19
你可以根据自己所做的来调整图层明暗关系,最终效果可以参考下图。
Step20
现在开始添加一些纹理。选择3D凸出图层>图层样式>颜色叠加(黄颜色)。导入金属纹理素材,ctrl+G图层编成组(按ctrl+点击3D凸出缩览图)加上图层蒙版,只显示3D凸出标志部分。混合模式改为正片叠底。
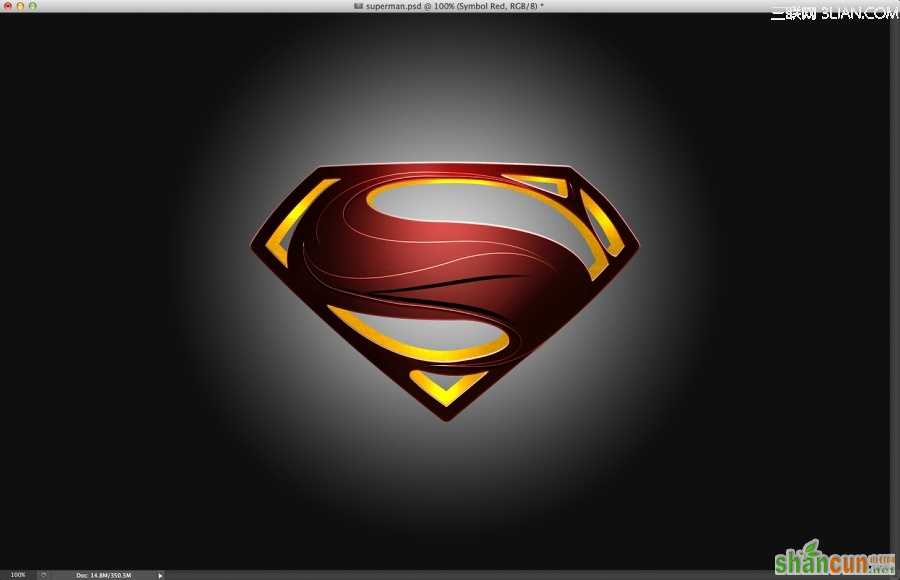
Step21
新建一层,使用不透明度为30%白色柔软画笔(B)绘制高光部分。ctrl+G图层编成组(按ctrl+点击3D凸出缩览图)加上图层蒙版,只显示标志部分。混合模式改为颜色减淡。
Step 22
在新建一层,使用黑色柔软画笔(B)绘制暗部(根据实际情况改变画笔不透明度)。在ctrl+G图层编成组(按ctrl+点击3D凸出缩览图)加上图层蒙版,只显示标志部分,混合模式改为线性加深。在转折(1、2、3、4)区域可用套索工具(L)来创建完美的过渡。

Step23
接下来制作小阴影,复制3D凸出层和红色标志层,合并后填充黑色,滤镜>模糊>高斯模糊。使用10像素半径,改变混合模式为正片叠底不透明度为80%。
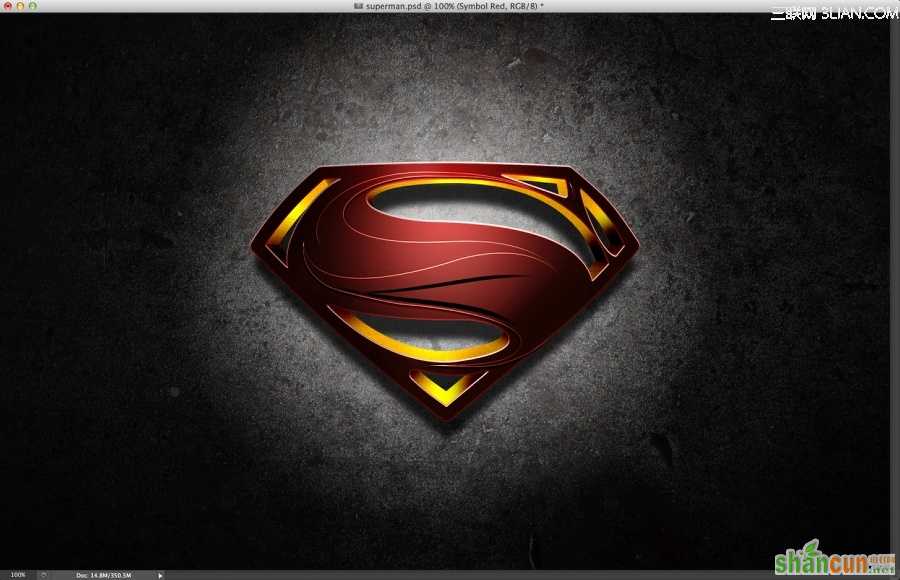
Step24
接下来添加背景纹理,导入金属背景素材,混合模式改为柔光。
Step 25
接下来添加标志纹理,复制金属背景纹理层,移动到最顶图层上。添加图层蒙版,只显示超人标志纹理。
Step26
加强质感。金属素材放到顶部使用混合模式为柔光不透明度为70%。
Step27
添加最后的金属纹理,用混合模式为柔光。
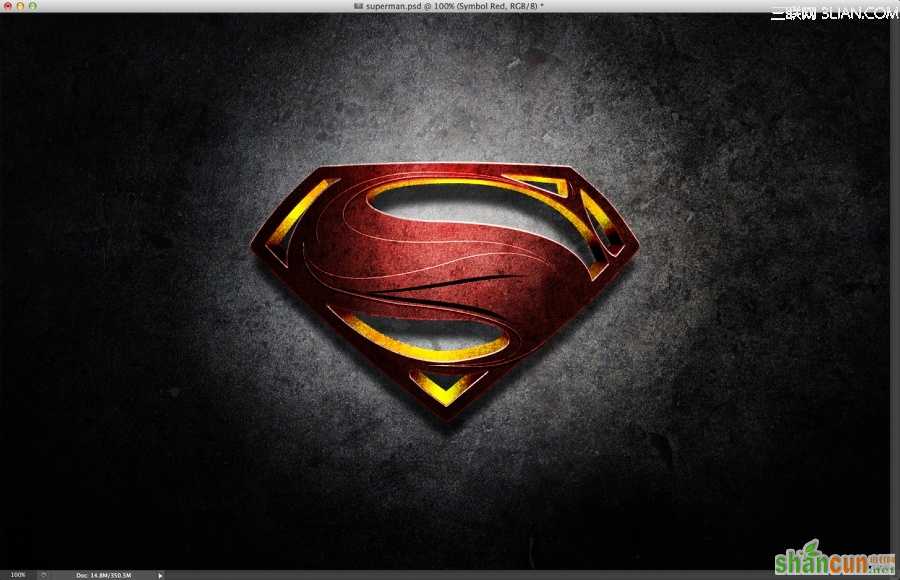
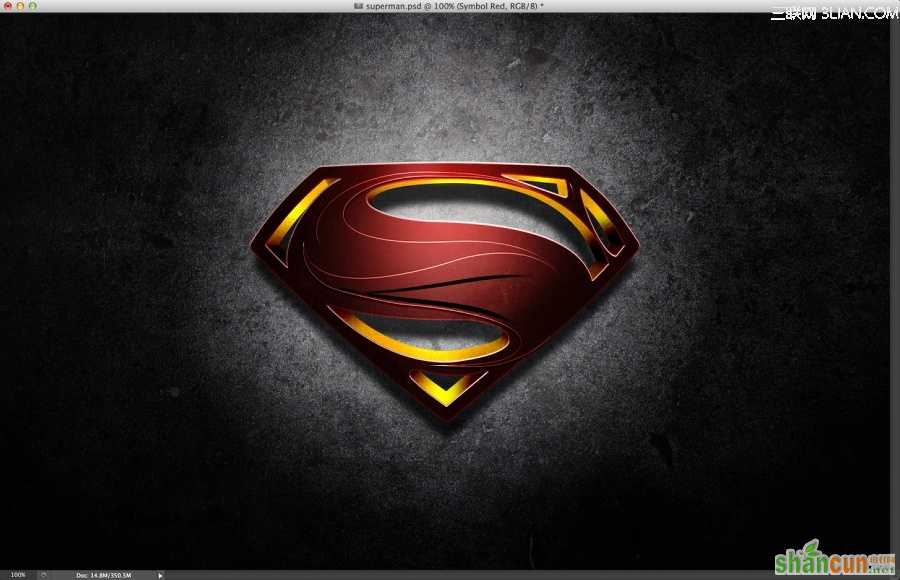
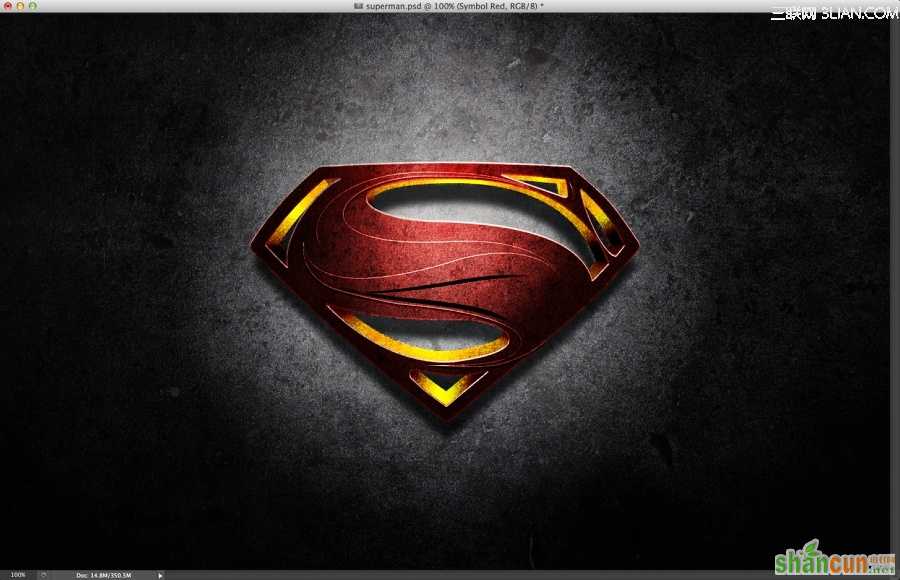
Step 28
Ctrl+Shift+Alt+E盖印可见图层,混合模式改为叠加不透明度为40%。在新建一层,使用白色柔软画笔(B)绘制光照亮点,Ctrl+G图层编成组混合模式改为线性减淡不透明度为80%。到这里制作完成了,让我们看看效果吧。由于尺寸太多源文件传不上来,所以我缩小了一点上传。