
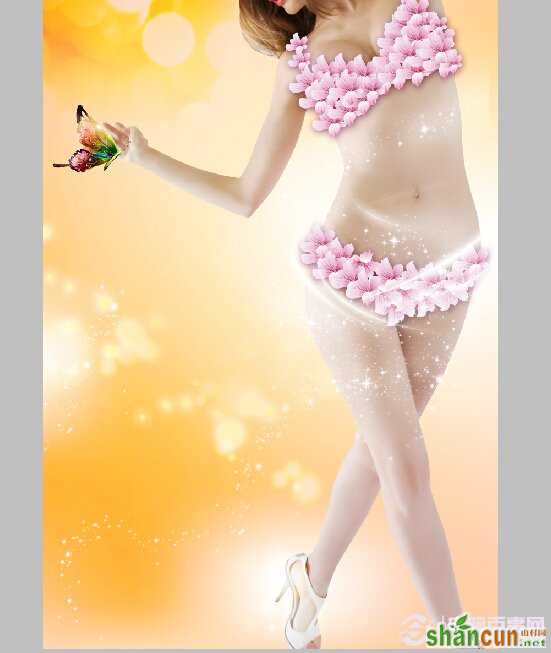
最终效果图

Photoshop给美女穿上花瓣衣服 PS教程
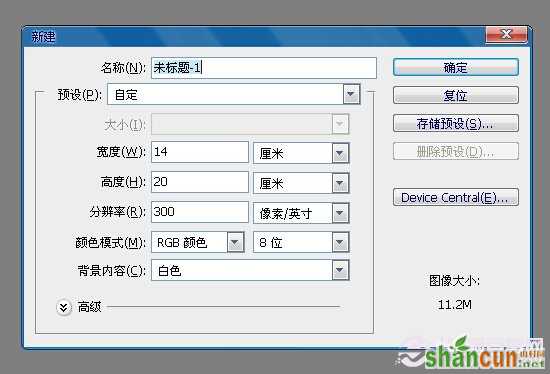
第1步:将准备好的素材图片在PS中打开,新建画布,如下图所示;
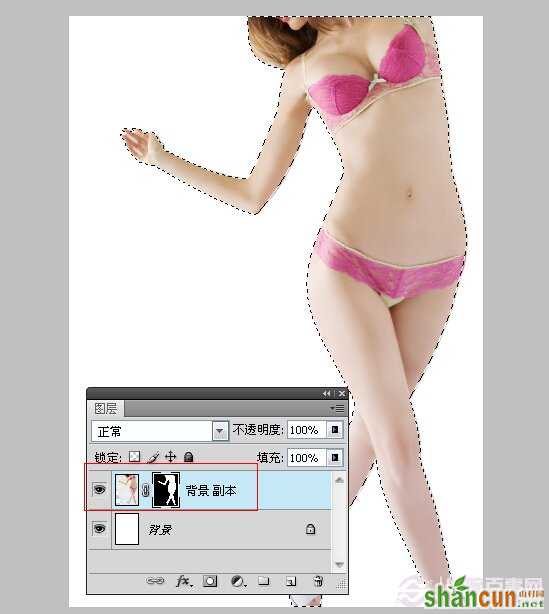
第2步:将人物拉入画布调整好位置,用钢笔工具勾出人物,添加蒙版如下图所;
第3步:背景填充橙色,调节画笔参数,增加些白色,如下图所示;

第4步:将花瓣拉入图层中,使用魔棒工具去掉背景,如下图所示;
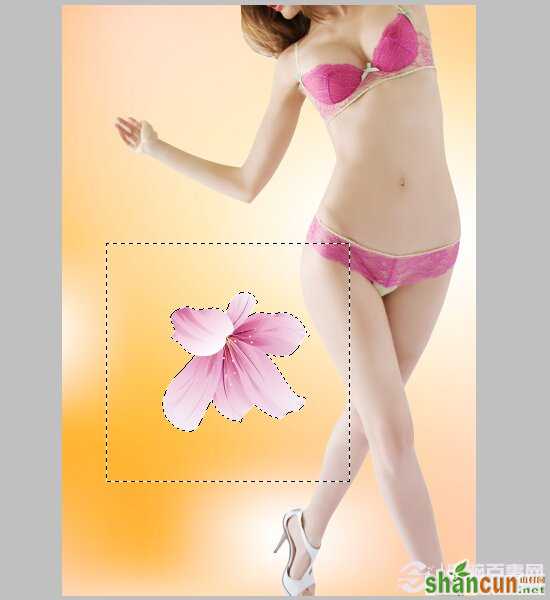
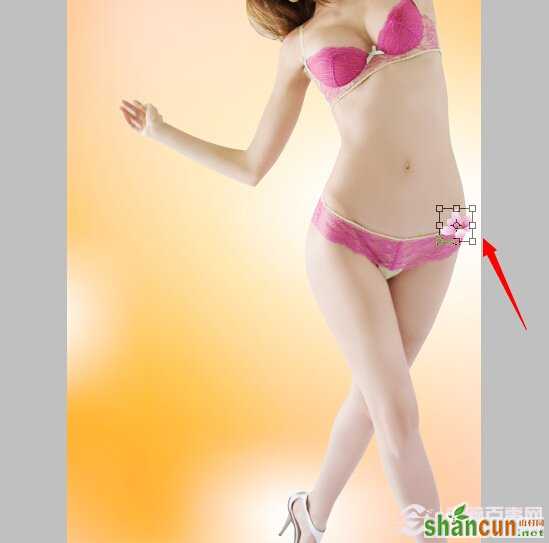
第5步:使用自由变换调整好大小和位置,放在合适位置,如下图所示;
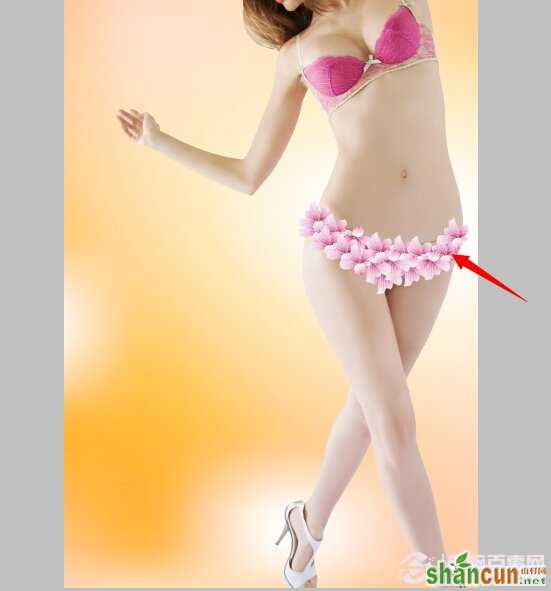
第6步:复制花瓣,调整角度放到合适位置,使花瓣完全覆盖衣服,如下图所示;
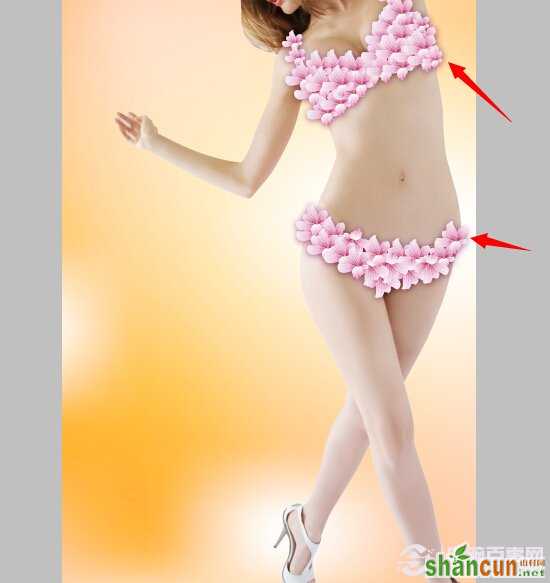
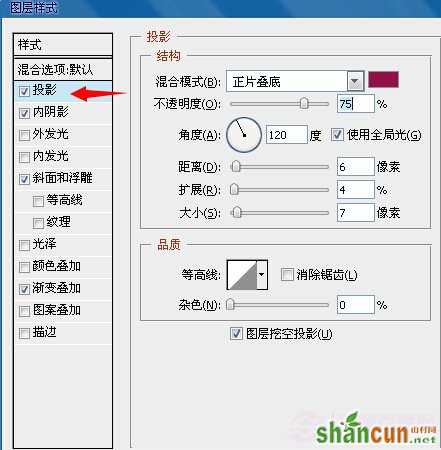
第7步:将花瓣全部合层,添加投影样式,如下图所示;

第8步:使用相同的办法将上衣部分也覆盖好,如下图所示;
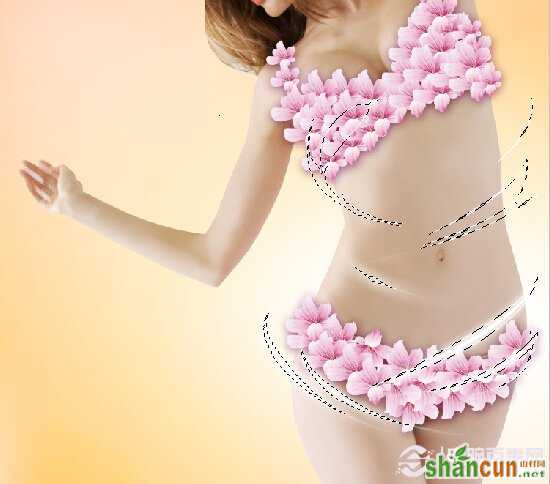
第9步:使用钢笔工具勾出曲线,给人物增加些动感线条,如下图所示;
第10步:下载些画笔素材,添加些星光蝴蝶之类的点缀一下,如下图所示;
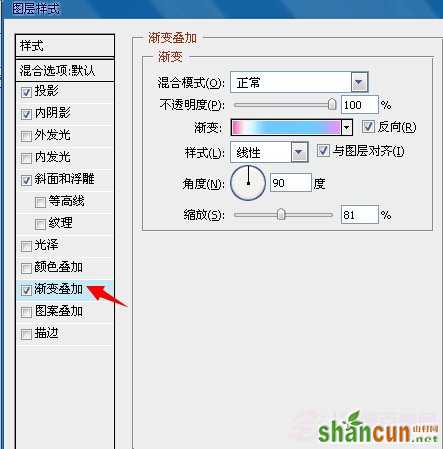
第11步:输入写文字,添加图层样式,参数如下图所示,使图片图文并茂,最终效果如下图所示。


最终效果
注:更多精彩教程请关注山村photoshop教程栏目,山村PS群:339853166欢迎你的加入


