
这次的photoshop效果教程是学习用ps简单制作浮雕效果,主要用到了黑色素材图片、魔棒工具、图层的混合模式还有方向键。学起来很简单,效果也不错。感兴趣的人就练习看看吧,加油。
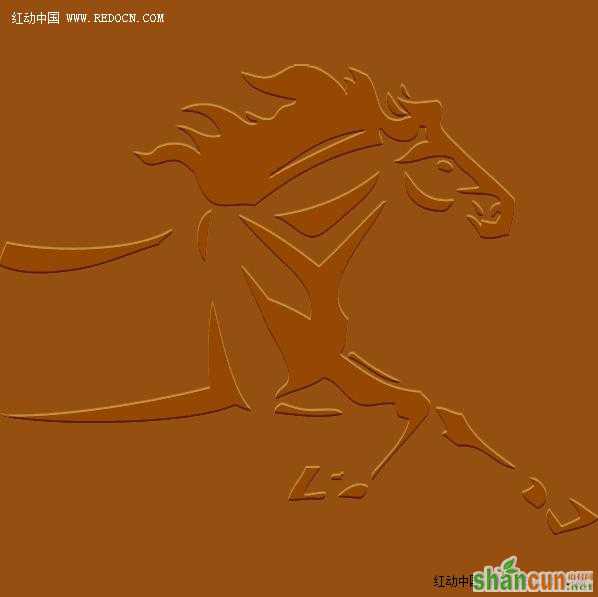
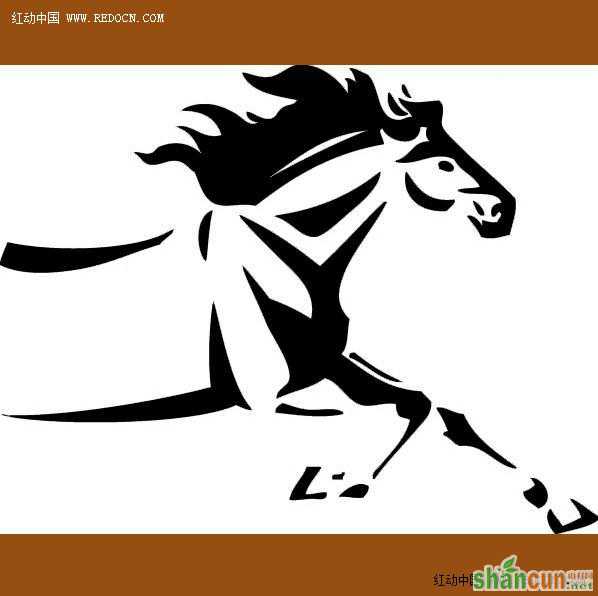
原图

具体制作步骤如下:
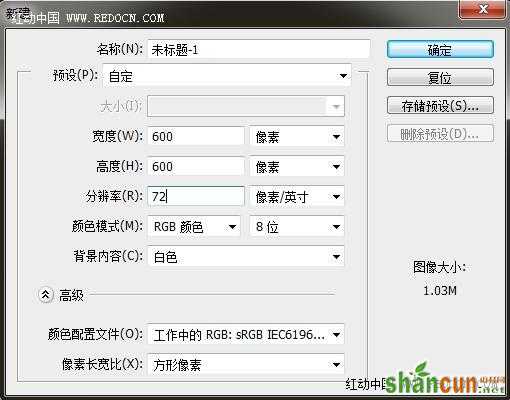
步骤1+ E) J2 {# b7 Y7 G- T7 p5 ]
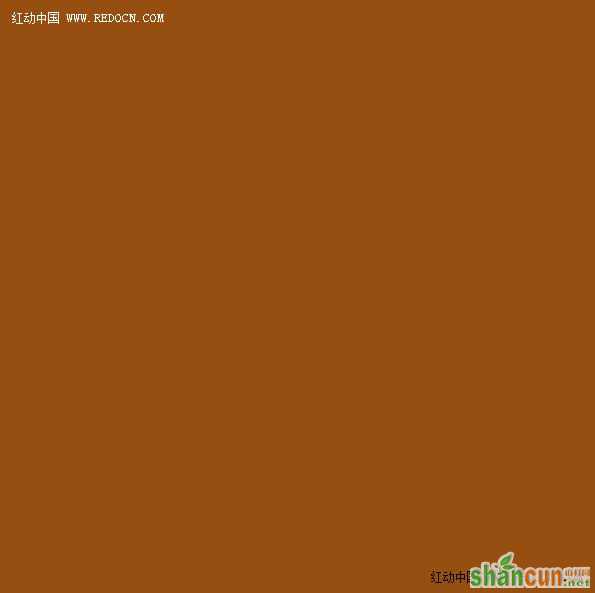
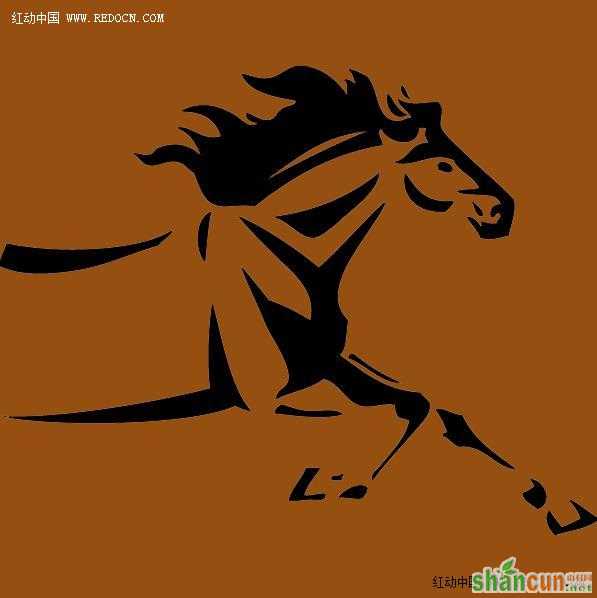
新建一个600*600像素的文件,颜色填充
步骤2* z+ J( V( G5 ]3 b1 w) `& I! C" r$ L
导入骏马素材,放到背景层上方。
步骤3
最快速的方法,可以用魔棒工具清除白色背景。
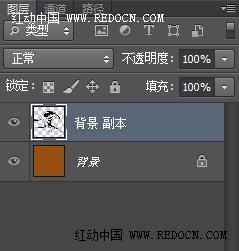
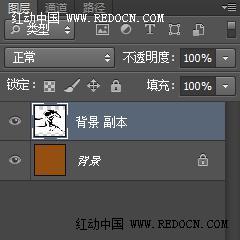
步骤4; }. _9 P7 M+ w+ s. O
复制一层骏马图层。

复制的图层,颜色改为白色。
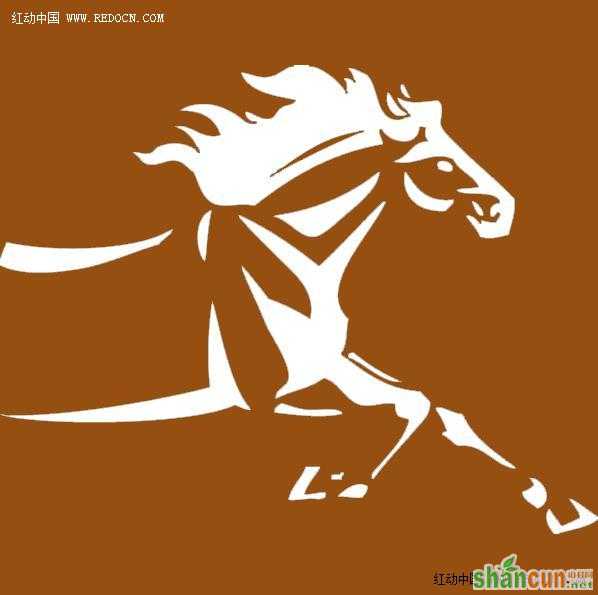
步骤5; [5 V" F- K* V' E3 {. {6 |
修改两个骏马图层的混合模式为“柔光”。
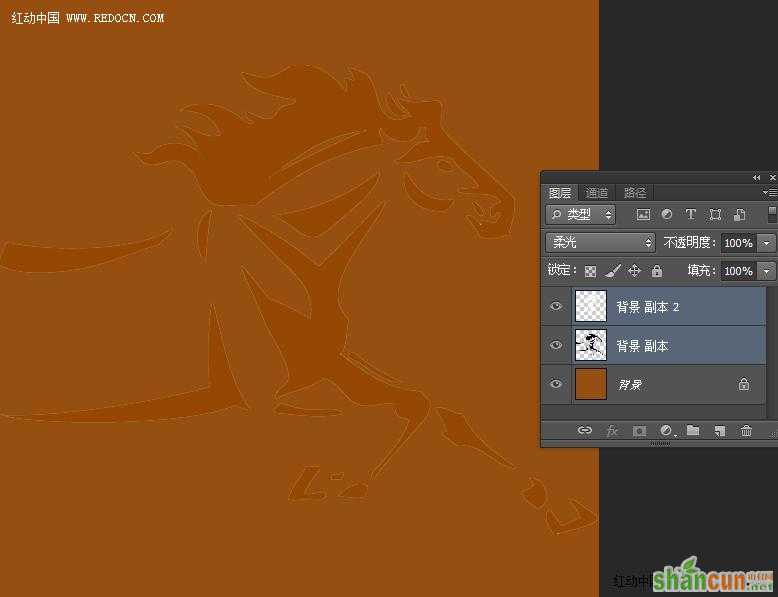
方向键向下按一下的效果。
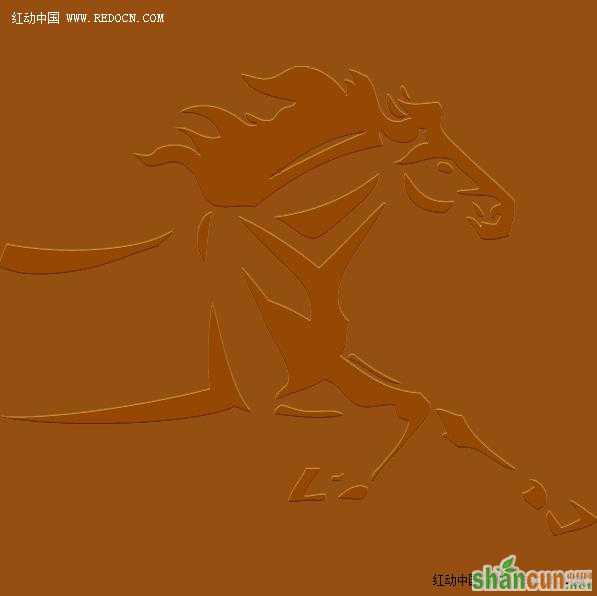
方向键向下按两下的效果。雕刻程度可以自由把握。
大功告成!


