
PhotoShop软件最小的处理单位就是像素点,利用对像素点的绘制,可以画出一些简单而又有趣的小图片。
方法/步骤
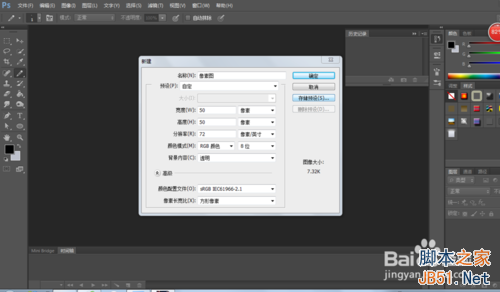
1、打开PS,新建一个50像素 X 50像素的透明画布。
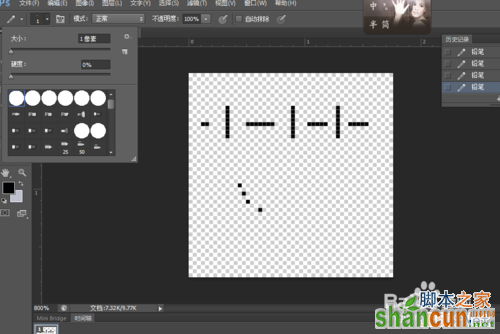
2、将画布放大,选择铅笔工具,铅笔的大小调整为1像素,颜色为黑色,随意的在画布上点击,可以得到一些散乱的线条。
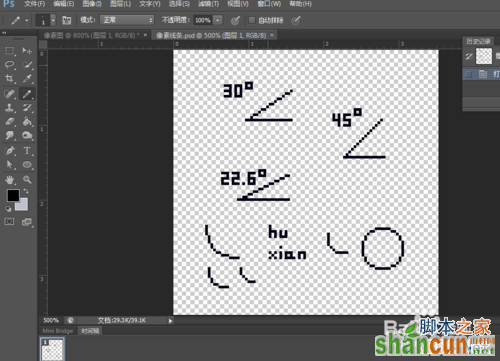
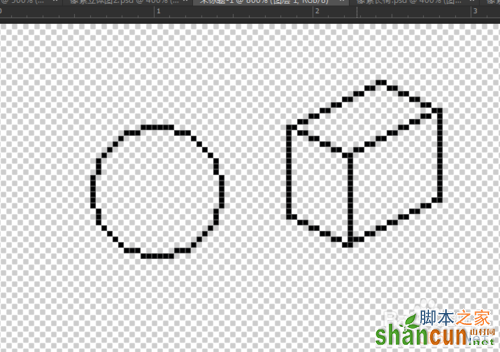
3、利用一些比例组合,比如2:1,3:1:1:3的线条组合,可以画出诸如45°锐角、30°锐角、弧线、圆形的效果。
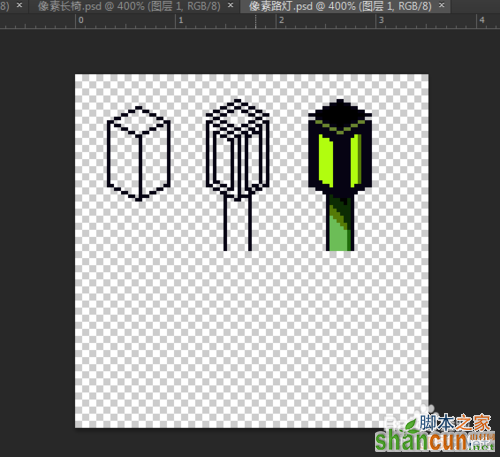
4、与在纸上画相同,我们可以画出一些立体形状的图案。
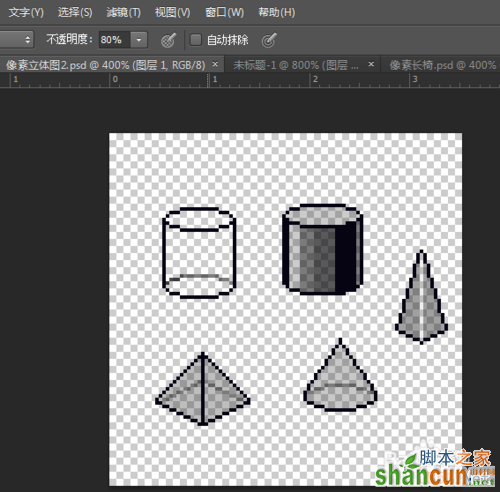
5、然后给图案加上不同程度的阴影,使图像现实感更强。通过调整铅笔的不透明度可以加上全黑,淡灰色的阴影效果。

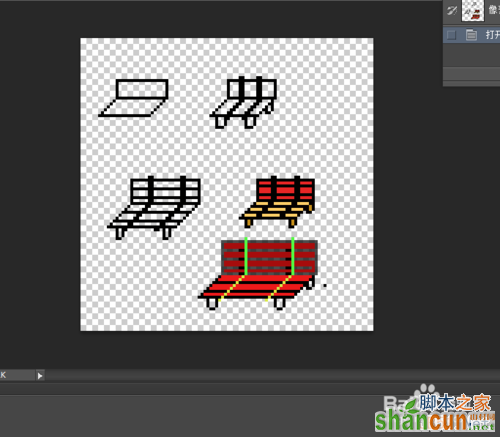
6、根据自己的想象,绘制出各具特色的像素图片。

以上就是PS对像素点绘制简单有趣的小图片方法介绍,希望能对大家有所帮助!


