
在本教程中,我将向你展示在PS图象处理软件创建抽象的科幻风格的能量激光束。我们将通过一些有趣的技术来创建这些光束,在一个空间的背景,如照明效果,颜色叠加和图像调整。
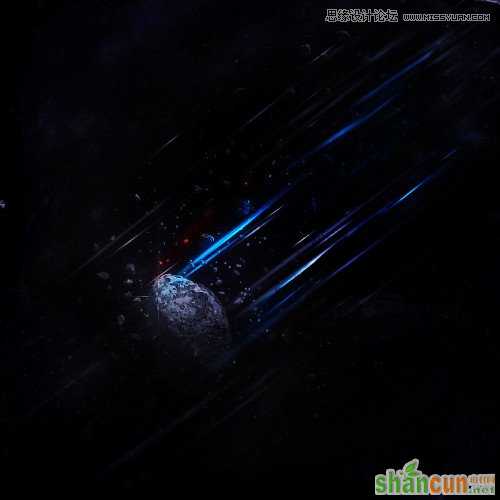
这是最终的效果预览:
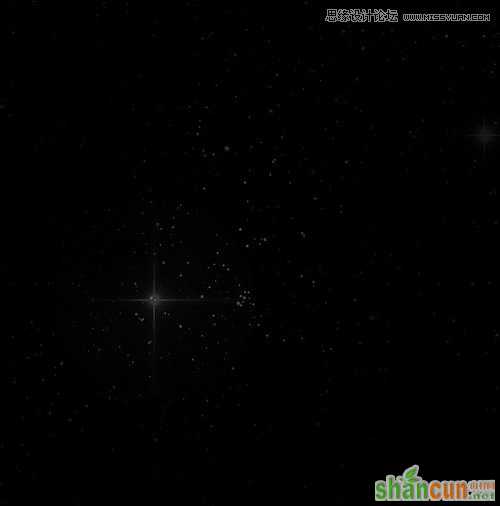
第一步:
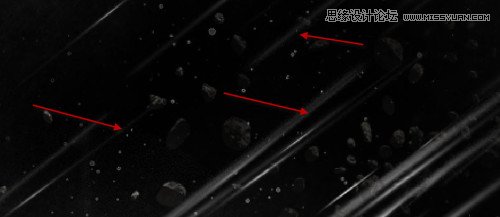
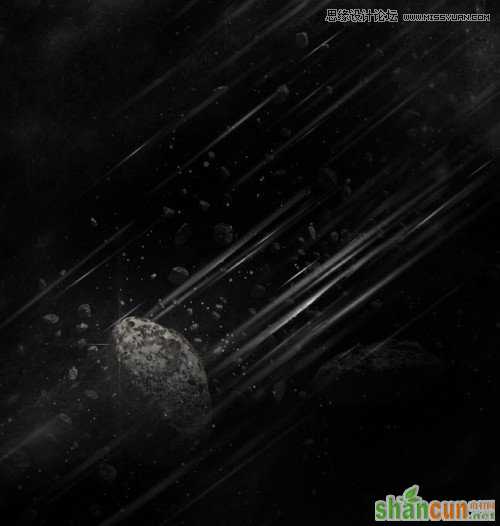
创建一个800*800黑色背景文件,用刚才下载的SpaceBrush笔刷,在背景上画一些微妙的悬浮物,如下图
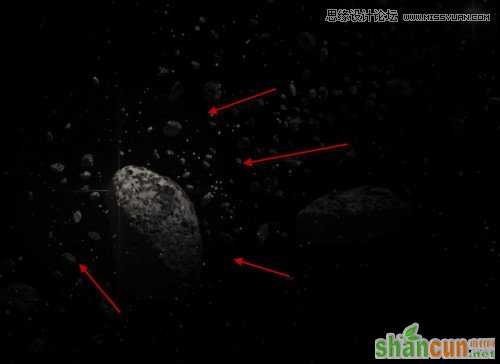
利用刚才你下载的Asteroids,在恒星背景添加一些飞石:(调整为你认为合适的尺寸)
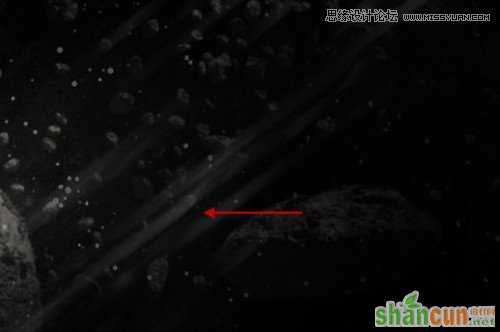
使用软橡皮擦,淡化这一新的小行星层的一些部分如下所示:
建一个新的图层并重复添加更多的飞石,如下所示:
第二步:
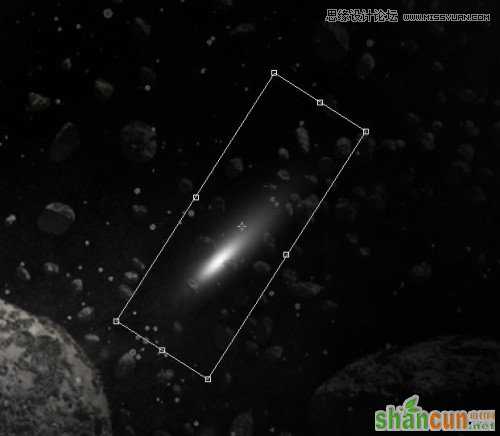
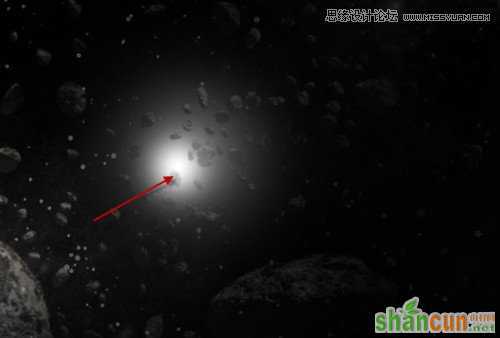
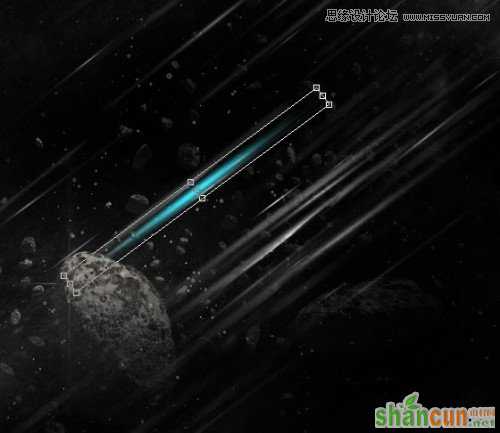
我们将开始画激光光束。首先创建一个新的图层,并用画笔工具画一个灰色的圆(调整羽化值和透明度):
再用小一点的笔刷,亮一点的颜色,添加另一个较小的圆在如下所示的位置:
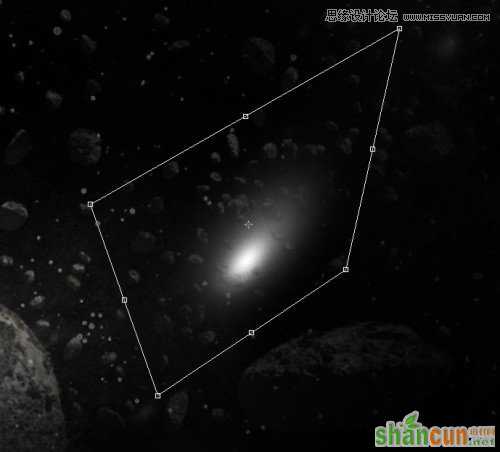
然后使用自由变换工具,扭曲这一图层,如下所示:
然后重新拖动大小如下所示:
继续拉伸直至形成一个薄的形状如下图所示:
这是最后的效果:
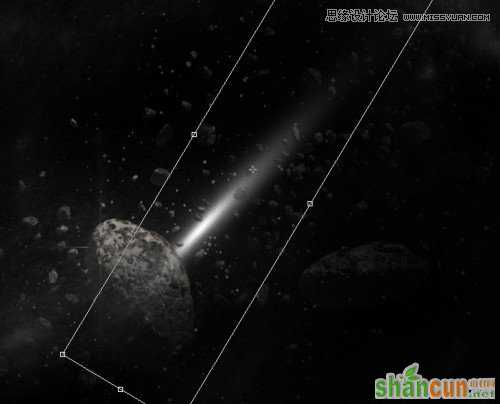
步骤三:
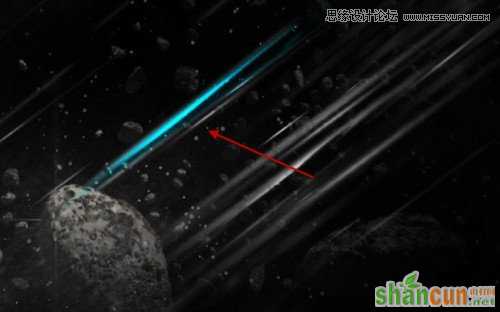
复制此图层几次,放到周围合适的地方(大小自己调整),试图形成一个组的效果如下图所示:
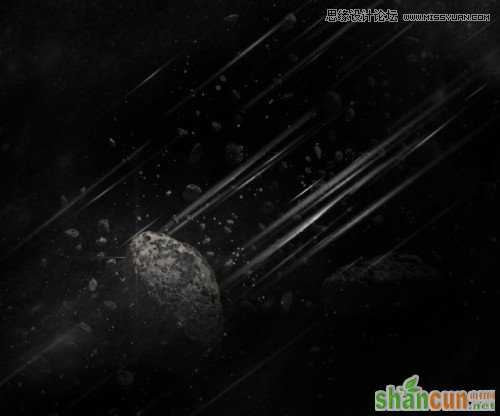
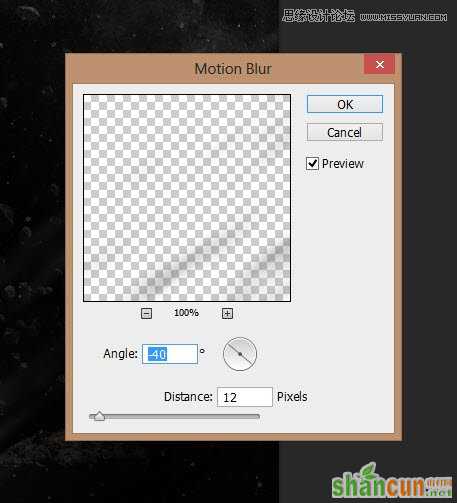
合并所有图层,并添加运动模糊:
减少这种运动模糊层的图层的不透明度为40%左右,形成这样的效果:
这是到目前为止的效果:
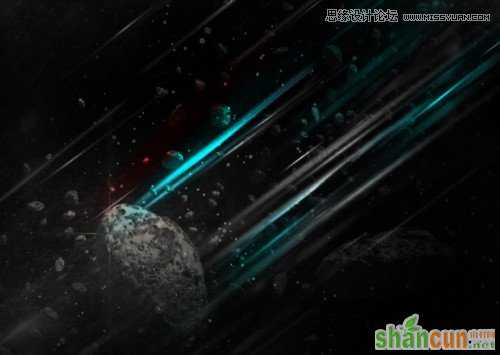
第四步:
我们将要为这个图层添加一些颜色。我们先建一个新的图层,同样用第2步中描述的方法,但是要用蓝色画,如下图所示:
改变混合模式为“叠加”,重复几次,会有以下作用:
继续添加更多的色彩图像,如下图所示:
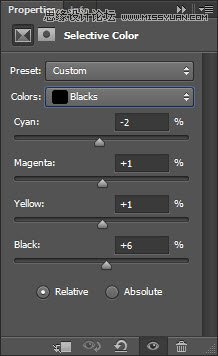
第五步:
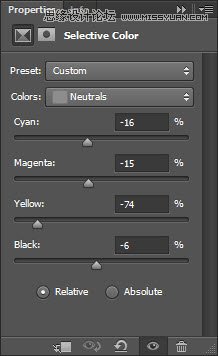
我们几乎完成了,最后调整一下效果,我们可以在上面添加一些图像调整层:
选择颜色:
调整曲线

应用下面的图层蒙版:
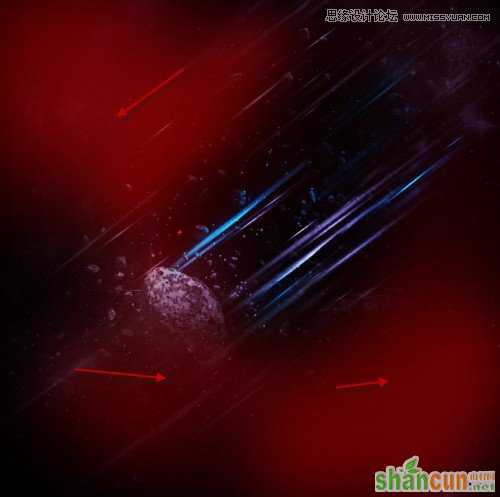
这是最终效果:
注:更多精彩教程请关注山村photoshop教程栏目,山村PS群:182958314欢迎你的加入


