
本例为Photoshop滤镜特效实例教程,主要学习运用PS的内置滤镜制作一匹跃出水面的液体马效果,学习点为PS的玻璃滤镜、液化滤镜、扭曲水波滤镜等工具的运用,希望能给朋友们带来帮助~~
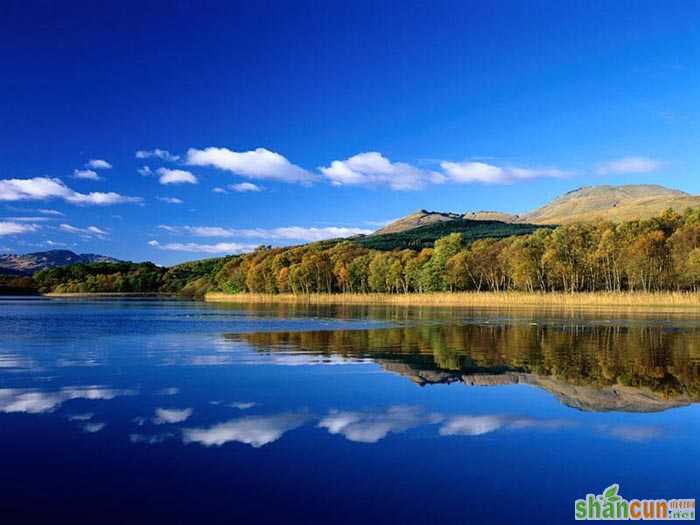
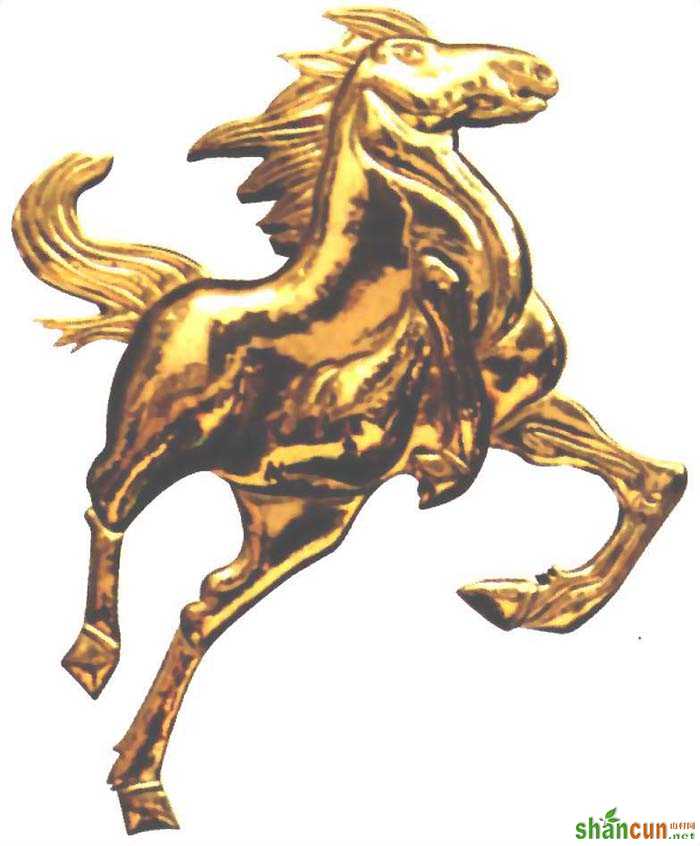
先贴素材:
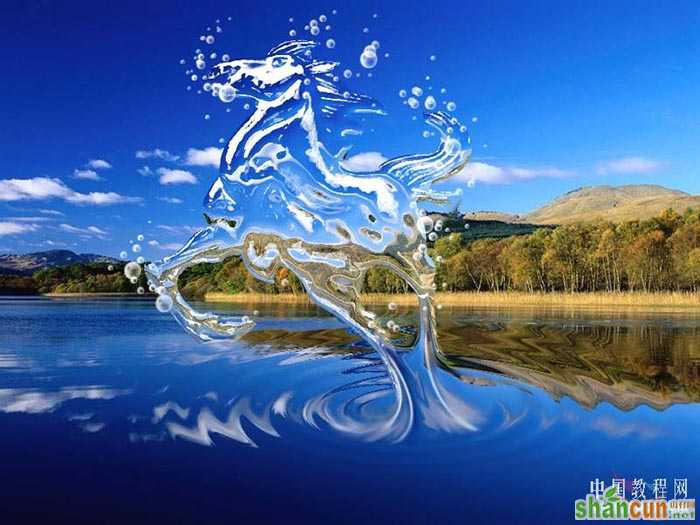
效果:
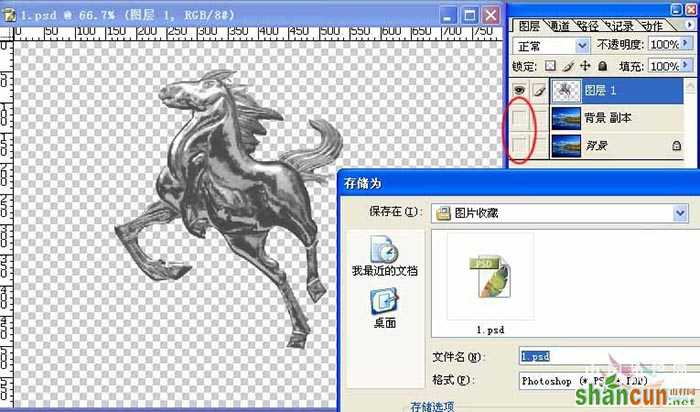
1、打开背景图(风景图)并复制背景图为背景副本。将马的图片中的马抠出(用魔术棒选取白色背景后反选即可)置于背景副本图层上方(图层1),水平翻转—去色—调整大小至合适。
2、将背景和背景副本图层设为不可见(关闭图层前的眼睛),将图层1储存为PSD文件(以后在做玻璃纹理时要用到)。
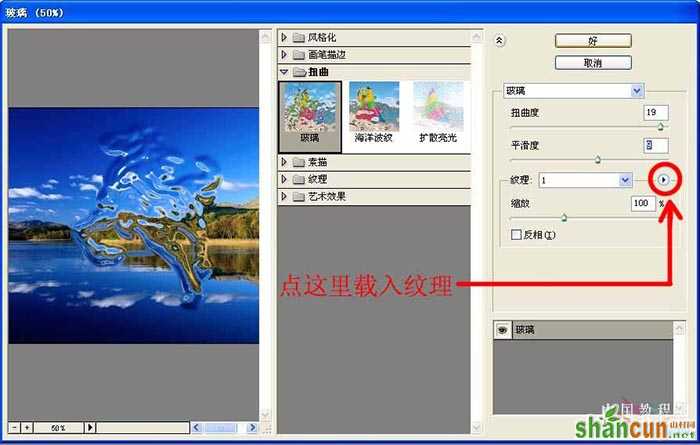
3、 回到背景副本图层(当前工作图层为背景副本),将图层1设为不可见。执行滤镜—扭曲—玻璃(扭曲度19左右,平滑度9左右),缩放100%,点纹理选项右边的小三角—载入纹理,选择刚才保存的PSD文件。
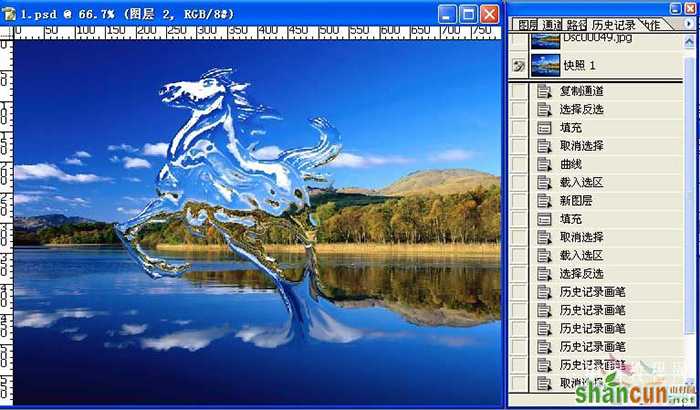
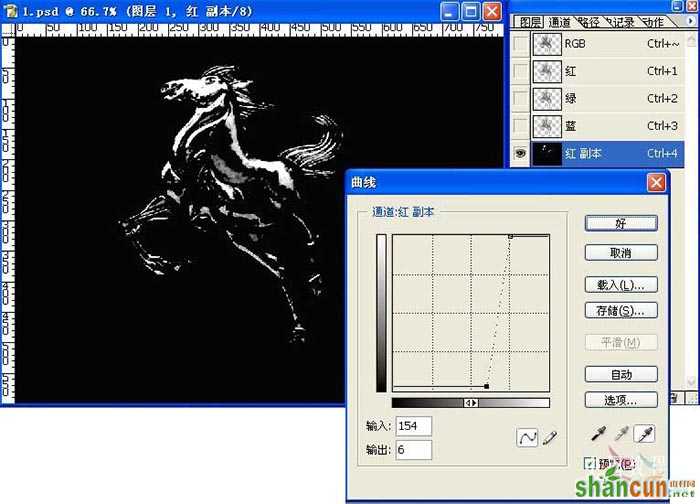
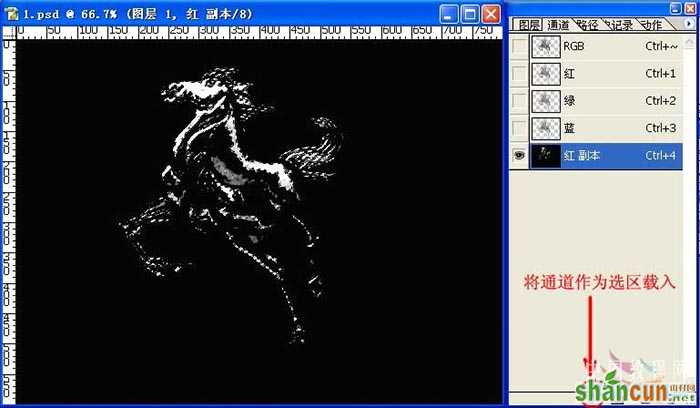
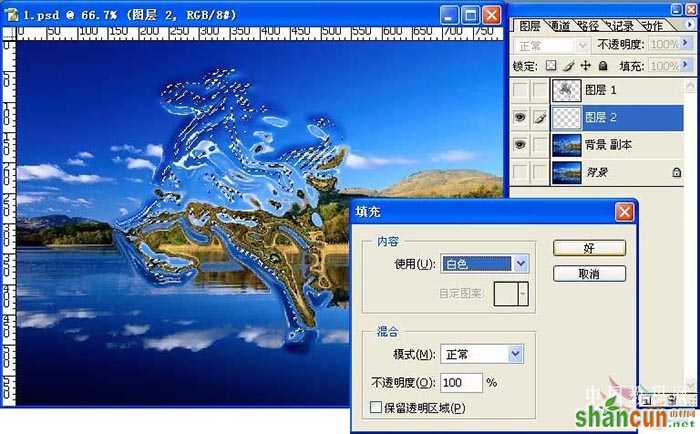
4、复制图层1的红色通道,再回到图层面板,按住CTRL键点击图层1,得到选区后再回到红色通道副本,反选—填充黑色,取消选择。调整曲线如图所示。然后将通道作为选区载入。
5、保留选区,回到图层面板,在背景副本图层上方新建图层2,在选区内填充白色。
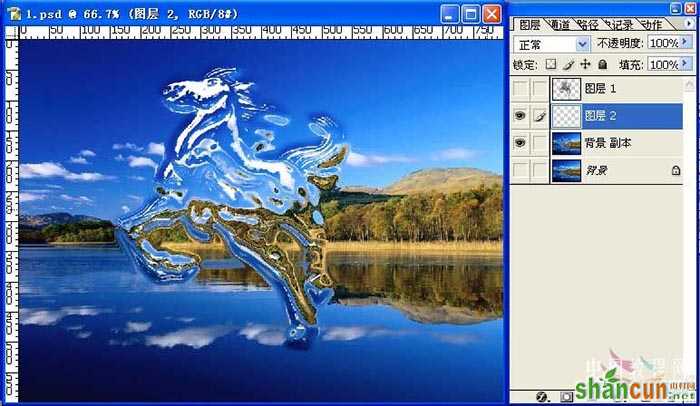
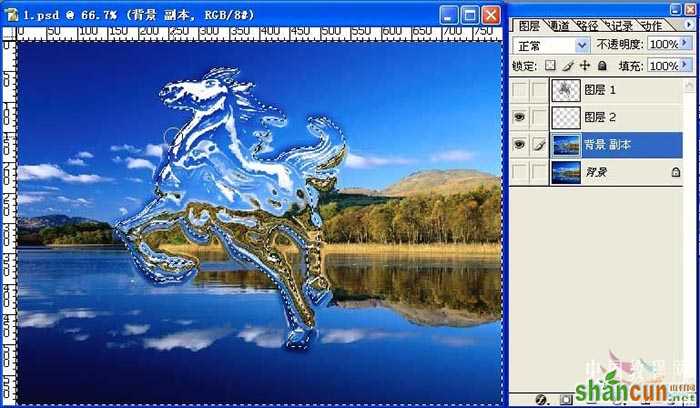
6、回到背景副本图层,按住CTRL键点击图层1获得马的轮廓选区,反选,用历史画笔沿着马的轮廓边缘擦涂,将刚才因玻璃滤镜扭曲过度的部分擦去。
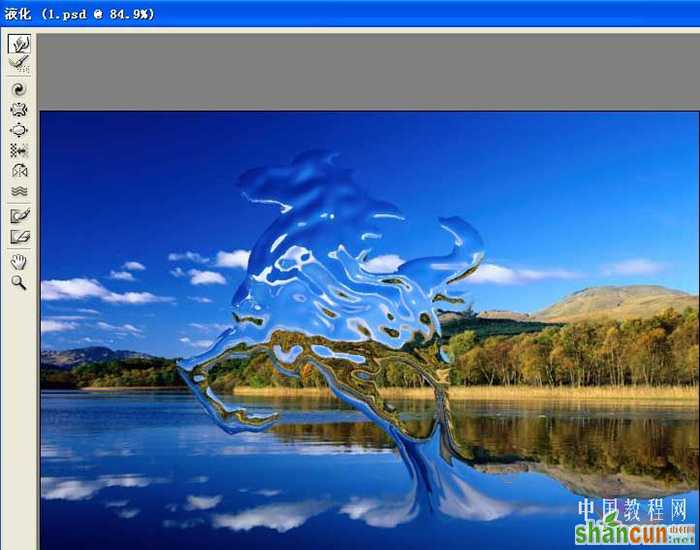
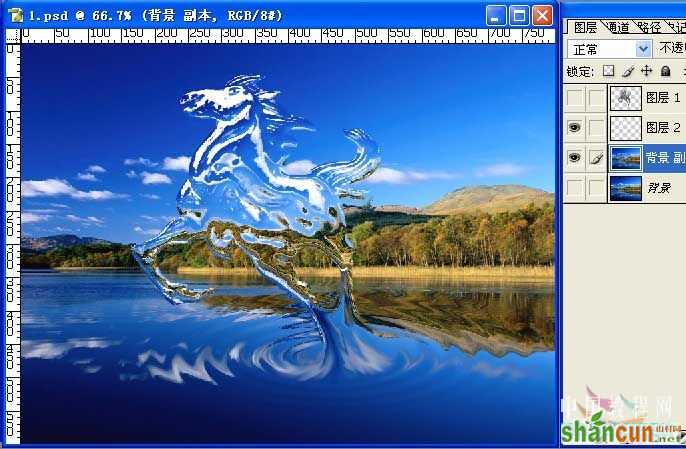
7、在背景副本图层上执行液化滤镜,调整合适大小的画笔作如图变形。(由水面往上推,过渡要自然,做成水被往上抽的效果。)液化完成后建立一张快照,将历史画笔定位在快照上。
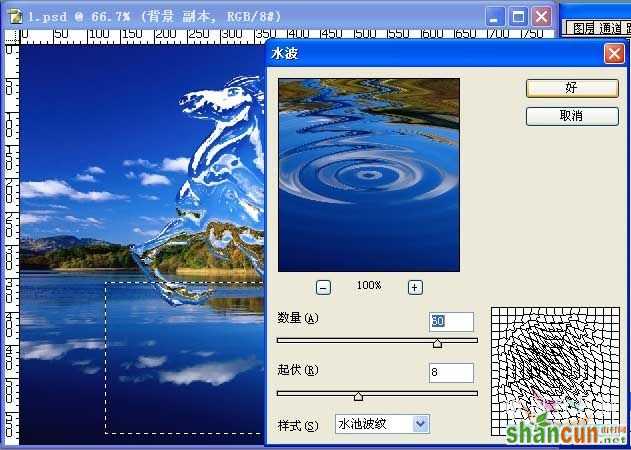
8、在背景副本图层上拉出一个矩形选框,执行滤镜—扭曲—水波,数量60,起伏8,样式为水池波纹。
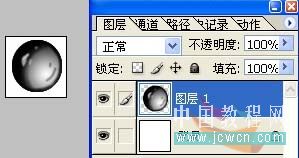
9、用历史画笔将刚才液化的效果擦回来。
10、至此液体马已基本完成了,接下来要做的细微的修饰。给刚才液化的部分加点高光,用低不透明的白色在马身上增加水的质感(方法很多,可以新建一图层或直接在背景副本图层上配合选区、画笔、橡皮、不透明度来实现)。那许多水珠我是这样做的,先做一个60*60像素的图(如图),然后定义为画笔,用白色前景,不同大小的画笔和不透明度画上去的。


