教程中的立体字也是手工完成,其中立体面的制作非常不错,作者用复制的方法得到立体面,然后把立体面再细分成几个部分,分别用不同的图层样式加上颜色和质感,效果非常细腻。
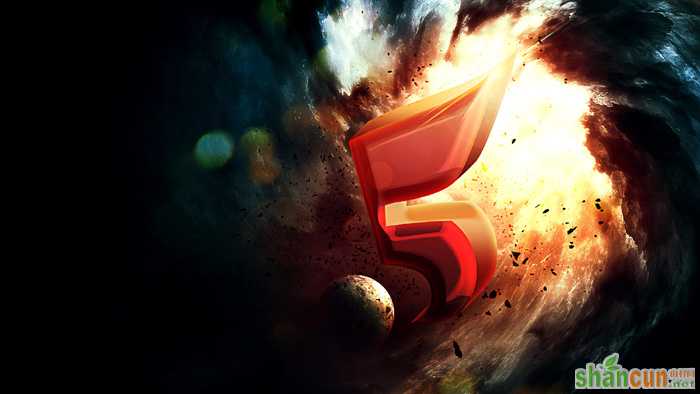
最终效果

1、打开背景素材。
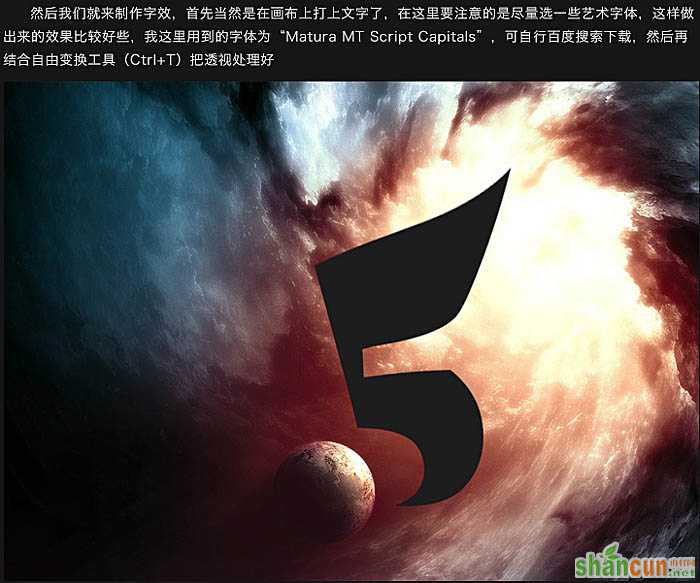
2、然后我们来制作字效,首先当然是在画布上打上字了,在这里要注意的是尽量选一些艺术字体,这样做出来的效果比较好些,我这里用到的字体为“Matura MT script Capitals”,可自行网上下载,然后再结合自由变换工具(Ctrl + T)把透视处理好。
3、为了体现其厚度,我们采用不断向新方向复制图层的办法实现:
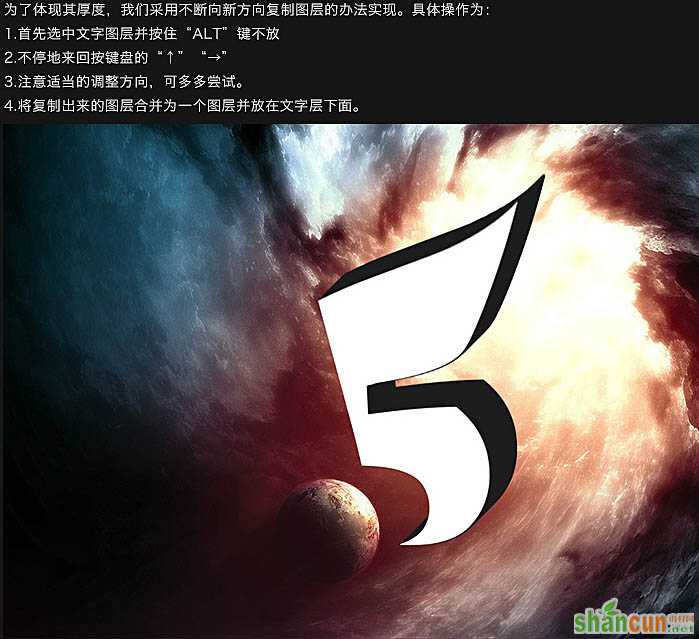
首先选中文字图层并按住“Alt”键不放,不停地来回按键盘的向上和向右方向键;注意适当的调整方向,可多多尝试;将复制出来的图层合并为一个图层并放在文字层下面。
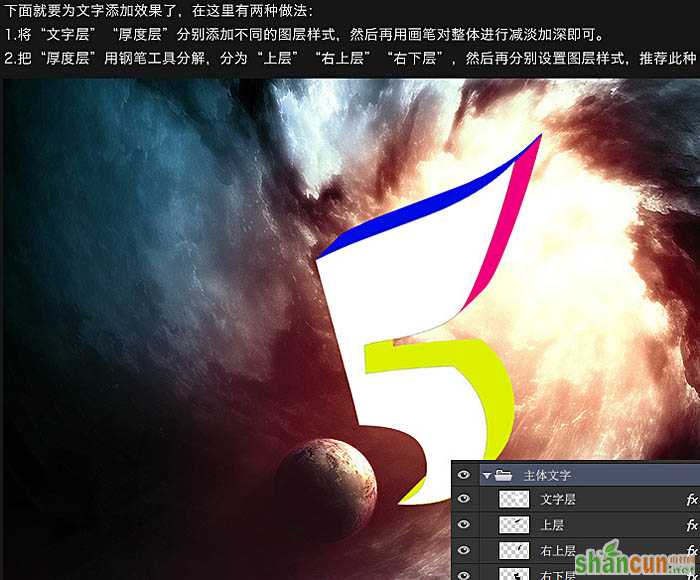
4、下面就要为文字添加效果了,在这里有两种方法:
将文字图层,厚度层分别添加不同的图层样式,然后再用画笔对整体进行减淡加深即可;把厚度层用钢笔工具分解,分为上层,右上层,有下层,然后再分别设置图层样式。
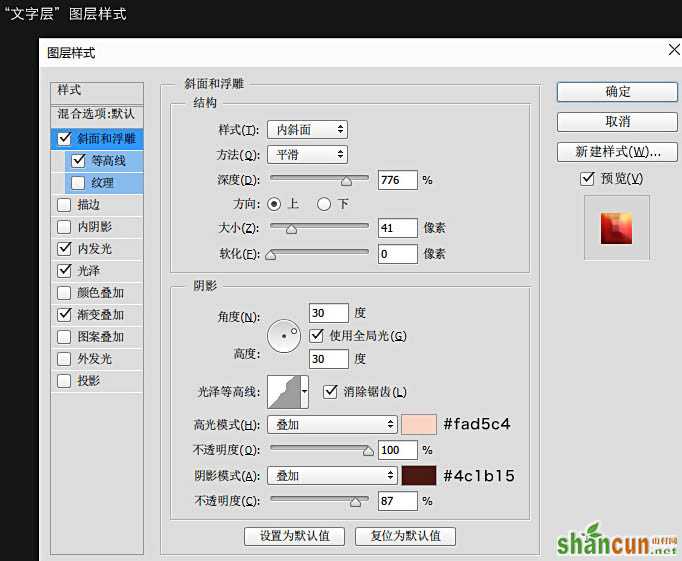
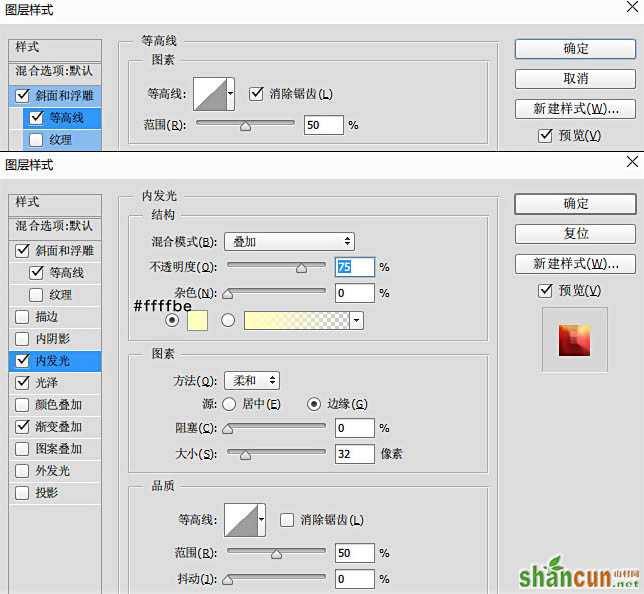
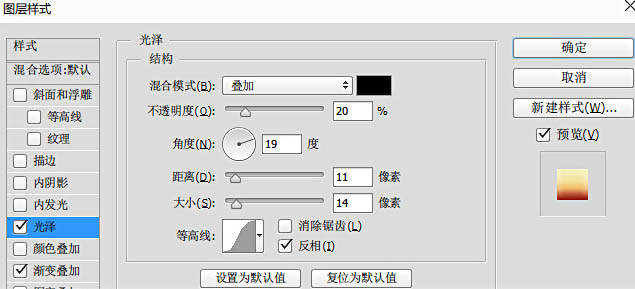
5、文字层图层样式。
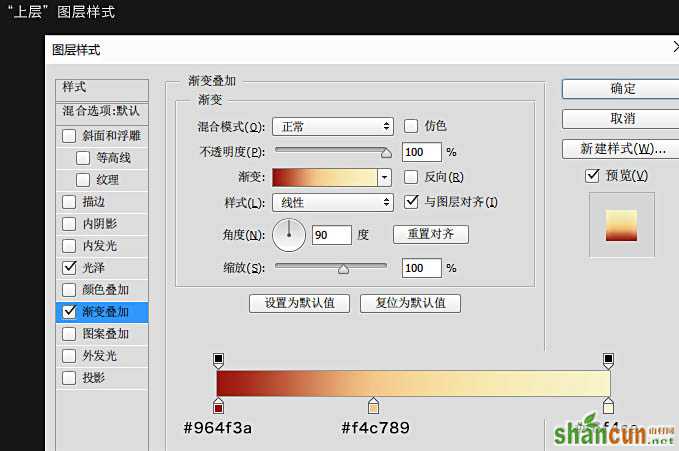
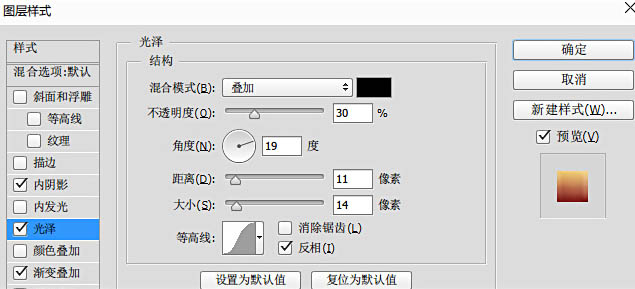
6、上层图层样式。
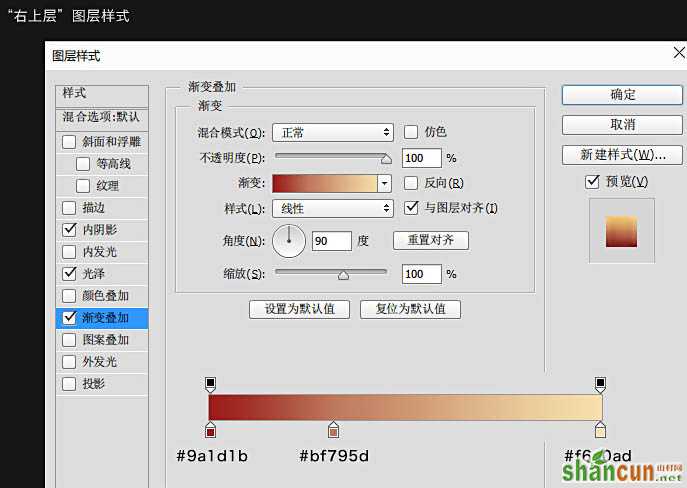
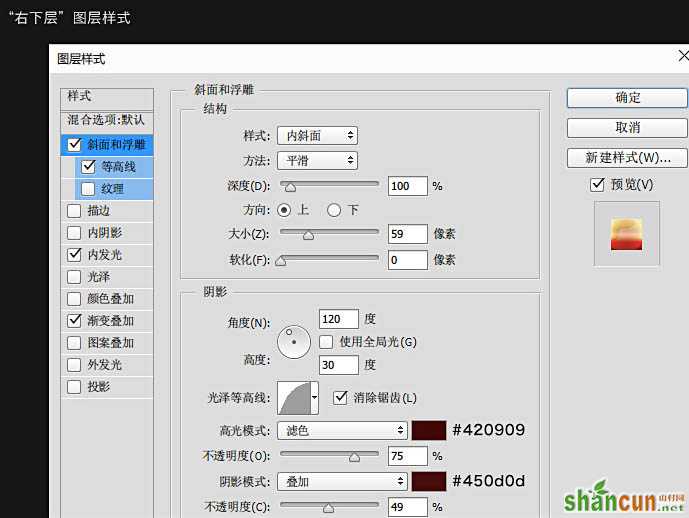
7、右上层图层样式。
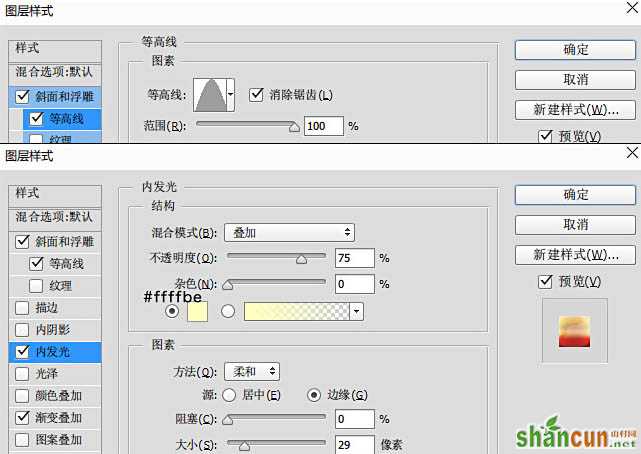
8、右下层图层样式。

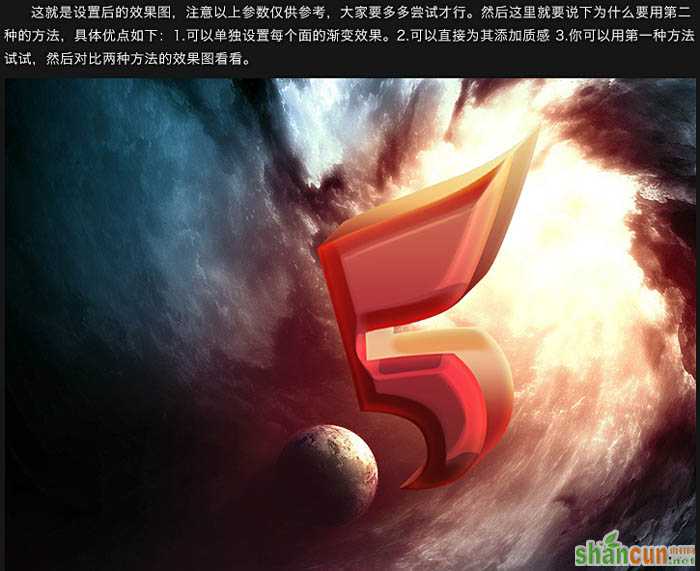
9、这就是设置后的效果图,注意以上参数仅供参考。
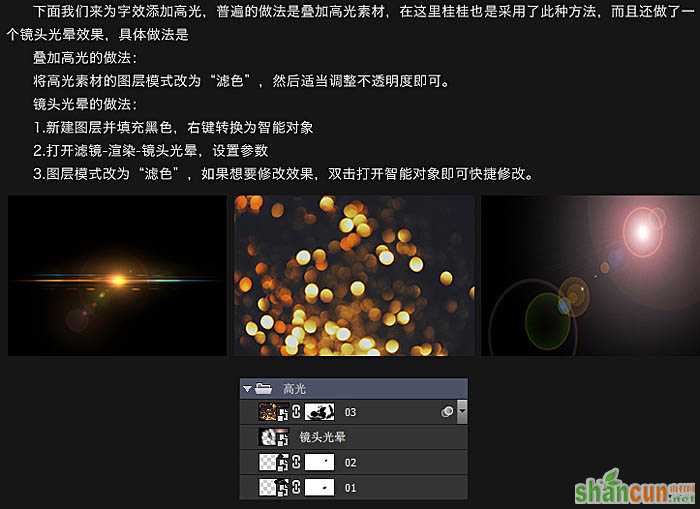
10、下面我们来为字效添加高光,用高光素材叠加。
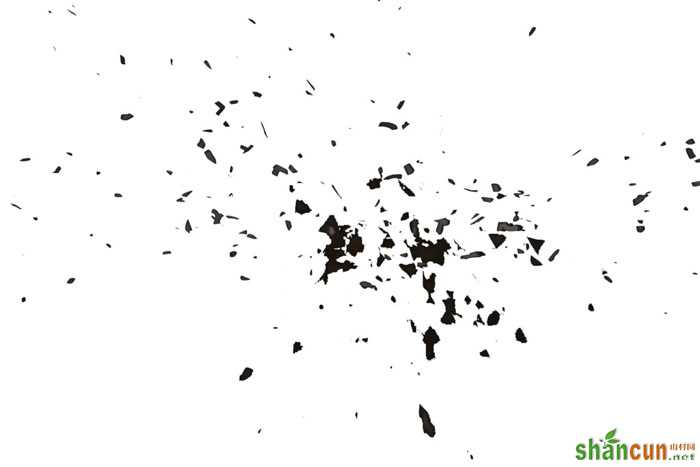

11、为了使效果更加的具有动感,我们在文字的底部添加一些粒子素材,摆放可以随意些。
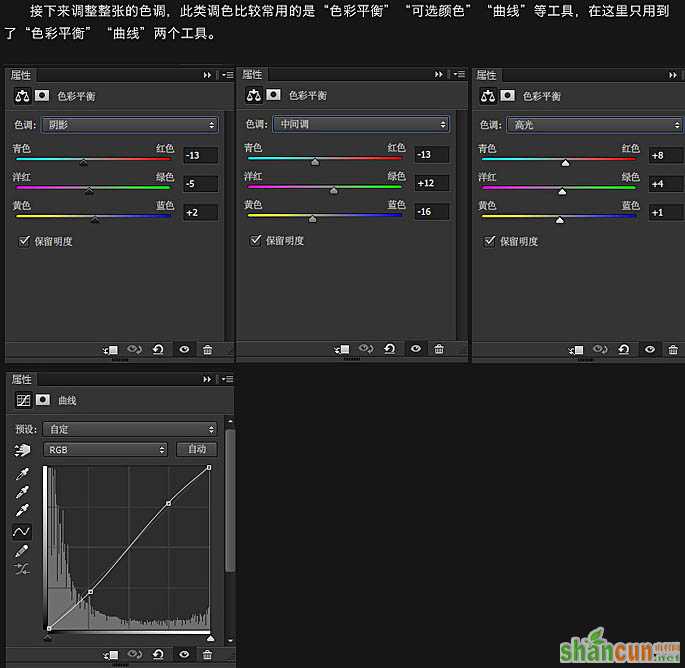


12、接下来调整整张的色调,此类调色比较常用的是色彩平衡,可选颜色,曲线等工具,在这里只用到了色彩平衡,曲线两个工具。
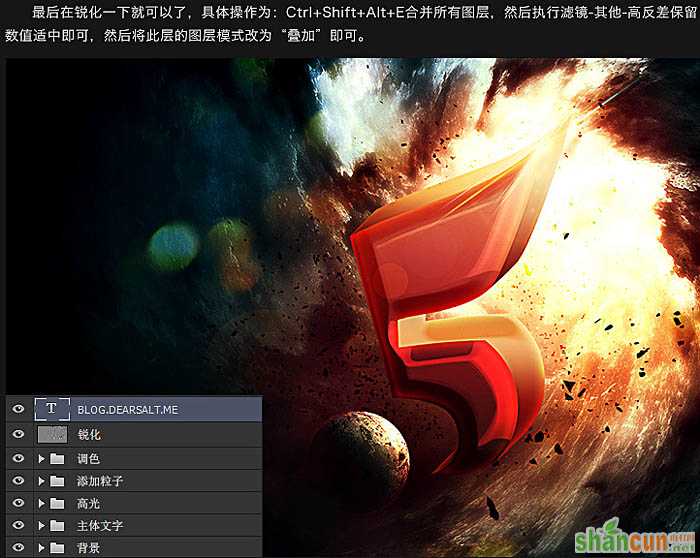
13、最后再锐化一下,按Ctrl + Shift + Alt + E 盖印图层,然后执行:滤镜 > 其它 > 高反差保留,数值适中即可,然后将此层的图层模式改为“叠加”即可。
最终效果: