
在本教程中,你将学习如何创建一个Fancy的设计工作室网页布局。像往常一样,希望通过实例教程传递布局构架理念,不只是在告诉大家网站是如何一点点设计出来的。所以希望看到灵活应用的更多扩展版本。期待你的创新。
1、首先,你需要下载以下两个素材图片。
用PS打开第一张图片,然后点击 编辑>定义图案。选择这种模式的名称,然后就可以关闭这个文件了。

2、这是第二张图片。请下载原始尺寸图片,或者在下载压缩包里找到它。
3、创建新文件,Size:1100*1260px。
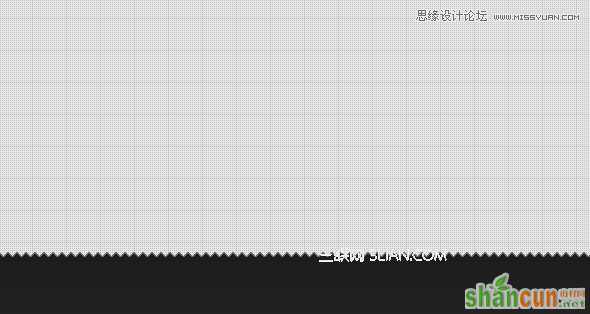
选择油漆桶工具,选择图案模式,找到刚设置的素材图片,点击背景层,你将看到画布有了想要的纹理。
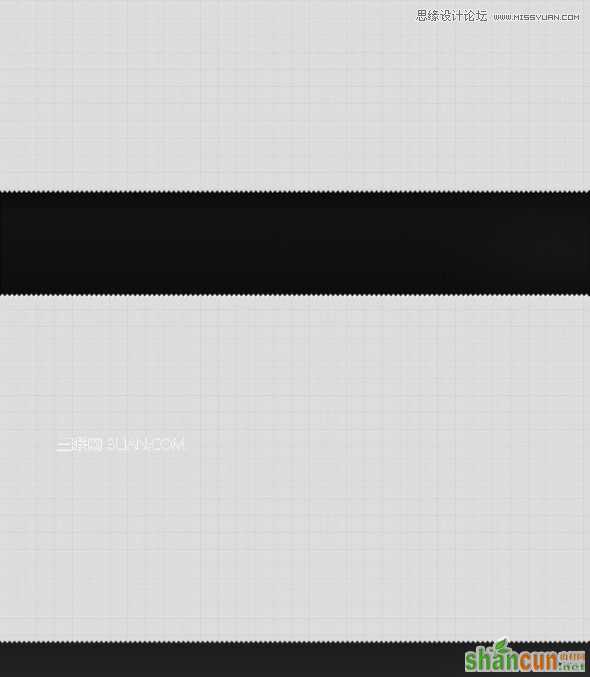
4、在页面布局的底部,填入第二张图片,命名该图层为“bottom”,设置图层模式为正片叠底。
5、Copy第二张图片得到“bottom副本”,移动到页面中上部位置。
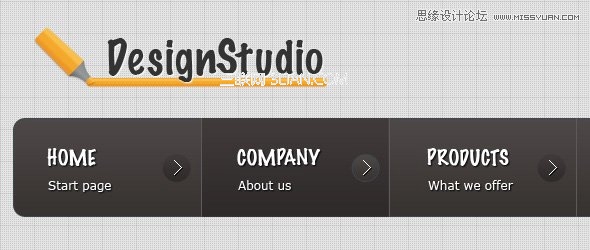
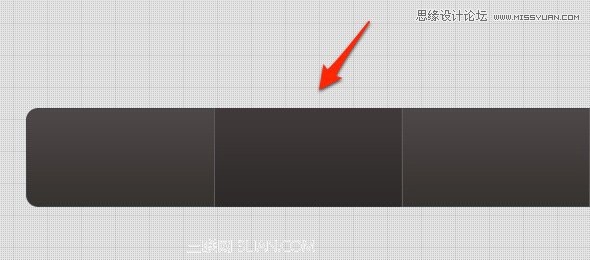
6、接下来制作导航。使用圆角矩形工具,设置半径为15px,Size:940*99px。
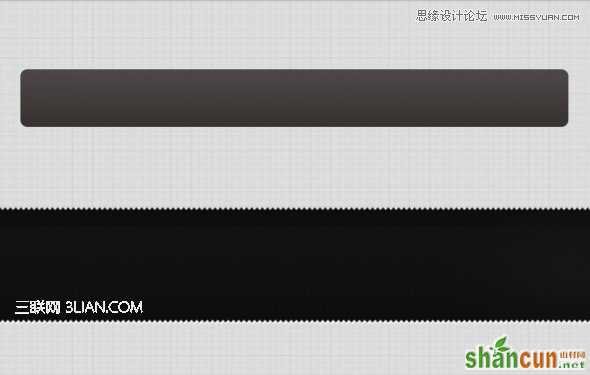
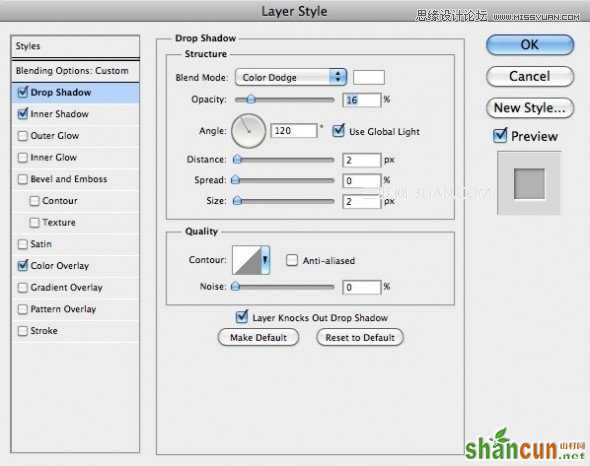
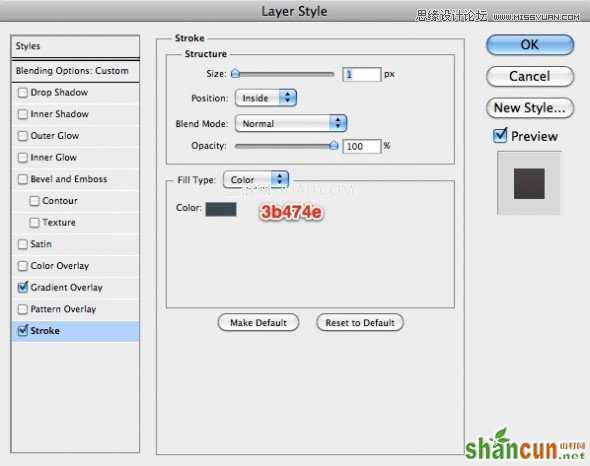
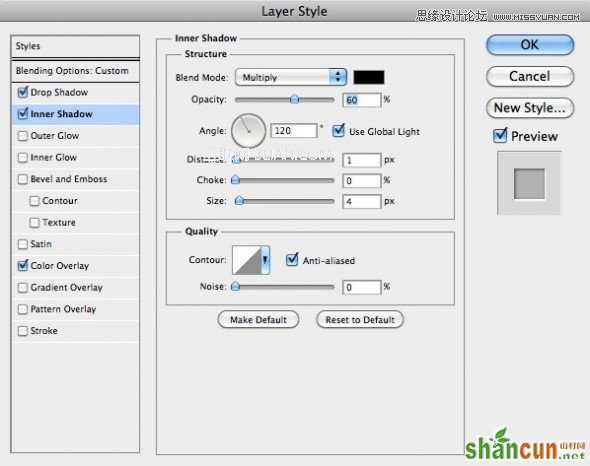
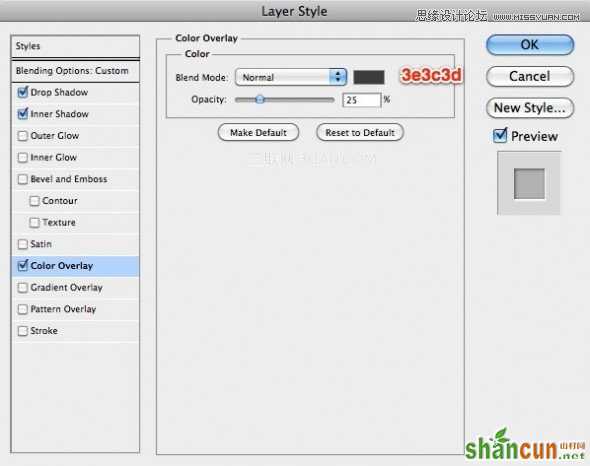
7、对该圆角矩形使用下面的图层样式。
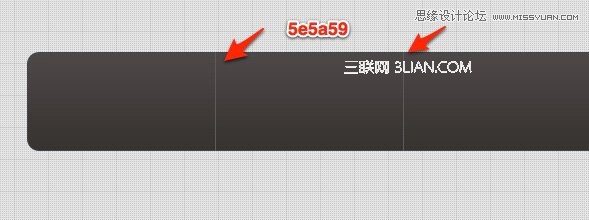
8、使用直线工具画一些垂直的线。我使用下列颜色进行填充 #5e5a59。
9、然后使用矩形工具,绘制一个简单形状,加入较深的颜色。这个形状用于按钮事件。当你用鼠标滑动时就可以从页面上看到它的变化,当然有程序员配合时,它可以用CSS实现,同样非常的棒!
10、想导航区域加入一些文字。
个人感觉比较喜欢这样的导航样式,宽敞的高度布局,融入了主副标题的设计,注意小号字不是二级导航,而是用一些简单的词语概括每个一级导航是什么。类似扩展说明。比较有新意。
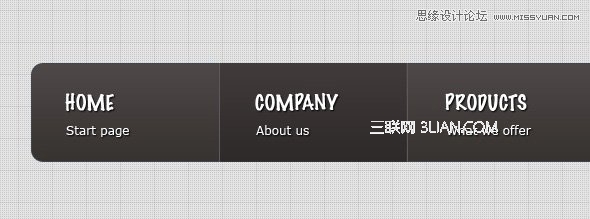
11、然后,要使用铅笔工具绘制一些箭头。当使用铅笔工具时,可以设置1px的画笔笔尖。你可以看到,白色像素箭头下,同时椭圆工具创建了一个圆形底框。

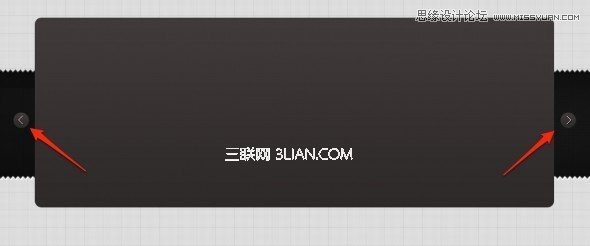
12、在导航下方创建一个较大的圆角矩形,用于放置幻灯片式的图片动画翻滚区域。
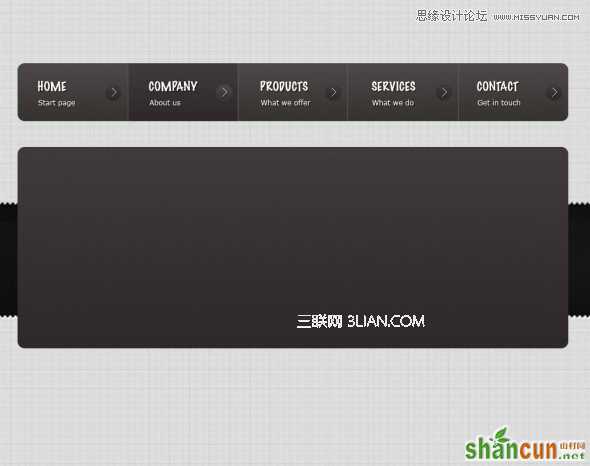
13、为banner的动画区域添加操作按钮,这里使用与导航相同的箭头样式。
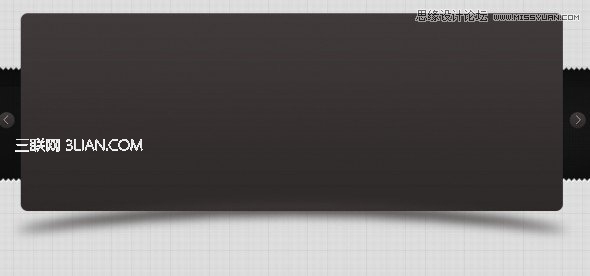
14、在banner矩形下方,使用椭圆工具添加一个黑色的形状,如下图。

15、然后使用滤镜>模糊>高斯模糊。设置8-10px为半径。
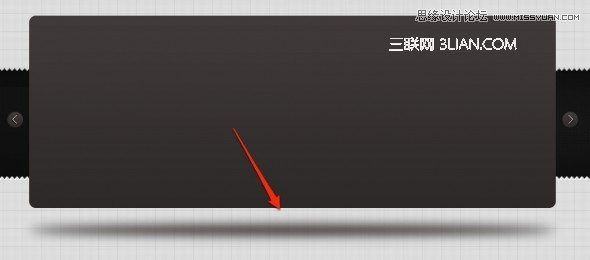
16、然后使用编辑>变换>扭曲,设置如下图。
17、下一步是在橙色铅笔。并用圆角矩形工具画一个橙色的形状,加入文字信息。
英文原教程是给了一个下载矢量素材的网站,不过可惜这个网站不复存在,用了代理翻墙也没找到这个网站,所以只能用位图代替。
18、继续创建一个简单的橙色按钮。这个按钮要非常明显,它会增加你的转换。换成你网站热点的关键词,醒目的Button可以赢得更多的点击。

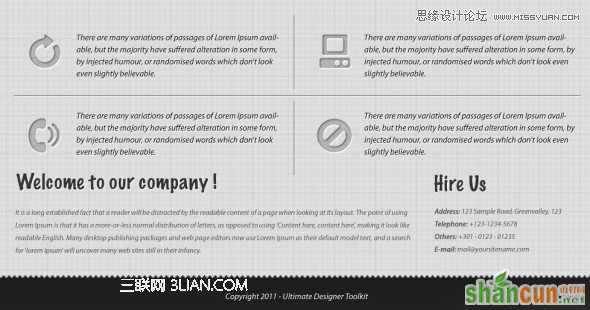
19、继续向页面加入一些图标和文字,注意icon效果和文字布局。
20、图标的图层样式参数如下。
21、下一步是创建一个Logo。
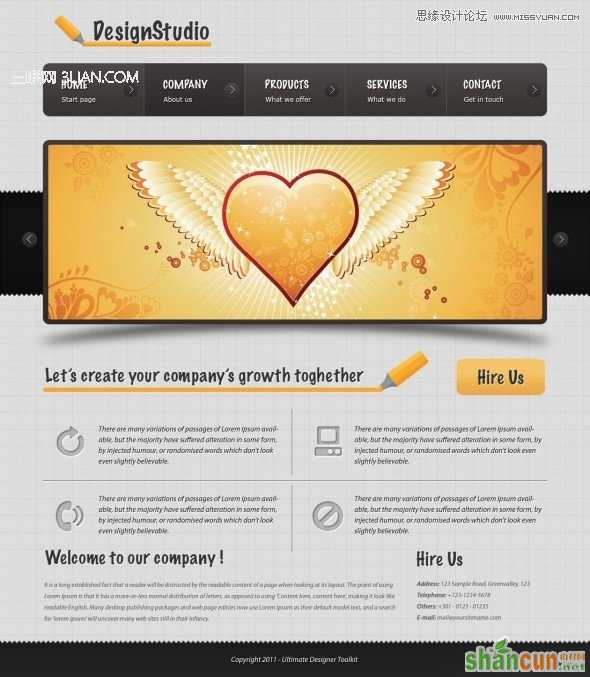
22、最后,你可以看到最终结果。


