先预览效果

第一步:新建一个600*200白底文件
第二步:新建一图层,命名为BG1
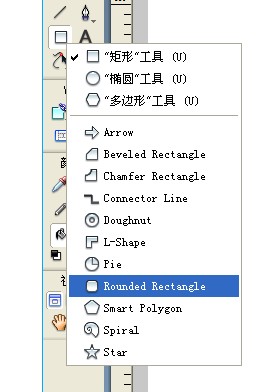
用圆角工具画一个115*32的圆角矩形
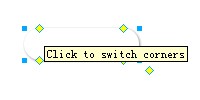
调整矩形圆角度数
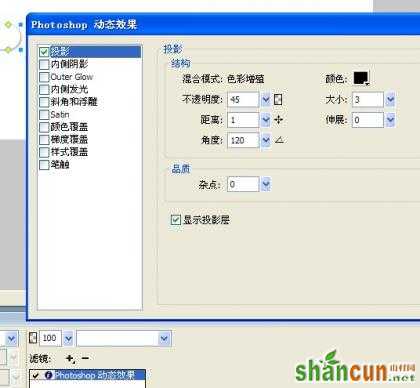
给矩形添加photoshop动态效果
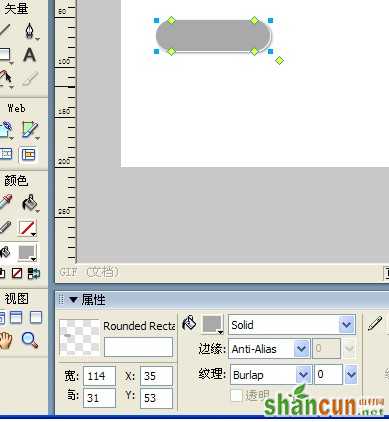
第三步:将图层BG1复制一份命名为BG2
缩小为114*32(水平和垂直方向减小一个像素),并且取消photoshop动态效果,填充背景颜色#A9A9A9
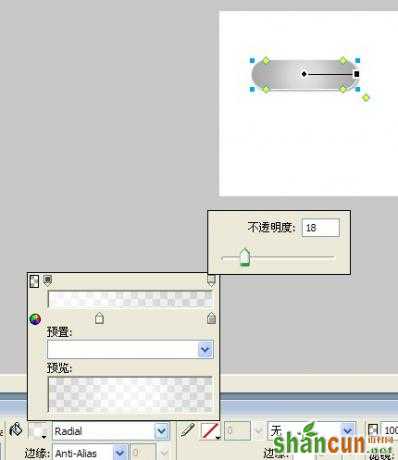
第四步:将图层BG2复制一份命名为BG3,给图层填充放射性渐变
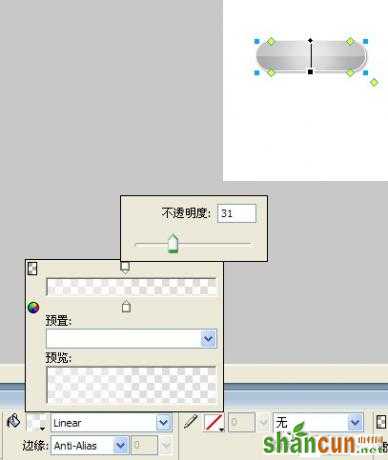
第四步:将图层BG3复制一份命名为BG4,给图层填充线性渐变
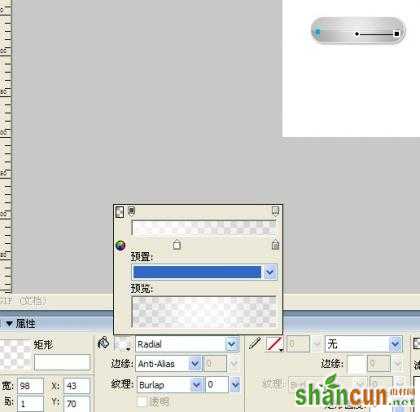
第五步:制作一条白色的虚线
用矩形工具画一个正方形填充白色线性渐变调整透明度
第六步:制作一个阴影完成水晶按钮的制作