
1画头部
本文由 中国教程网 随意 原创,转载请保留此信息!
我画的时候主要是用"线条工具"+"选择工具"调整弧度的方法,熟练了会画得很快的。
(二) 画头部:
1、点一下图层1的第1帧,在舞台上画出如下图形。
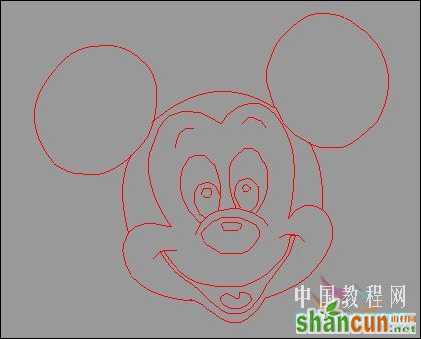
图1
2、按照下图所示,填充颜色。
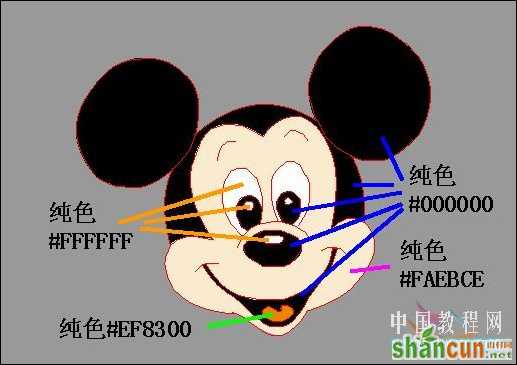
图2
3、删除多余的线条,如下图:

图3
4、留下的线条中,按下图所示的部分为黑色2像素外,其余的都为黑色1像素。

图4
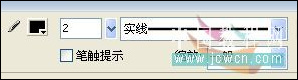
图5
这样米老鼠的头部就画好了。将本图层命名为“头",上锁。
2画身子
(三)画身子:
1、新建一图层,命名为"身",放在"头"层的下面。选择线条工具,笔触颜色"绿",无填充色,在头部的下面画如下图的身子部分。
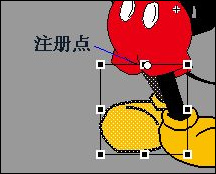
图6

图7
2、按下图所示填充颜色。
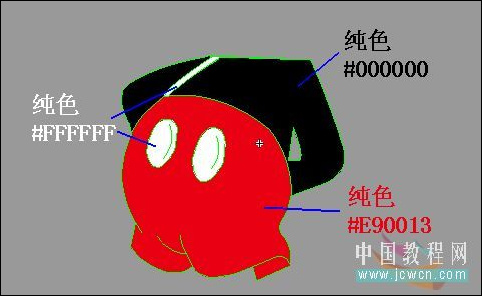
图8
3、将上身背带上的笔触删掉,其余的笔触均改为黑色,1像素。如下图:
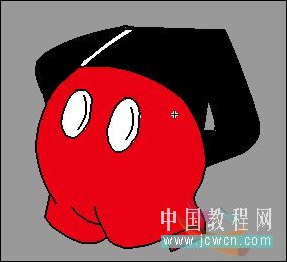
图9
身体部分就画好了,将本图层上锁。
3画前脚
(四)画前脚:
1、新建一图层,命名为"前脚",放在"身"层的下面。选择线条工具,笔触颜色"绿",无填充色,在身体的下面画如下图的脚部分。
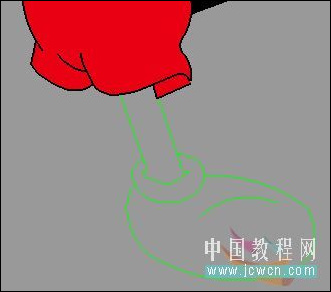
图10
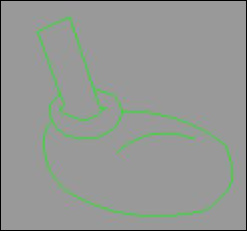
图11
2、按下图所示填充颜色。
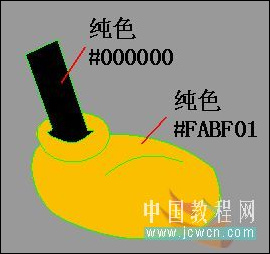
图12
3、将脚杆上的笔触删除,其余的笔触均改为黑色,2像素。如下图:
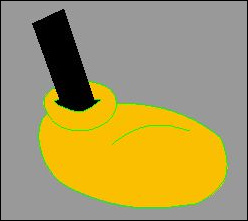
图13
图14
4画后脚
(五)画后脚:
1、新建一图层,命名为"后脚",放在"前脚"层的下面。选择线条工具,笔触颜色"绿",无填充色,在身体的下面画如下图的脚部分。

图15
2、按下图所示填充颜色。
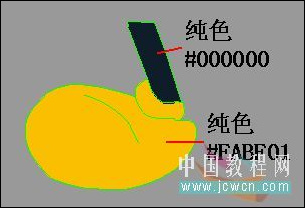
图16
3、将脚杆上的笔触删除,其余的笔触均改为黑色,2像素。如下图:
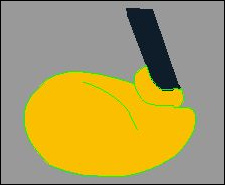
图17
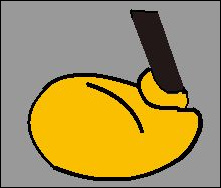
图18
5画尾巴
(六)画尾巴:
1、新建一图层,命名为"尾",放在最下面。选择线条工具,笔触颜色"绿",无填充色,在身体的右边画如下图的脚部分。
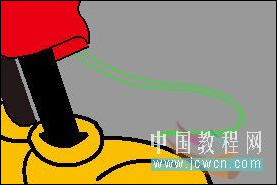
图19
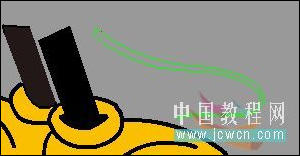
图20
2、填充纯黑色,#000000,删除笔触,尾巴就画好了。
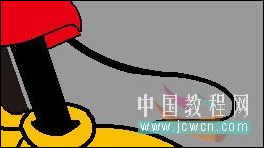
图21
至此米老鼠就画好了,把场景回到100%现在看到如下图:
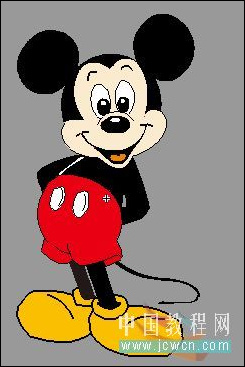
图22
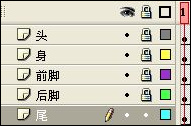
图23
6做动画
(七)做动画:
1、头部动作:
(1)选择"头"层,解锁。在第4、7、10、13帧插入关键帧,在第14帧插入帧。
(2)点击第4帧,选择"任意变形工具"在头部点一下,将中间的"注册点"移到下方,打开"变形面板"设置"旋转"10度。
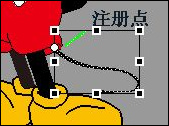
图24
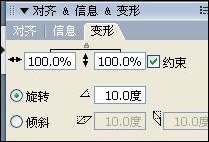
图25
(3)点击第10帧,选择"任意变形工具"在头部点一下,将中间的"注册点"移到下方,打开"变形面板"设置"旋转"-10度。得到效果如下图:
图26
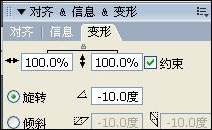
图27
7脚部动作
2、脚部动作:
(1) 选择"后脚"层,解锁。在第4、7、10、13帧插入关键帧,在第14帧插入帧。
(2) 点击第4帧,选择"任意变形工具"在后脚上点一下,将中间的"注册点"移到上方,将脚部向后旋转一些。如下图:
图28
(3) 右键点击第4帧--复制帧,右键第10帧—粘贴帧。
3、尾巴动作:
(1) 选择"尾"层,解锁。在第4、7、10、13帧插入关键帧,在第14帧插入帧。
(2) 点击第4帧,选择"任意变形工具"在尾巴上点一下,将中间的"注册点"移到左上方,将尾巴向上旋转一些。如下图:
图29
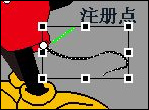
图30
(3)右键点击第4帧—复制帧,右键第10帧—粘贴帧。
这时,时间轴上是这样的:
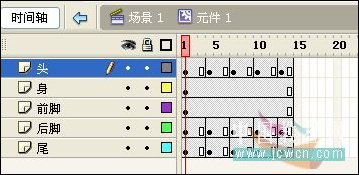
图31
4、按Ctrl+F8,新建一影片剪辑元件(元件2),将元件1拉入元件2的图层1的第1帧,在第15帧插入空白关键帧。
5、在图层1的上面新建图层2,右键点图层1的第1帧--复制帧,右键点图层2的第15帧--粘贴帧,点一下第15帧,点"修改"--变形--水平翻转。在图层2的第28帧插入帧。如下图:
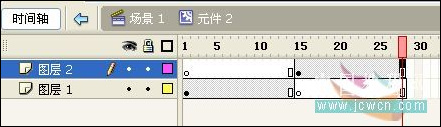
图32
8后期制作
(八)后期制作:
1、把已经剪辑好的MP3歌曲《米老鼠之歌》(原歌较长,我把歌中重复的部分进行剪切,这样只剩下1分钟了)导入到库,打开歌曲的"属性"将"使用导入的MP3品质"前面的勾去掉。如下图:
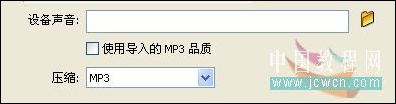
图33
2、点"场景1",把元件2拉入图层1的第1帧,相对于舞台全居中对齐。
3、在图层1的上面新建图层2,把"米老鼠之歌"拉入图层2的第1帧,在第2帧插入关键帧,鼠标按住第2帧,向右边拉,一直拉到歌结束(本曲到第784帧)在第789帧插入空白关键帧。
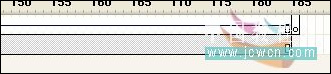
图34
4、在图层1的第784帧插入帧。点一下舞台上的空白处,将背景色设为白色。
图35
全部操作完毕。测试影片。别忘了保存和导出影片哈。


